

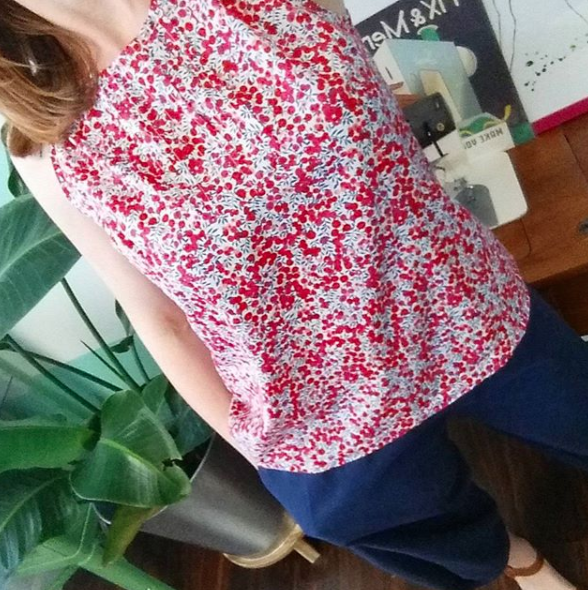
This particular Lost Project actually got a lot of screen time, just not publicly: I originally drafted this pattern for my League of Dressmakers, and we worked with it in various capacities for a few months in 2016, and then re-visited it in 2017. I used one of my all-time favorite Liberty of London lawn prints to sew this up, and honestly, if my budget allowed it I would probably have an entire closet filled with nothing but Liberty, linen, rayon and jeans. I might be 95% serious about that.
I love ALL Liberty, and it’s way too expensive to throw out scraps, so it’s nice that not only can you quilt with the teensy bits that are leftover, but they also work great for pocket linings, waistband facings, and bias binding. You can sneak the itty bitty bits into all kinds of garments–even buttonhole facings, really TINY places–and get that delicious pop that can only come from a Liberty print. So, so good. (I get all mine from Pink Castle Fabrics, who usually has an excellent and wide selection of prints.)
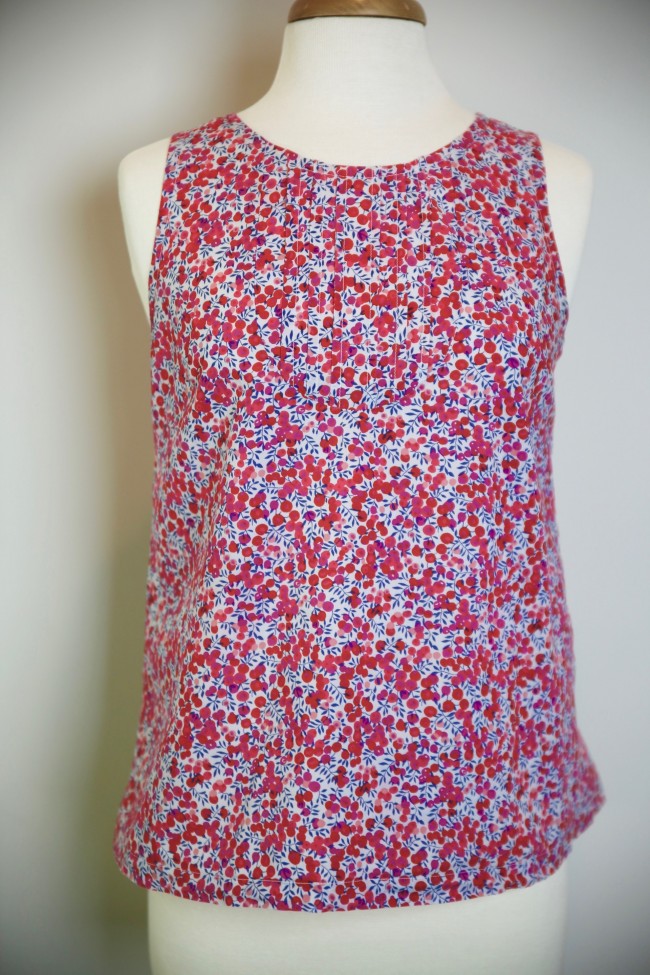
What I really wanted was a basic tank with some simple bust dart shaping that would have space in the shirt front for an inset–the initial goal was that The League was working on pleats and gathers, and I wanted a top where we could try different pleating and gathering techniques within the same basic shape. By creating an inset with a lower scoop, I figured we could make a tank top that had some tuxedo styling, and could also be super wearable and versatile.
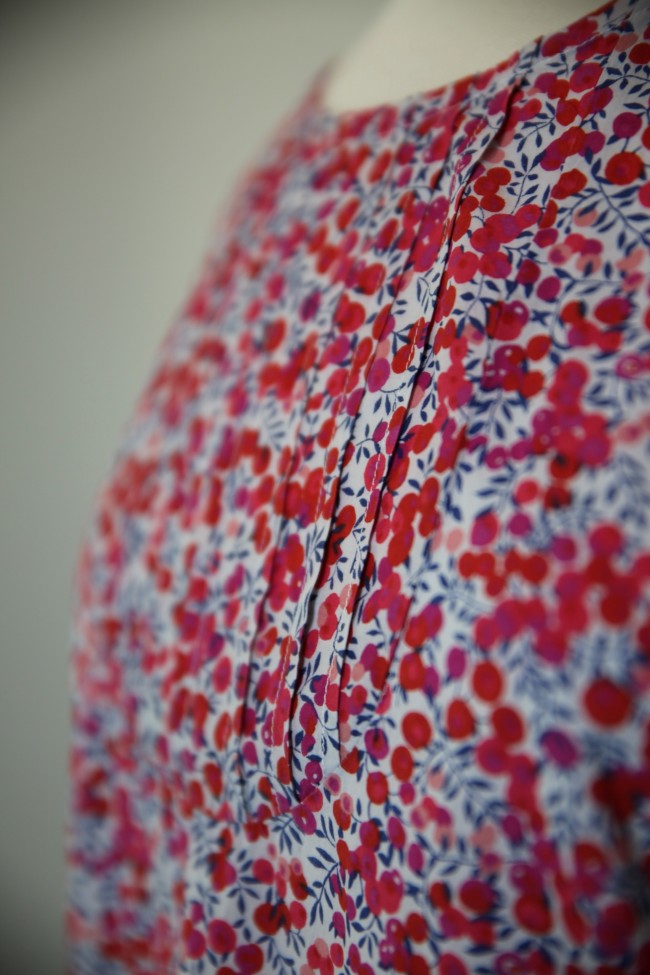
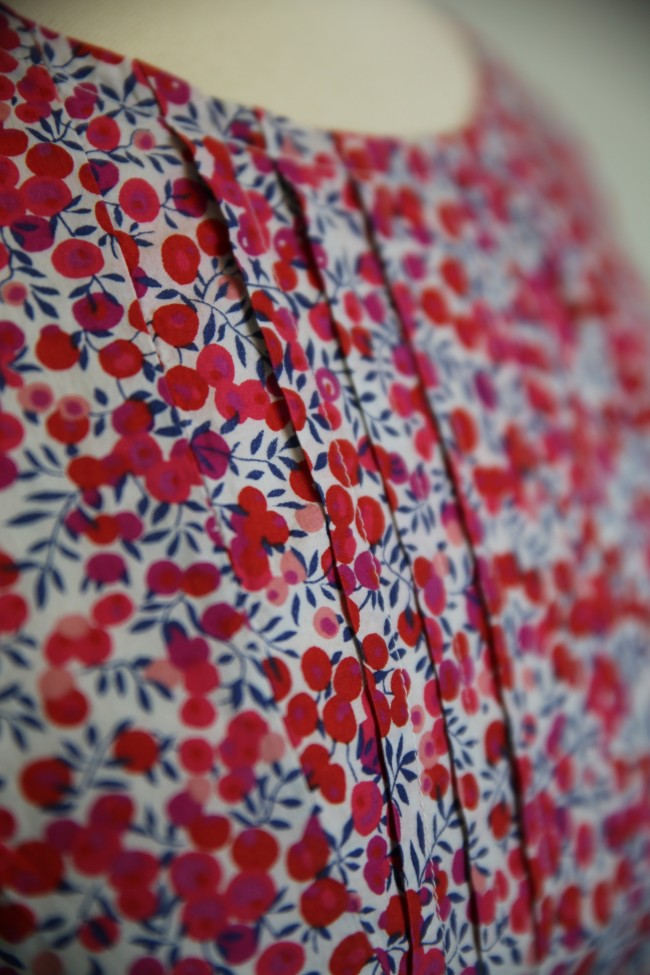
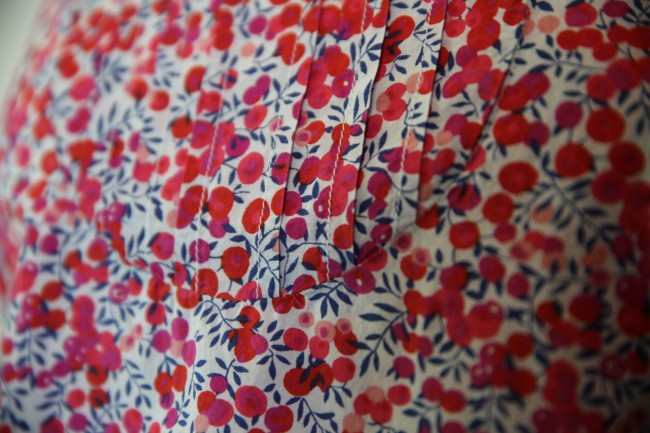
The pintucks here were really fun to sew. They’re just a series of very narrow pleat, but when you put them all together like a tuxedo shirt does, it has a lot of visual impact–even if, like on this fabric, the print seems to obscure the effect.
 I actually like that you don’t really notice the detail until you get a lot closer to the shirt. Like, it’s a little surprise. Because of the way the inset is created, the shaping of the shirt isn’t affected by it, it’s just a detail that lies flat against the breastbone. So it could have a gathered panel, or smocked, or what have you, and still be the same basic top.
The lower edge of the inset is curved, which can be a little tricky to put in without distorting it. We stay-stitched the curved edge to keep it from stretching out when we sewed this for the League, but since the inset goes in before the neckline is finished, it was pretty forgiving, and I like that, too.
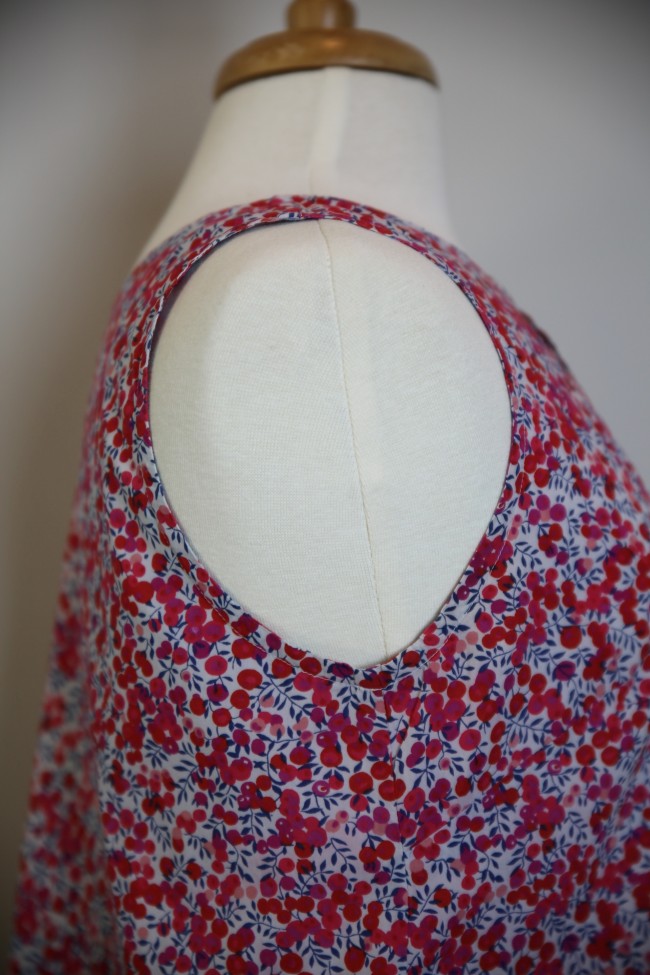
The armholes and neckline are finished with single-fold bias tape, nice and clean. I think the armholes on this version are a little higher than I would really like, but I mostly wear it underneath a cardigan, so I don’t notice it much. I just don’t like to get sweaty stains under the arms of my tops from an armhole being TOO high–I also don’t like having an armhole so low that I can’t take my cardigan off without showing my bra. So it’s a delicate balance.
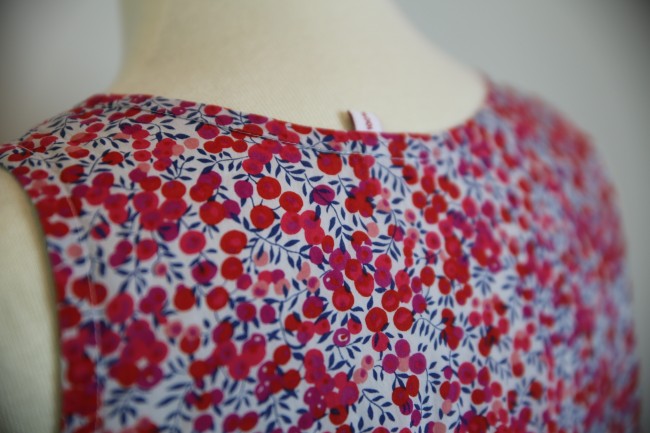
The back is super simple. I added a tag under the bias tape at the back neck, which I always think is a cheap and fast way to make a handmade garment look 1000% more professional.
If I did anything differently, I would probably draft this with slightly sider shoulder straps–I usually wear a racerback bra with this top, because I want to be sure that I don’t have any lingerie peeking out, but it would be nice not to have to think about what bra to pack when I travel with this top, which I frequently do. I have consistently found, actually, that over the last two years the garments I am most likely to reach for when packing are handmade, and that most of my travel outfits have at least one handmade element. I think ten years ago, the clothes I felt most confident taking with me when I had to choose just a handful were almost always store-bought, so it’s exciting to see that I have unconsciously been building my favorites into a wearable, everyday, “special” day closet.