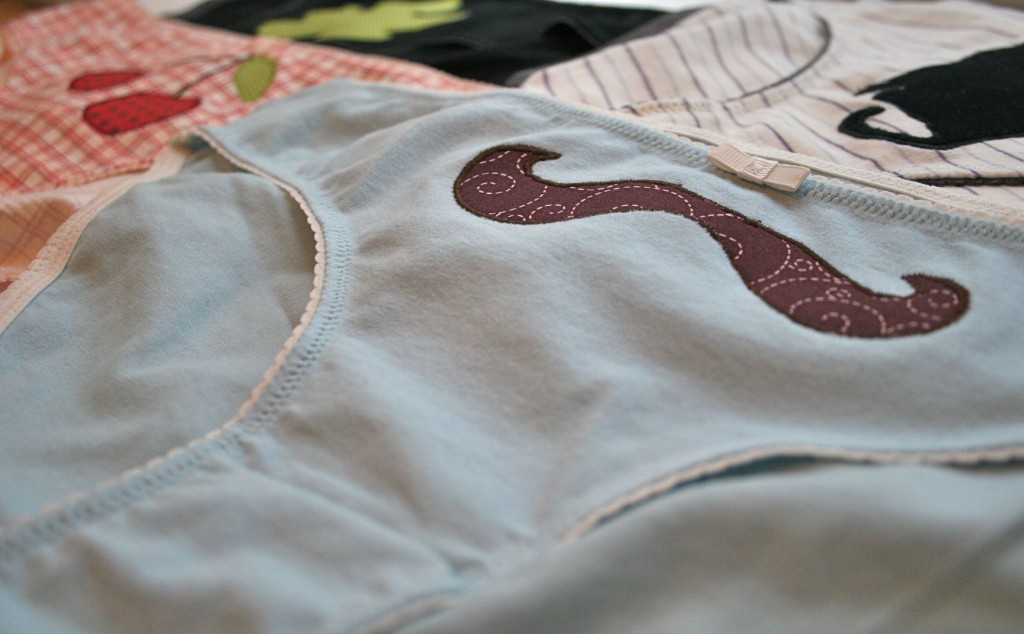
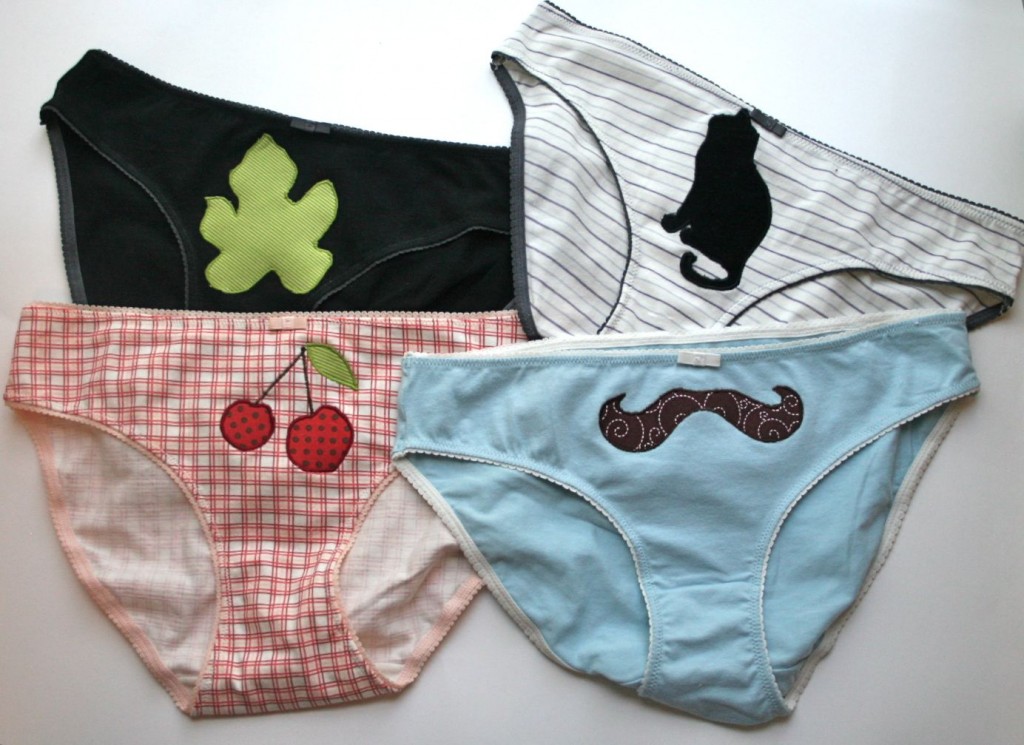
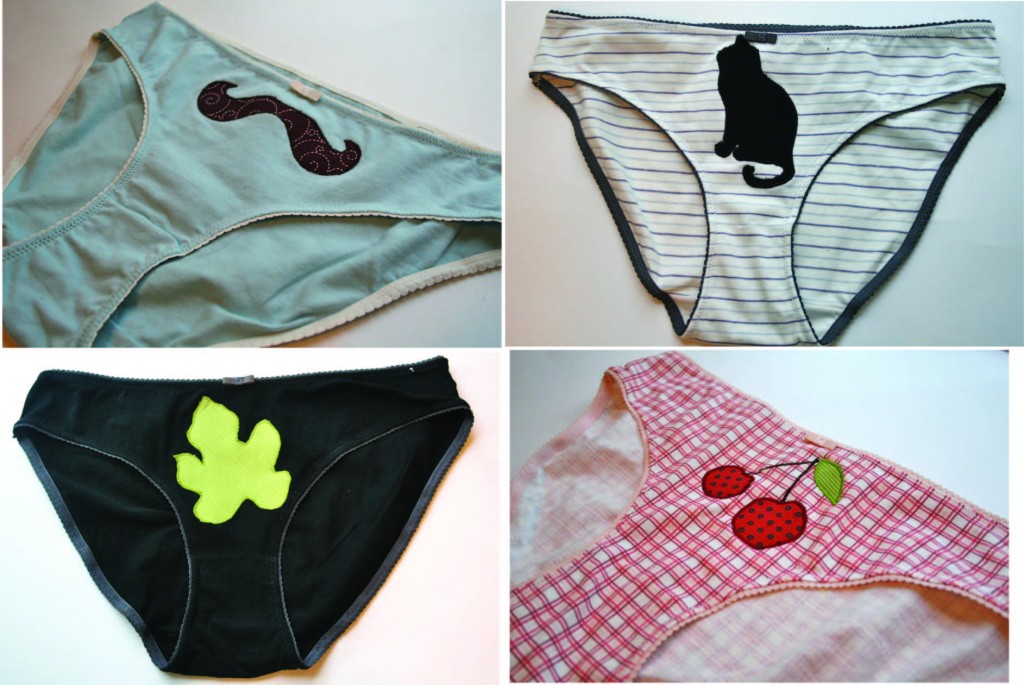
Special thanks to Kristen of Motherhood Uncensored for hosting today’s stop on the Stitch by Stitch blog tour! In her honor, a sassy twist on one of the techniques I get asked about most frequently: machine applique. These are saucy without being trashy, and a cinch to whip up in any style you choose!
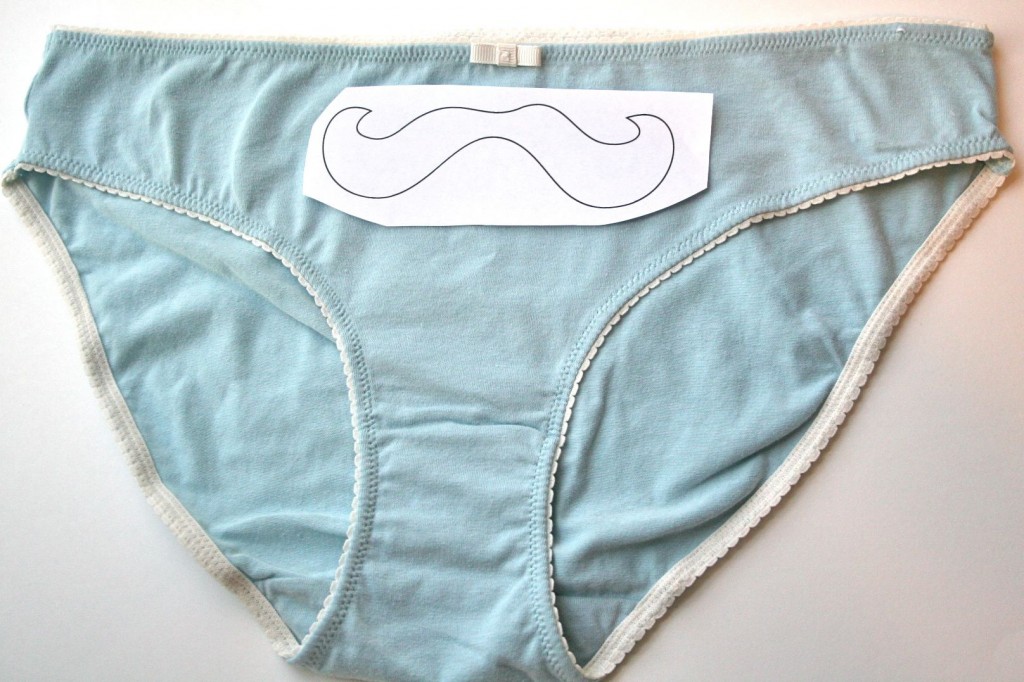
Machine applique is a quick technique that can be used to add design, color and flair (oh, that’s right) to almost any garment in just a few minutes of sewing. For the designs above (which can be put on tee shirts, tote bags, or whathaveyou), start by downloading the templates in PDF format.
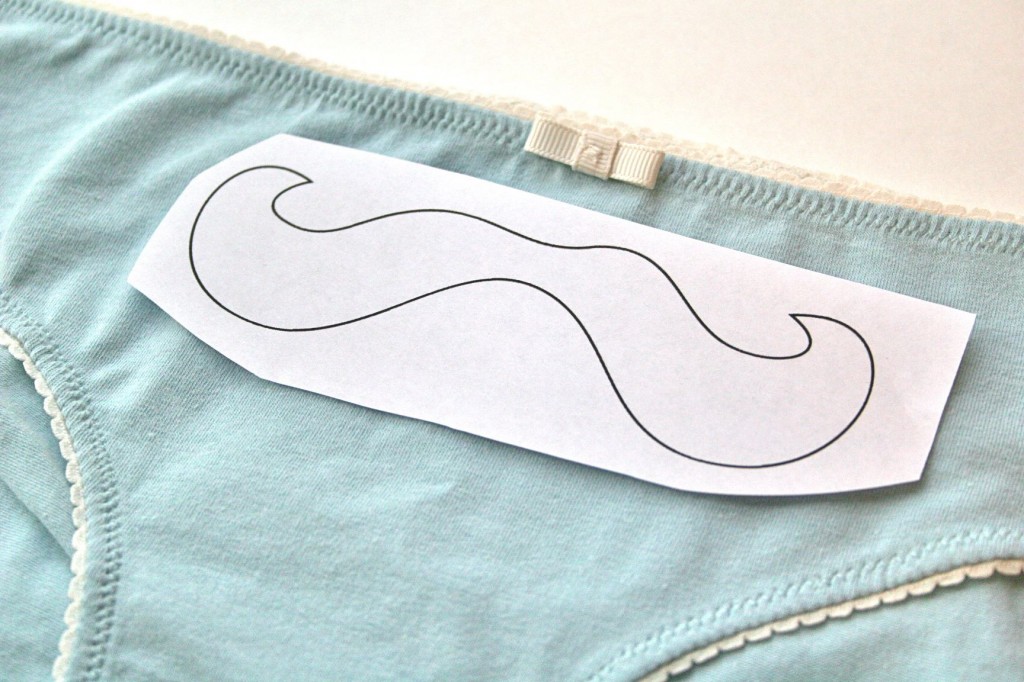
Print out the template. Determine where you’d like it to go on your project–keep in mind that these can be resized as much as you’d like using a copier or scanner.
The designs are intended for any level of sewing skill, but I’ll tell you that the mustache is probably the easiest to begin with, followed by the cherries, the fig leaf, and finally the cat. Just FYI.
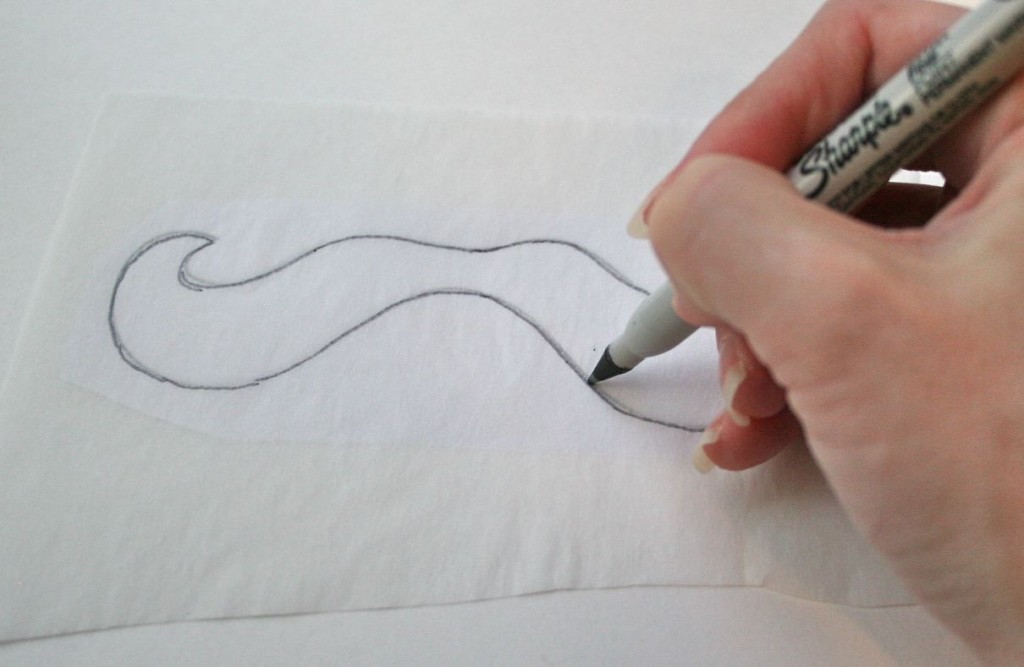
Once you are sure that the applique will fit in the space you have for it, take a bit of fusible webbing (like Steam A Seam or Wonder Under) and lay it on top of your template, sticky side down. Trace the outline of your applique shape onto the paper side of your fusible webbing. Some folks will recommend doing this once the webbing is fused to your fabric, but I think it’s easier to get an accurate shape when I do this step first.
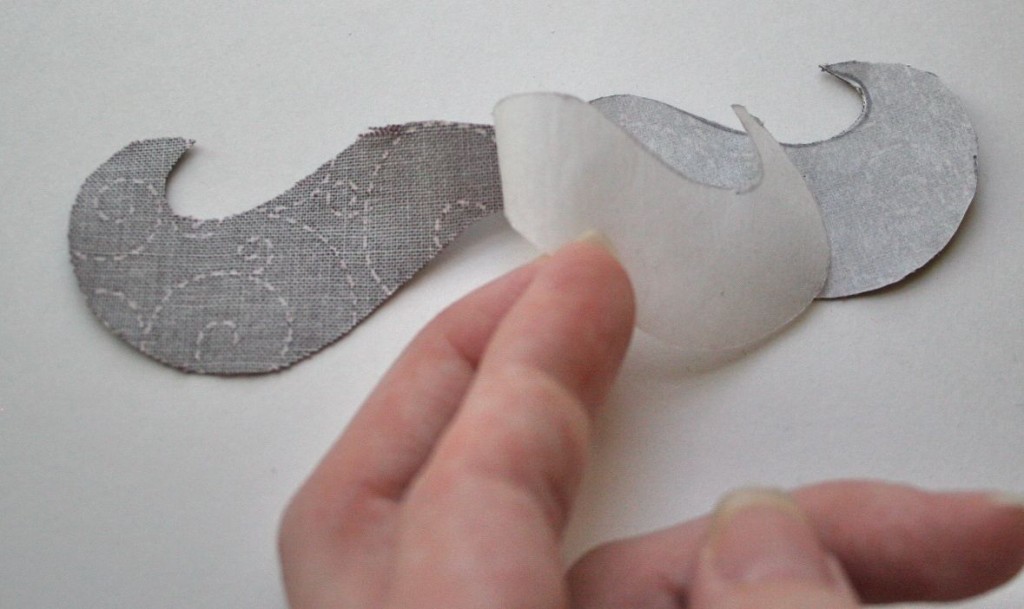
Fuse the webbing to the wrong side of your applique fabric. Cut out along the outline of your shape, then peel the paper backing away to expose the sticky side of your fabric “sticker.”
Place the sticky side down on the right side of the panties/tote bag/etc. This is the point at which you’ll want to make sure you have it just where you’d like it to live forever, because in a step or two, it’s pretty irrevocable. I find that Heat-N-Bond (both regular and lite) is more sticky at this point, but is stiffer once fused–I prefer Wonder Under for tee shirts and most knits, and use the Heat-N-Bond for canvas and tote bags.
Use a nice, hot iron to fuse the applique shape to the fabric. Allow to cool before you test to see if the fuse “took.”
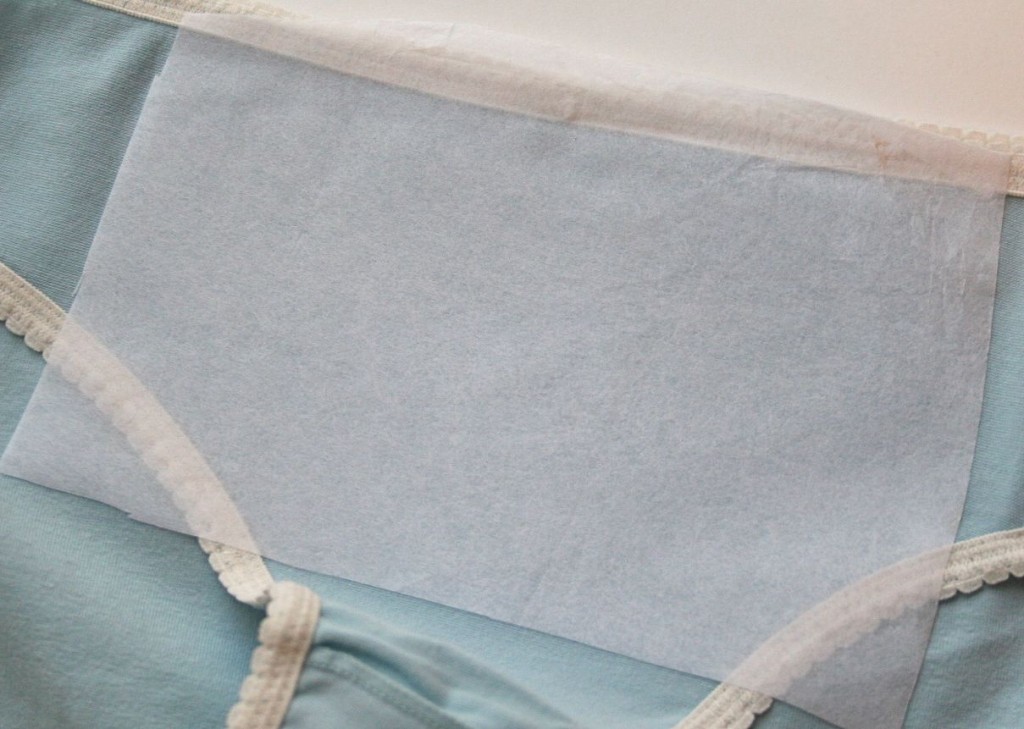
On the WRONG side of your project, exactly on the reverse of your fused applique shape, apply an iron-on stabilizer to keep the knit in shape when you’re stitching. I like a tear-away style, but they also make wash away and cut away versions.
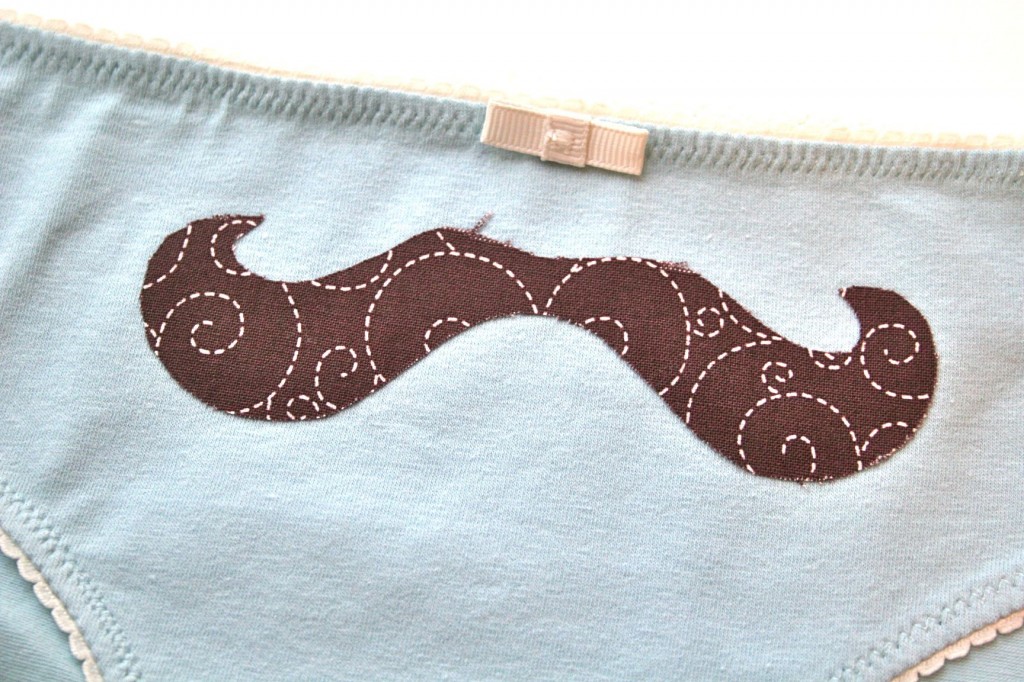
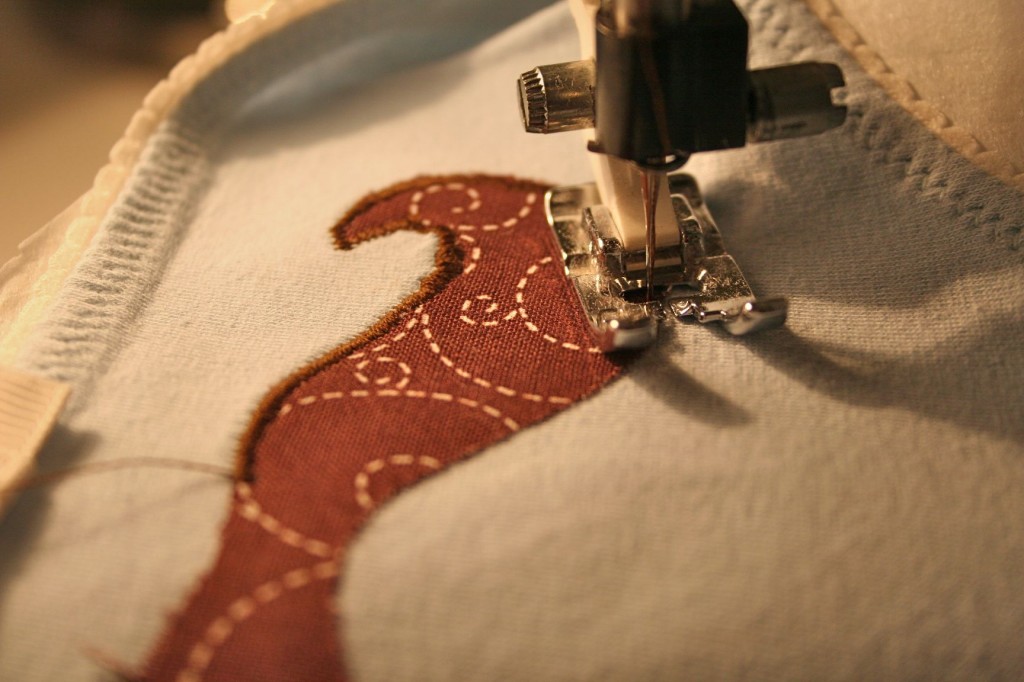
Stitch around the entire perimeter of the shape, using a short stitch length and a mid-to-narrow zigzag. Here, I’ve used a 0.5 stitch length and a 2.0 stitch width. (For more details about turning corners and taking on curves, check out pages 57-60 in Stitch by Stitch.)
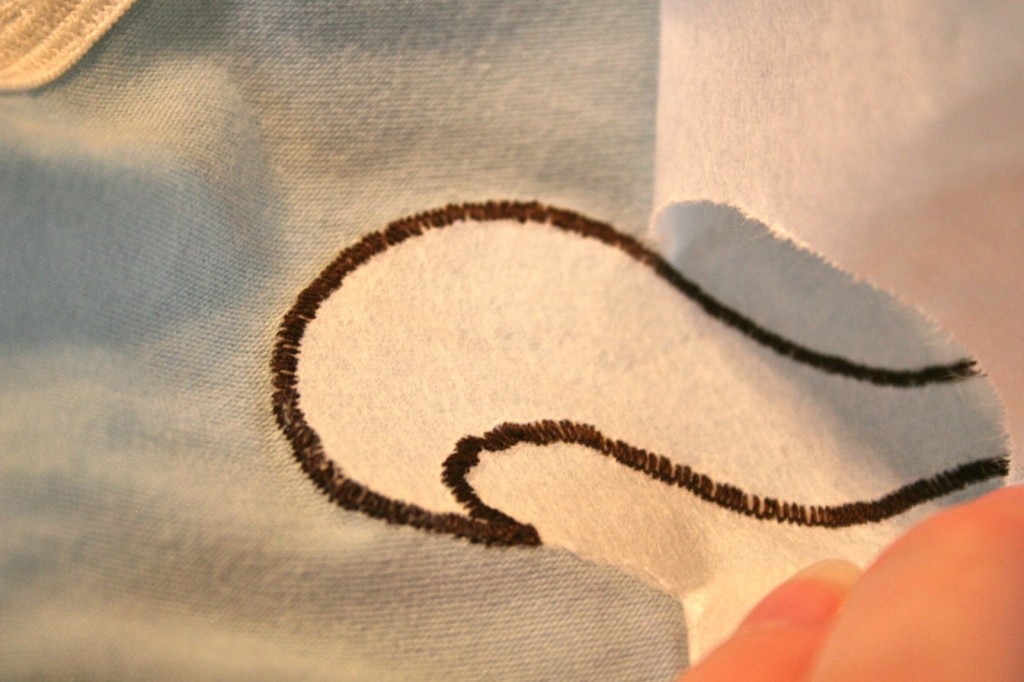
Once you’ve stitched the entire perimeter of your shape, tear (or wash or cut) away the stabilizer on the wrong side.
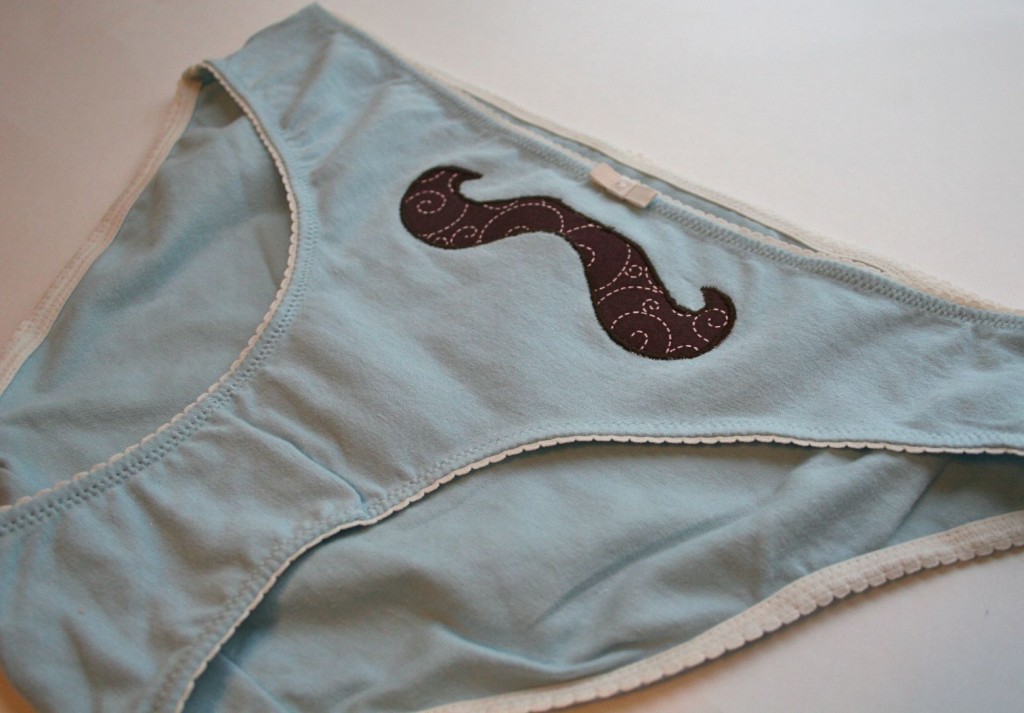
Voila! Fancy sassy pants, just for you!

Amy
September 21, 2010 at 1:55 pmToo funny, love the tute! This proves that even your knickers can be spruced up!
Helen
September 21, 2010 at 9:54 pmThank you sew much. Clever!
Kim
September 28, 2010 at 8:24 amLove that!
My Crafty Holiday Hop Post! « bridget&lucy
November 29, 2010 at 8:06 am[…] And for the girl with everything – instructions for appliqued undies. […]
Pam
February 29, 2012 at 2:23 pmThanks for sharing; I just started doing some applique projects and wasn’t sure about stitching wovens and knits together but it’s obvious that they work out great!!!! Wonderful instructions too!