
When our oldest was still living at home (before moving off to college), it made my plans for matching family outfit world domination a challenge. As a high schooler, the patterns I used for the younger girls not only didn’t fit, they weren’t appropriate for an older girl–and things that were appropriate were more time-consuming to sew. She was always a team player, though, and always willing to match the other kids, so long as it was reasonable.
Enter: the fabric headband.
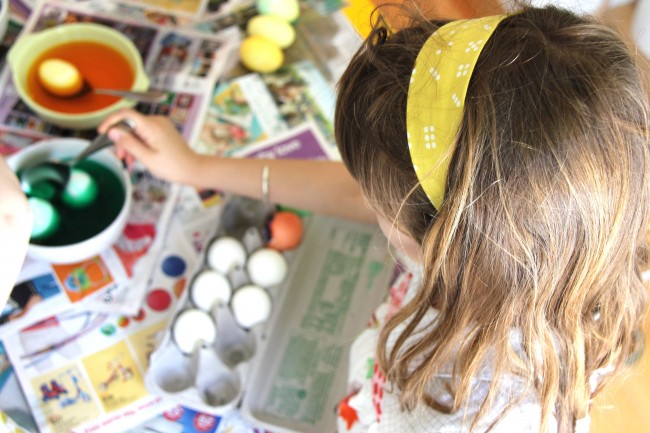
Our eight-year-old has inherited her older sister’s passion for the headband, and we have quite the collection of assorted ones lingering around the house (and under foot). Plastic ones, sequined ones, headbands with animals attached, headbands with themes. All kinds of headbands. And never, ever, ever the right headband for a dressy occasion. How is that possible?
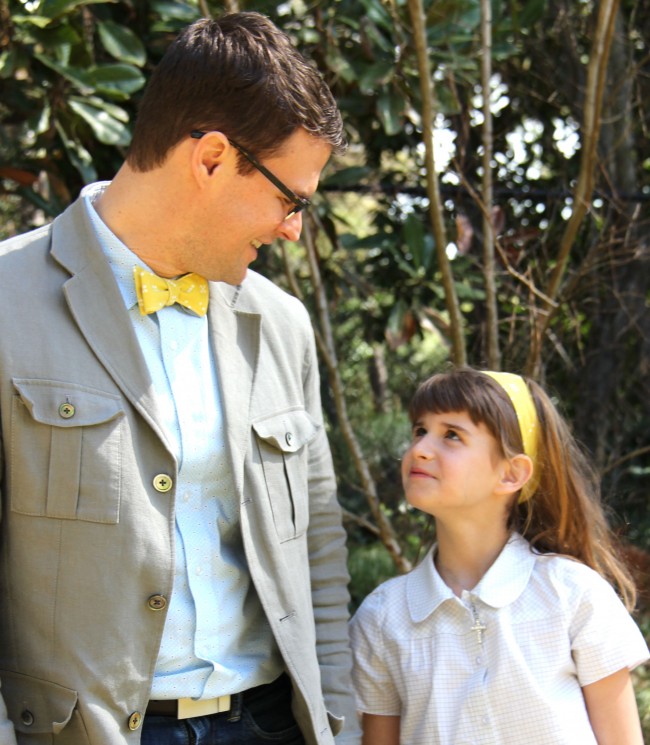
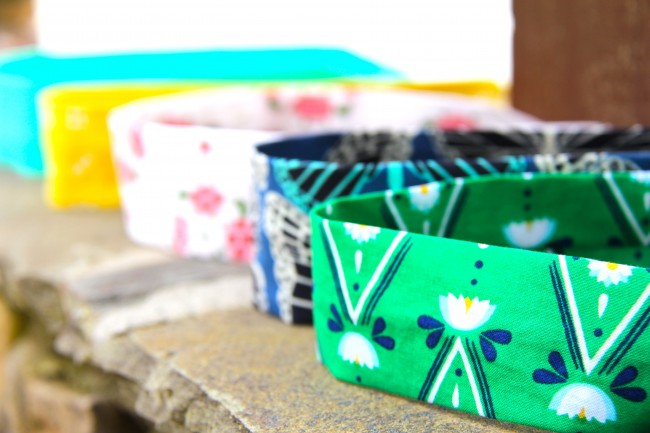
As I worked on our Easter outfits this year, I looked at the bow ties I was making for the boys, and was reminded of the headbands I’d made for our oldest. I whipped one up for the please-don’t-call-her-a-tween-yet, and she looooved it. When I asked her after Easter if she’d like me to make her some more, she was SUPER enthusiastic. They take so little fabric that I sent her to dig through the scrap basket in my work room and select some bits and pieces. They take something in the neighborhood of eight minutes to make, too, so I cheerfully made her four lickety-split.
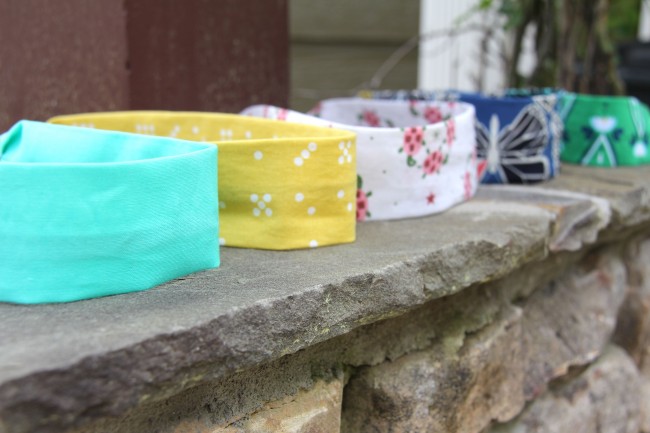
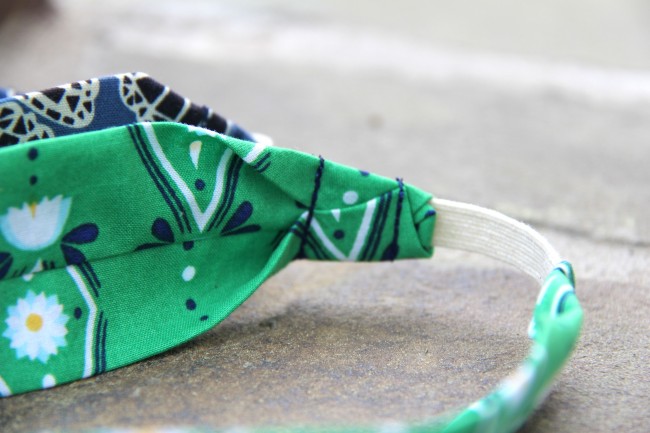
These have a hidden seam, and an elastic band at the base. I’ve seen other designs similar to this, but a lot of them use a casing for the elastic–while I appreciate that the elastic is covered then, I find that bulky, and dislike that you get a little cowlick action at the base of the skull, under the hair. I prefer the smoothness of this application, and have found that with 1/4″ elastic there’s absolutely no tangling to worry about.

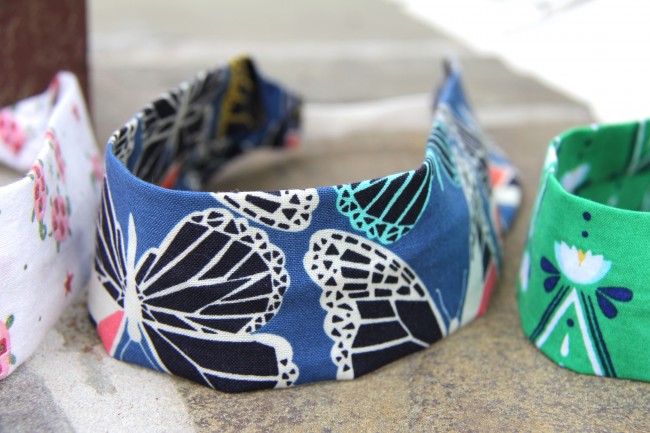
These samples are un-interfaced, so they’re nice and soft and flexible, which my girls love. If you wanted to embellish–by adding a bow or some vintage buttons or a patch or applique, something like that–I might recommend a lightweight interfacing on the wrong side of the fabric strip to support any additions you place on the right side of the fabric.
Tutorial: Classic Fabric Headbands
For each headband, cut a strip of fabric measuring 3.5″ x 19″–this means you can make FOUR headbands from a single fat quarter of fabric, or use a tiny fraction of a larger cut (or even a scrap) to make a matching headband for any outfit.
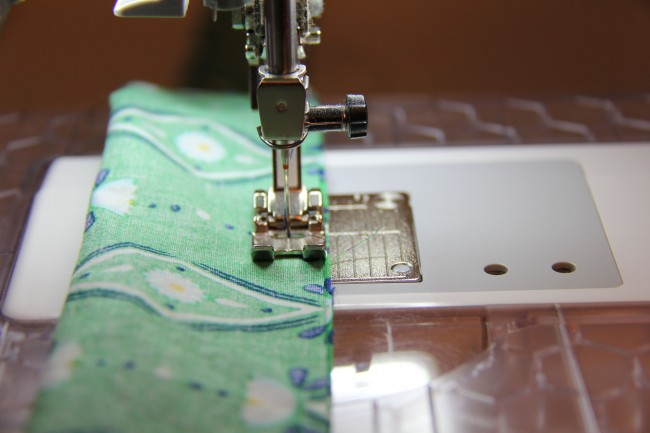
Fold the strip in half lengthwise, long edges together, and sew a 1/4″ seam. Turn the resulting tube of fabric right side out and press, with the seam centered on the back side.
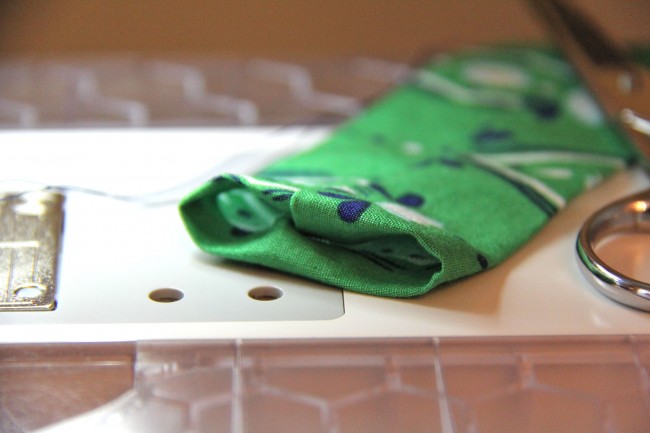
Tuck in the raw edges on one short end of the tube by about 1/4″ (this measurement is flexible, but the more you tuck inside the tube, the shorter the headband will be). You’ll notice all these images are shot AT my sewing machine–that’s because these are so quick and simple that I really do ALL the work while sitting at my machine, with the exception of the pressing!
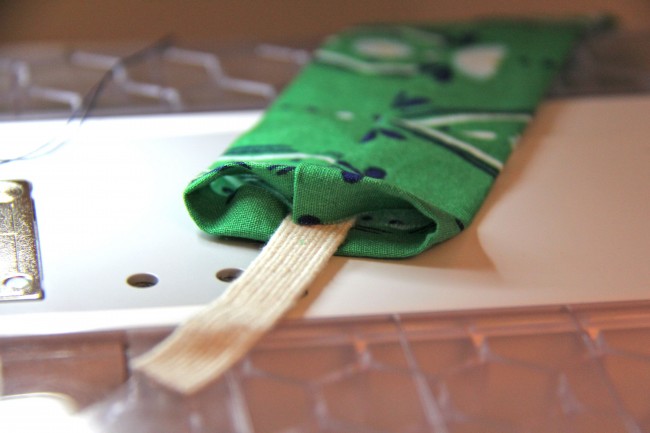 Cut a piece of 1/4″ elastic (white or black, depending on your preference and fabric selection) measuring 2″-ish long. Insert one end into the tucked opening of the tube, placing 1/2″ inside the opening.
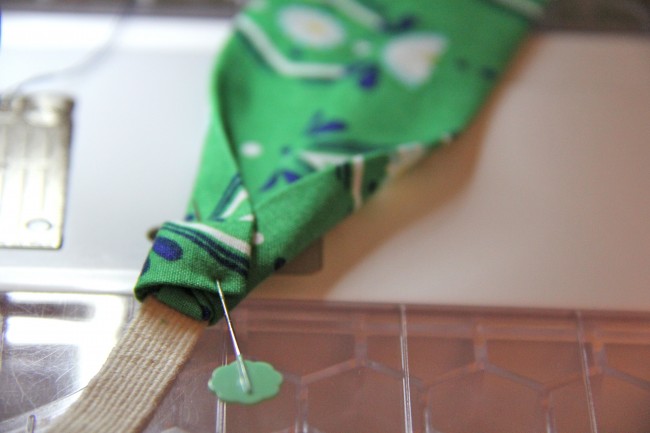
Fold one corner of the tube end on a diagonal, toward the center seam, over the end of the elastic. Repeat with the other corner, making a triangular shape at the end of the tube. All the raw edges are enclosed at this point, and the folded edges are capturing the inserted end of the elastic. Pin (or pinch) in place.
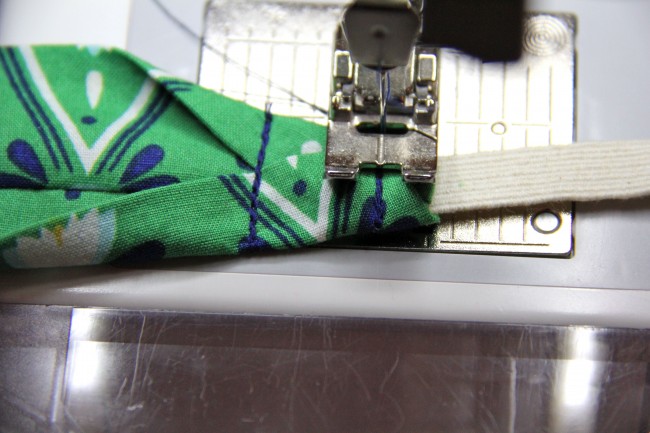
Sew two seams through all layers: one at 1″ from the end of the tube, another at 1/4″ from the end of the tube. The first anchors the folded corners, and the second ensures that the end of the elastic is secure. Be sure to backstitch at least twice over each seam, to keep them nice and snug.
Repeat all steps for the opposite end of the tube, and that’s it! Classic, simple and FAST. You’ll find that suddenly you have a desperate need for LOTS of headbands, and that you can make them in no time. I’m considering giving these as party favors at the girls’ birthday parties for….forever, basically. And if my children think they won’t get matching headbands for every outfit I ever make them, well, they haven’t been paying attention.
Have fun sewing, everyone!
Mary Ann
April 15, 2015 at 10:12 amLove how neat and tidy this method is Deborah. No fun sewing this week, off to visit kids and make black out curtains. Wrestling 12 yds of heavy fabric in the car was a pain!
Deborah
April 15, 2015 at 12:19 pmUgh, curtains!! The only reason it’s worth it to struggle with all that fabric is that it is HIGHWAY ROBBERY to pay what they charge to do it for you! If we don’t hear from you by Monday, we’ll send the Coast Guard–we will have to assume you’ve drowned in fabric! 🙂
Holiday Gifts: Tutorials to Get Them Done | Whipstitch
December 21, 2015 at 12:34 pm[…] at Easter of this year, I made a set of fabric headbands for my girls, and they have held up astonishingly well. My girls wear them constantly, and every […]