 It sounds like there are a LOT of us who are looking for ways to introduce our kids to sewing, and you can’t know how excited that makes me! When I was thinking through this series, I really wanted it to follow the same basic format as Stitch by Stitch, starting with simple projects and working up to more challenging ones, with each project contributing an essential skill (or two) to the toolbelt of new stitchers. For that reason, this first lesson is a retake on an old classic that covers some (seemingly) simple skills that I think a lot of us take for granted. I had a ball doing this one with our kids–all of the ones who walk and talk, ages 2 to 15–and love how their finished projects turned out. I also loved the way they talked with one another as we worked, and the way they got excited as they went back to the activity over and over.
New Twist On An Old Classic
The very first skill new fingers must master in order to work their way up to the sewing machine is simply understanding what sewing is and how it works. Seeing that thread can hold things together and keep them there, so that the finished product is something more than the initial bits and pieces–and that it can stay that way–is a huge part of conceptualizing sewing. It’s something that we as adults take for granted, but that children need to have shown to them explicitly. They catch on super fast, thanks to those sponge-like little brains, though, and this activity can take as little or as much time as you like.
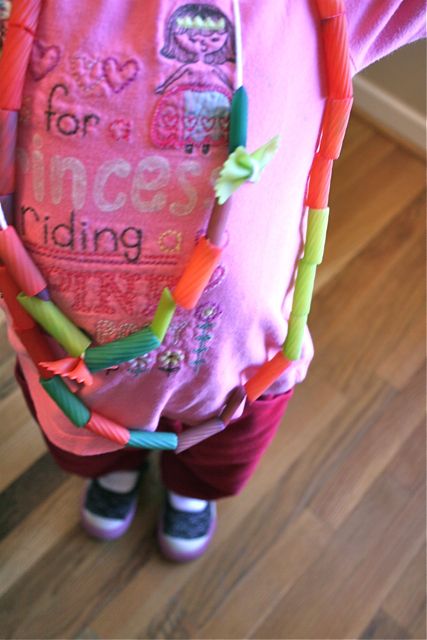
Your standard macaroni necklace has been a mainstay of a zillion pre-school projects since…well, since you and I were that age, which is sayin’ something. Adding color to the macaroni adds another stage to the process that allows kids to participate more deeply, and that gives you a chance to talk about colors and likes and dislikes and to demonstrate just how much freedom and artistic control sewing will allow them to have. I love that this very simple project takes my kids through the act of manipulating the noodles in their hands (challenging for the youngest ones) to thinking about color and pattern (hypnotic for the older ones) and all the way up to making tricky combinations work (like adding bow tie pasta to the mix), which kept my oldest engaged (not to mention me).
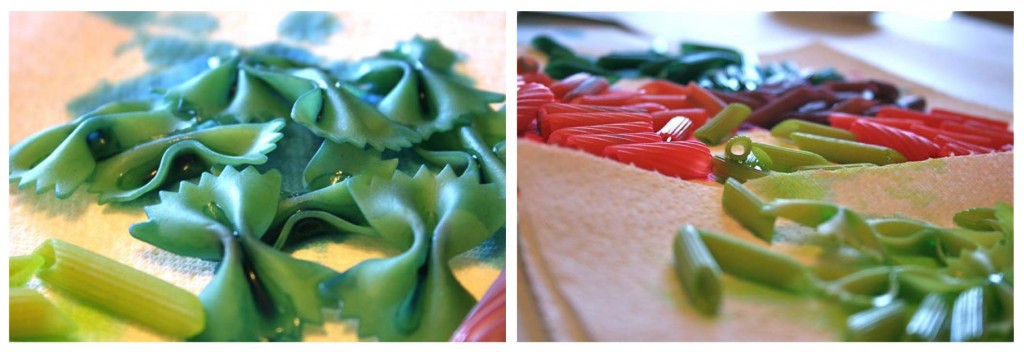
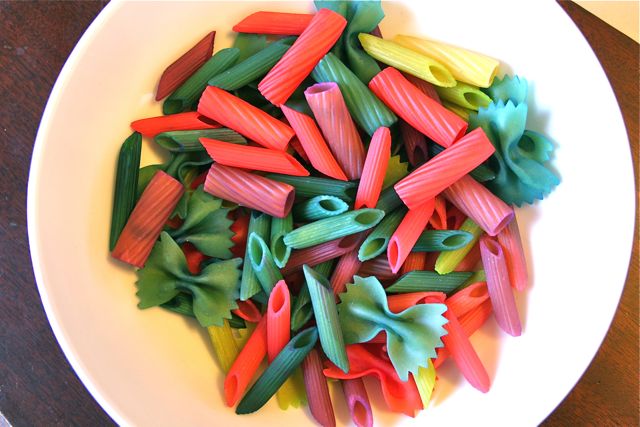
To begin, let’s color the pasta. I chose a number of different shapes, all in the standard store-brand dollar-a-box variety. We used rigatoni, penne, farfalle (bow ties), and thought about elbow but ultimately decided that the openings were too small for the yarn I’d selected. Each one was dipped in a color bath to make them vibrant and various and enticing to little hands.
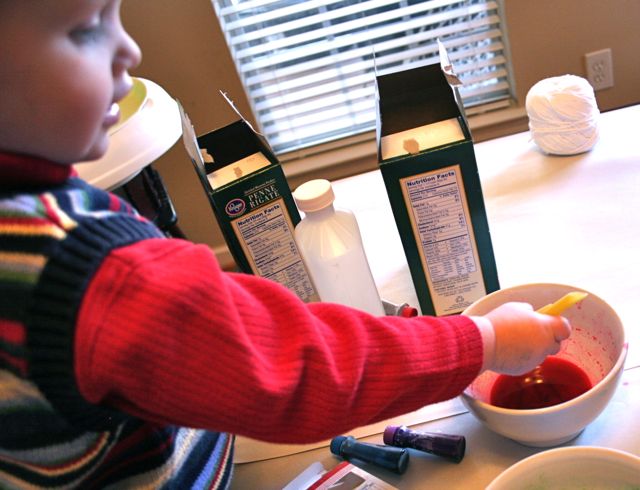 This can be a messy activity, so be sure to cover your work surface with newspaper or newsprint to avoid stains. Realistically, you won’t avoid spills altogether.
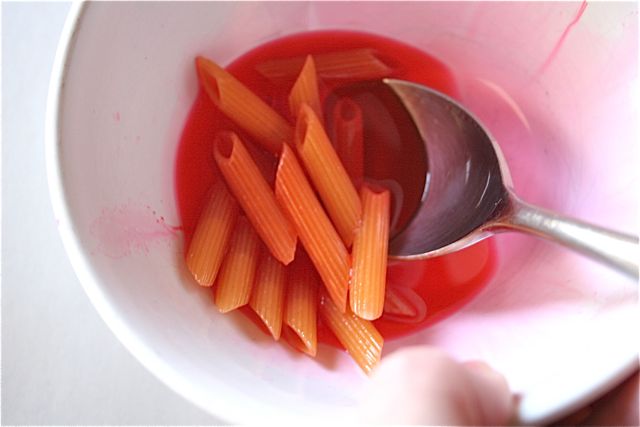
To make the color bath, combine 1/2 c rubbing alcohol with drops of food coloring. I started with seven drops of each color, but in the end squeezed oodles and oodles of coloring into each bath to make them really rich and deep. Dip the noodles into each bowl as you would Easter eggs: using a spoon, lower the noodles into the color, let them sit until you’ve achieved the shade you like, then remove them with the spoon, draining the excess liquid back into the bowl. Place the noodles on paper towels to dry (making sure the alcohol doesn’t soak through the paper towels and newsprint on your table to the wood finish below, as the isopropyl will ruin the finish–ask me how I know).
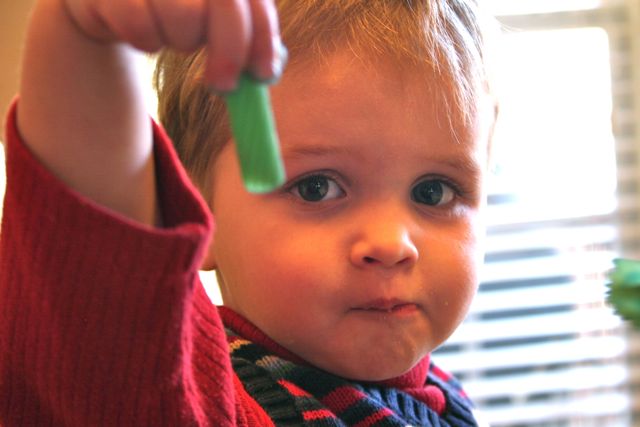
Another caution: use care with children and rubbing alcohol, watching closely to ensure that none gets into little mouths. It took some standing-up supervision to be sure that none of the noodles got licked by the littlest one, but it was worth it to see him participate.
The coloring was super fun, and was the first taste of what I hoped the kids would get out of this lesson: patience. The noodles change pretty quickly from pasta-colored to vibrant pinks and blues and greens, but still must dry before they can be handled. The alcohol allows them to retain their shape and dry quickly once they’re colored, but two- and four-year-olds don’t always like hearing they must wait to use their new treasures. The time allowed us to start talking about what colors they might want to use, which shapes we needed more of, which shapes were in blue and which ones weren’t, and do some matching and thinking about the steps that come next. I try not to get too gooey-touchy-feely about it, but I genuinely believe that a lot of life lessons can be taught over needle and thread, and loved seeing how naturally this one flowed from the simple activity at hand. It urged my children to stop and think about what comes next, about their ideas and plans, to bring to the front of their minds the colors and shapes and their own expectations. It didn’t ask them to slow down so much as to learn to wait.
And then we all got impatient and busted out the blow drier.
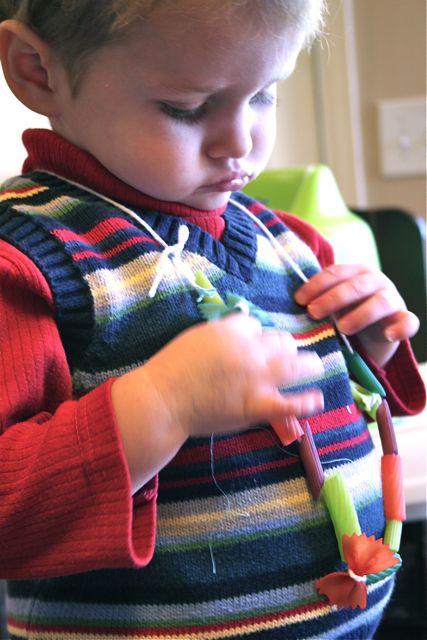
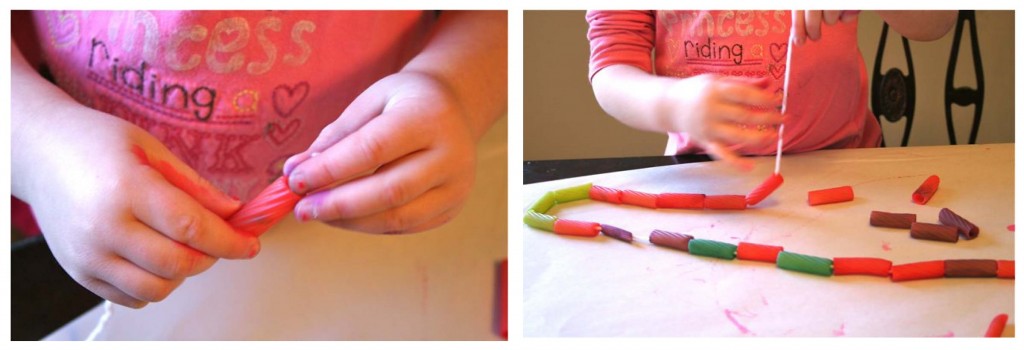
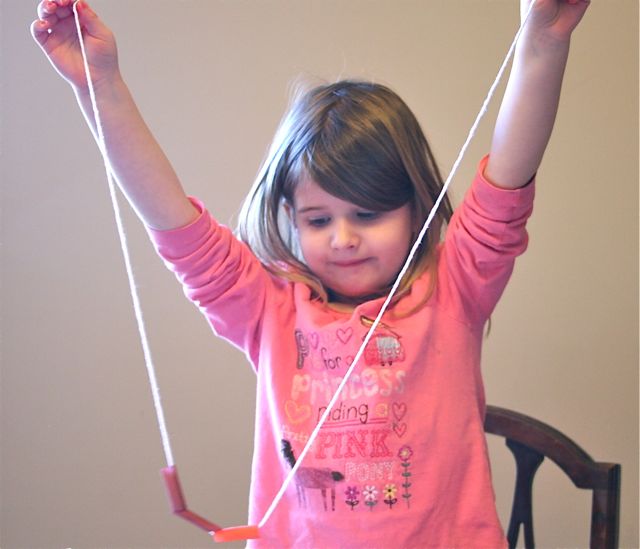
Once all the noodles are dry (or dry enough to handle), cut lengths of yarn that are at least long enough to reach to mid-chest on your child, plus a little overlap. If you care to, wrap the ends of the yarn with masking tape to create an aglet that will make threading easier for tiny hands. Allow the children to choose their first color and shape, and go to town! I would suggest avoiding any pressure to create a pattern or a particular overall look at this point–the children seem to respond better and last longer in this activity if they’re able to drive the boat themselves, so to speak. Talking about patterns is great here, and even better is making your own pattern while working side-by-side, then allowing them to look on and see it as they wish.
For the penne and the rigatoni, guiding the yarn through the hole was enough. For the bow ties, we knotted the yarn around the center of the noodle to hold it in place, which also kept other noodles from falling off. Too late, I wondered if we could have cooked spaghetti or fettucini long enough to soften them and then shape them around the handle of a spoon to see if we could make corkscrews–let me know if any of you test that and make it work!
 As you can see, pajamas are totally appropriate for this particular activity.
Our boy, who is just over two, enjoyed the colorification of the noodles best, but understood the concept behind the threading and loved the feel and sound of the shapes under his hands. Our four-year-old girl loved making sure there were enough purple and pink noodles for her needs, and then working with the yarn to get each noodle threaded–she was very focused and attentive as she worked. Our oldest girl, 15, was surprisingly engaged during the whole process and got interested in putting together patterns and designing “jewelry” with the noodles–and to be honest, I didn’t really expect that. I figured she’d be a helper and look at the whole project as baby stuff, but not really get excited. It was super fun for me to have found such a simple activity that allowed each of the children to participate at whatever level they were interested, all at the same time, all while talking to one another and interacting in a non-screaming fashion. Rare enough at our house.
I especially loved seeing my two girls talk. The eldest was telling her younger sister about making patterns, and the younger one was insisting that her necklace HAD a pattern. Which it didn’t. Unless it was like pi, and her pattern repeated after a loooong time. But hearing them talk about it was funny and made a nice moment to brighten my morning.
The Take-Away
While I think all of us want to really get to the Good Stuff and work with “real” needles and thread and the machine with our kids, it’s easy to forget that for them, ALL of this is the good stuff. I want my children to see sewing as a privilege, not a chore, and I don’t want to introduce them to anything they aren’t asking for. At the very beginning, it should be a game–don’t we all go to our machines for a respite from the rest of the world? Don’t we want the same for our kids? So while I suspect some of you might push back on this lesson, and think that you were hoping for a more in-depth, complicated activity to start us off, I encourage us all to learn the same lesson we’re looking to teach our children: patience. If we sew it, they will come.
Next week: we’ll get more fancy. Promise. Until then, happy stitching!




Rachel at Stitched in Color
January 13, 2011 at 11:08 amDeborah, I love this. I lOVE this! At first I drew back, but I never thought of dying the noodles ourselves and you’re right there are so many good lessons here. My children are homeschooled, so they don’t get the “standard” crafts (we do lots, but I suspect they are not standard). Anyhoo, this is PERFECT for our Friday project. So glad to have something both my littles (boy of 3 and girl of 6) can enjoy!
Janimal
January 13, 2011 at 11:19 amThis is PERFECT for my two year old. She likes to wear her necklaces and bracelets all the time. We’ve done some big wooden bead stringing but it’s hard for her. I love the idea to dye some noodles. We’ll do this for sure. Thanks!
liveacolorfullife
January 13, 2011 at 12:26 pmI’m SOOOOO (SEW) excited about this series. I will be doing this on Tuesday when I have my almost-3-year-old grandson and 4-year-old granddaughter all day.
Kimberly
January 16, 2011 at 10:54 pmSuch a simple, fun activity. Thanks for posting the specifics. I am super excited for this series!
gigi
January 19, 2011 at 5:46 pmlesson 1 completed!!! thanks so much! i did a little post about it on my blog if you’d like a looksee at the fun we had 🙂
http://gigikennedy.typepad.com/littlegi/2011/01/sewing-with-kids-lesson-1.html
looking forward to lesson 2!!
Sewing With Kids, Lesson 2: Focus | Whipstitch
January 20, 2011 at 3:17 pm[…] the last lesson, Patience, my kids spent their wait time talking about colors and what matches and doesn’t match, and […]
Hobbysew
January 27, 2011 at 7:46 amMy three years old, daughter would like to wear it. I am going to make it for her. Thank you for this great idea. It is very funny and interesting too
Emily
February 9, 2011 at 2:52 amThis is such a great idea! Thanks for the tips!