Chain piecing is a simple technique that makes quilting vastly more efficient:
Very simply, chain piecing involves sewing a seam, then rather than cutting the thread and beginning a new seam, tucking the next piece of fabric beneath the presser foot and continuing to stitch. It’s faster–you don’t spend all that time cutting thread, lifting and lowering the presser foot–and it’s tidier, since all your pieces are still attached to one another when you’re done. I also think it encourages you to think differently about your sewing when you chain stitch: I am forced to think through my whole project, in a good way, in order to determine the most efficient use of my time in order to get steps completed with good precision but without dragging out the project.
I use this same technique when I make clothing, and it’s such a giant time-saver. I started doing it when I was manufacturing children’s clothing, because I’d be making multiples of a particular style all at one time, so it made sense to stitch a side seam, then grab another shirt or dress and stitch the same side seam, over and over until I was making five shirts at a time, like an assembly line. I don’t manufacture like that anymore–now I only sew for my own children rather than someone else’s–but I have adapted the same idea to make the construction of a single garment more streamlined. And it’s so simple that it hardly bears mentioning, except that I do it so frequently I figured it might be useful to discuss! I seriously love learning all the little secrets that other folks use to make their sewing something to be admired, and am always struck by how most of us have one or two tricks that we don’t even think about anymore but that have the potential to totally change the way someone else makes a project–I am sort of hoping this will be like that to you.
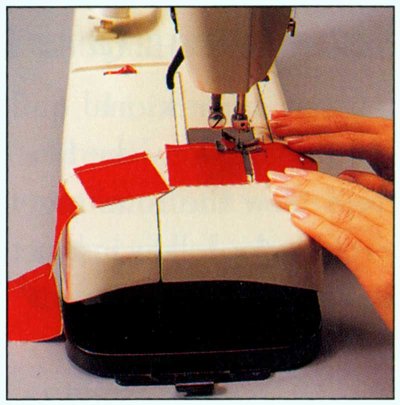
Start with a project that has many similar seams–in this case, I’m working on the lined bodice of a sleeveless dress. That means I have one bodice front, two bodice backs, one lining front and two lining backs. They all get stitched at the shoulder seam, so four identical seams. Right? So I sew the first shoulder seam, but rather than cutting it and taking it off the machine, I tuck the next shoulder seam underneath the presser foot:
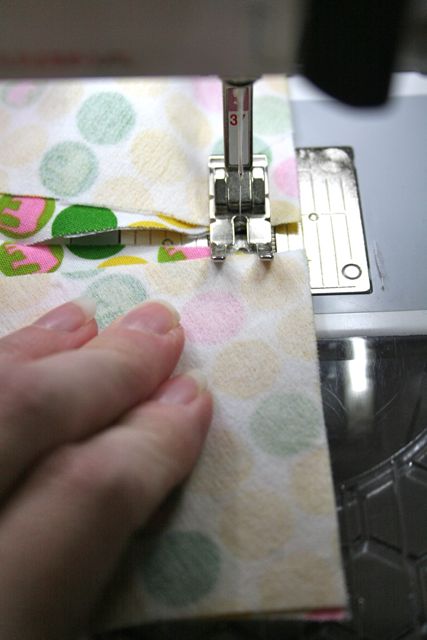 Here you see the right side of the bodice front, which is down on the feed dogs, and the wrong side of the bodice backs, which are right sides together with the bodice front. I’ve stitched the one at the upper edge of the image, and now I’m beginning to stitch the one at the lower edge of the image.
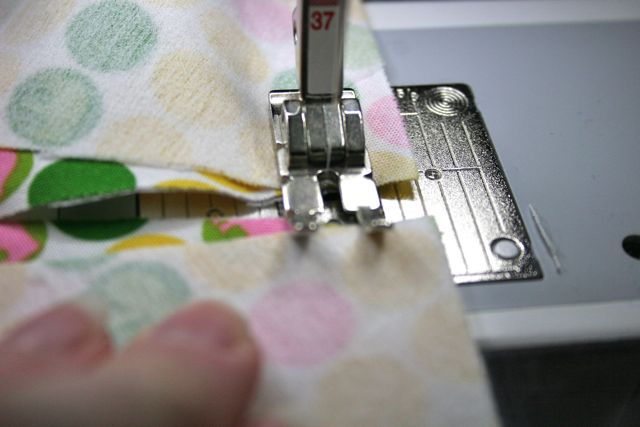 When you chain stitch by machine, your needle doesn’t recognize that open space between the seams–it sews right over it as though it isn’t even there. The first seam is sewn as usual–that is, you place the back edge of the fabric so that it just covers the hole into which the needle will disappear–and then once that near edge of that seam has gone under the needle, raise your foot off the foot pedal, tuck the next seam to be sewn under the front edge of the presser foot, and begin to sew again, as if it were a whole new seam. Which it is, except it’s still attached to the previous seam.
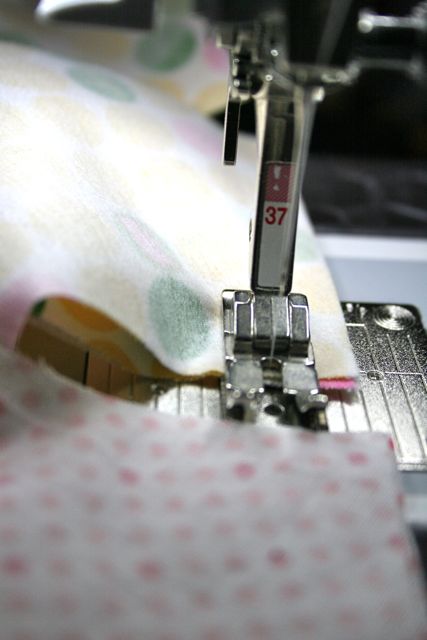 You can keep doing this on and on and on, depending on how many seams you have to sew. Here, I’ve done both the shoulder seams on the bodice, and I’m sewing the first of the two lining shoulder seams. I’ll do all four before taking them off the machine to clip the threads between each one:
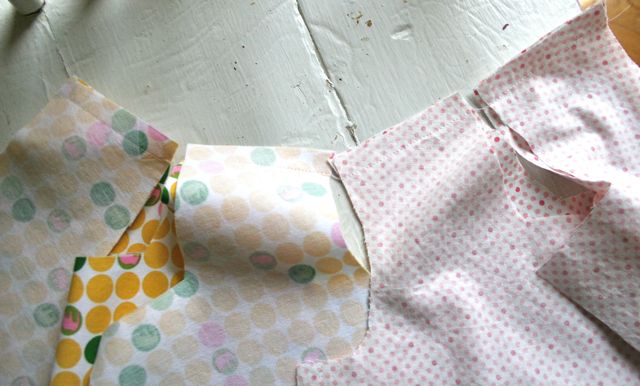 See? Simple! The whole technique can be applied to making LOTS of one garment, assembly-line style; to making many similar garments, like sewing Easter outfits for your four children where each piece uses the same color thread (not naming any names here…ahem); or piecing a quilt where you have sixty bajillion teensy squares to match up. It uses less thread, less time, and once you get the hang of it, is vastly more accurate with less repetitive stress. It’s a win for everyone!


Erin
April 6, 2012 at 4:06 pmLove this idea, I have to remember to do this when I am sewing 2 of things for my girls.
Janimal
April 7, 2012 at 12:10 amWhat a simple and SO helpful hint!
Kerri
April 13, 2012 at 9:12 pmThis may seem obvious, but do you still backstitch then, when you end one piece/start a new piece? Or just keep on stitching straight on, ever forward?
Deborah
April 15, 2012 at 11:34 amKerri–
No need to backstitch, since you’ll be running across those seams in the opposite direction. Treat these just like you would patchwork seams, with no need to backstitch!
The Shop
November 23, 2012 at 9:39 amThis seems like a good technique as it should give you a better understanding of which piece you are sewing and how that then connects to the whole garment. I imagine it takes a certain level of skill though, as you will need to know what you are making inside and out (quite literally).