Our oldest is nearly fifteen, and when she was around six, she really, really loved puppets. Browsing through the Lillian Vernon catalog one day (hey, it was the late 90s, OK?), I had seen a doorway puppet theatre that looked adorable–for $65. Really? For a couple tension rods and some poor-quality velveteen? $65?
So I made her my own version. And she adored that every day until we moved and I gave it away. She has never forgiven me.
Now that her little sister is nearly four, our oldest felt it was high time for another puppet theatre. So when I made a matching pair for our younger children and for my nephews in Massachusetts this past Christmas, it was a huge hit–and not just with the little kids.
Quick steps for a simple doorway puppet theatre:
(Step 1) You’ll need three tension rods, long enough to fit at least one doorway in your home. We scored our small white ones at Tarjay, since the big box home improvement store near our house didn’t have any. Huh?
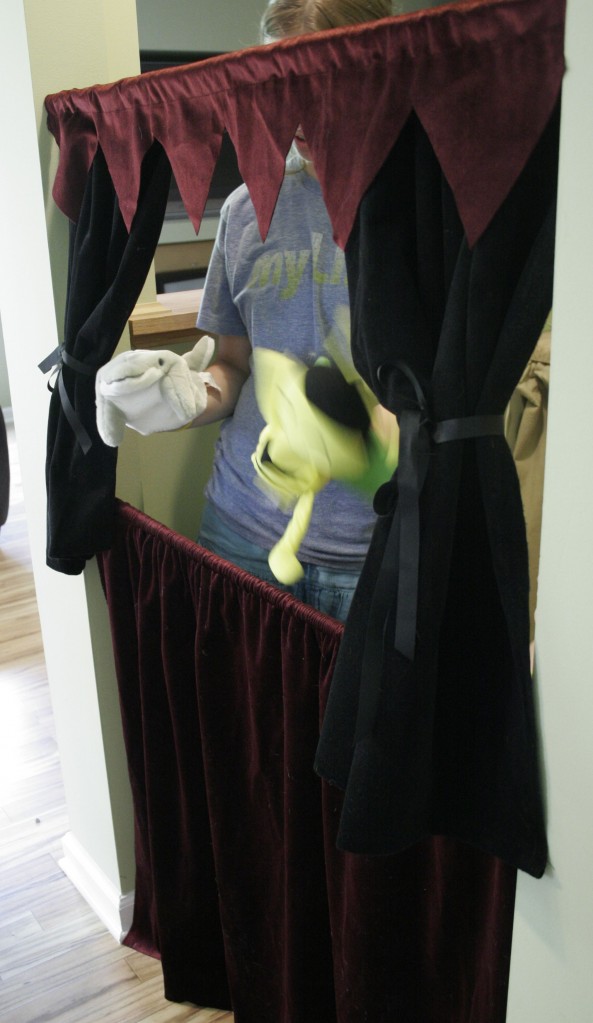
(Step 2) Measure a piece of fabric for the lower panel so that it’s equal to your child’s height at shoulder level, plus four inches. I’ve used a wine-colored velveteen here, but really any fabric will do. Hem the bottom to a depth of two inches, and add a simple casing at the top for the tension rod at the top, also two inches. Leave the selvages at the sides–no hemming required!
(Step 3) For the upper curtains, measure a second piece of contrasting fabric–I used black velveteen–to 28″. Cut up the center fold to make two panels. Along the cut line, make a simple hem for the opening of the curtain. Then hem the bottoms of both curtains to 2″ and add casings to the tops, also 2″.
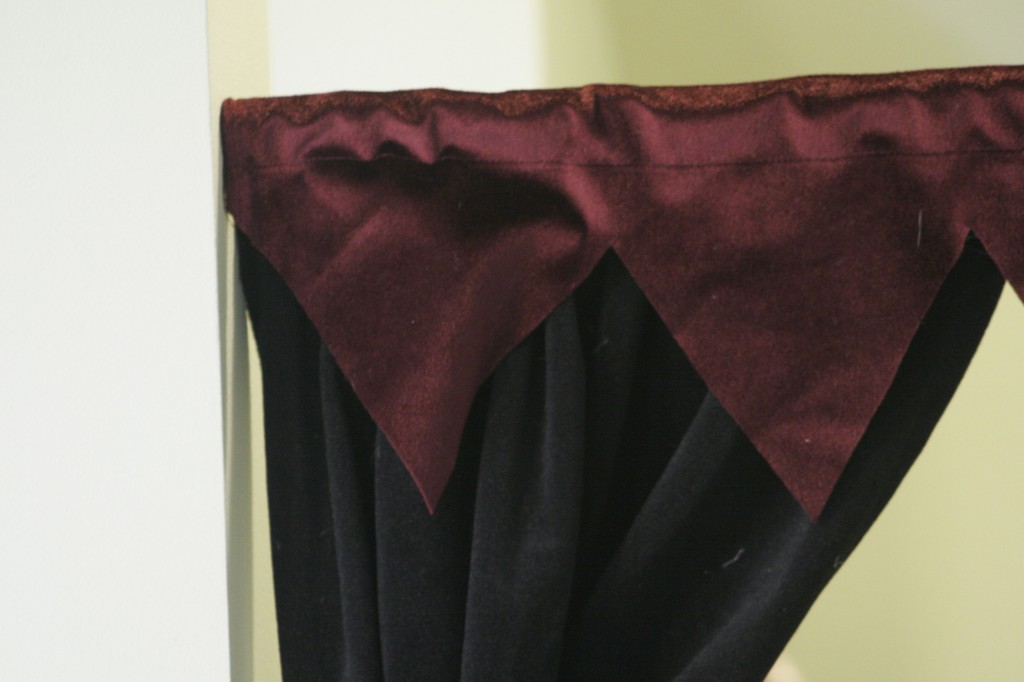
(Step 4) For the valance, cut a piece of fabric (I used the wine-colored velveteen again, but you could use a third fabric, if you choose) to 10″ and add a casing at the top to a depth of 2″. Along the bottom edge, cut a zigzag to create the “triangles” effect that makes us all think of the Ren Faire (or Hunchback, depending on where you like to get your cultural referenes).
(Step 5) Put one tension rod through each of the three casings, and you’re done! Tie the upper curtains back with ribbon, and adjust the height to match that of your little puppeteers.
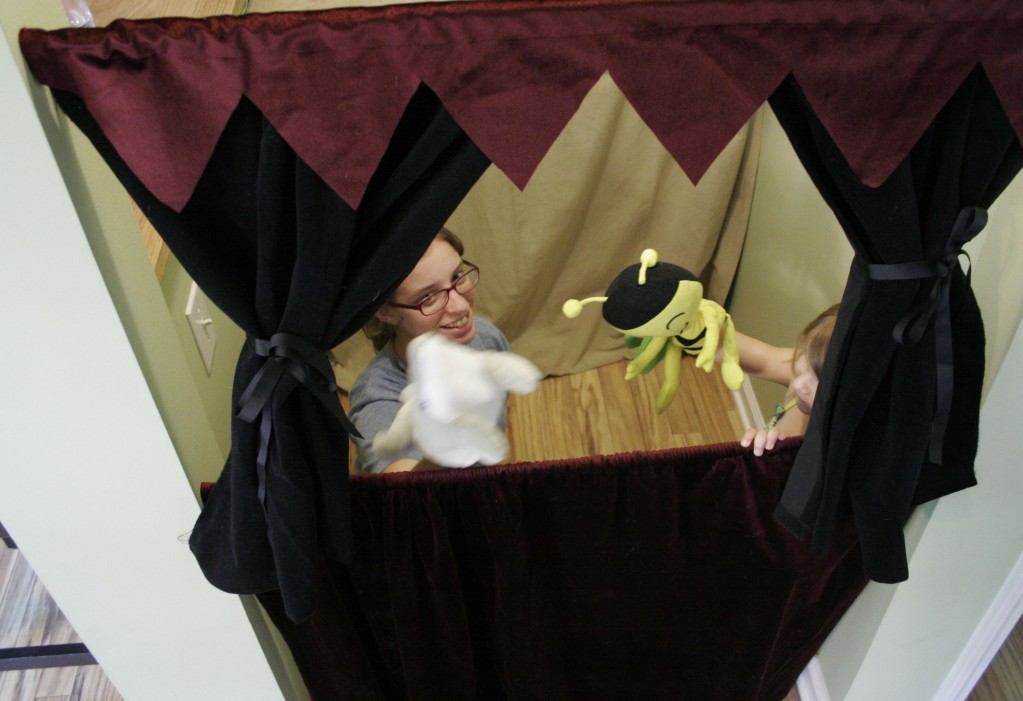
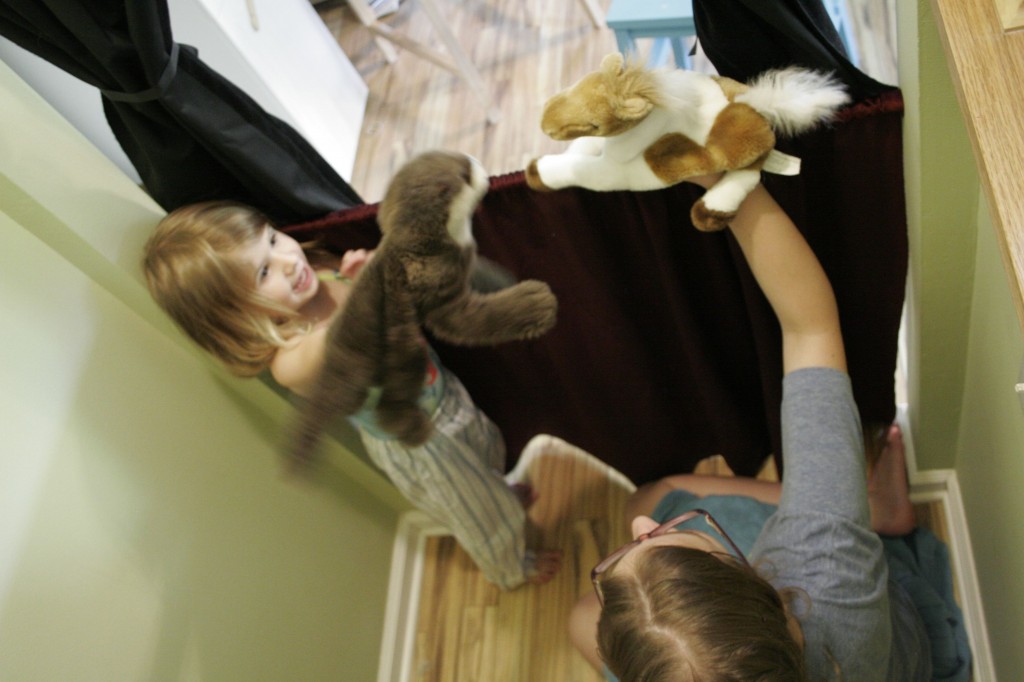
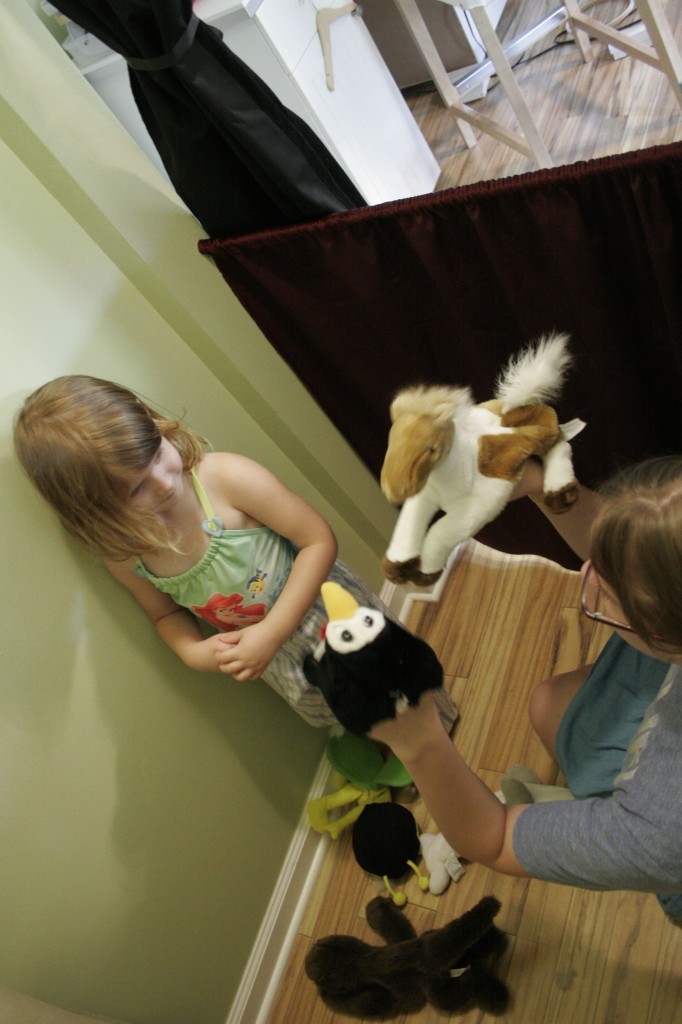
Easy, peasy, lemon squeezy! I think our teen loves it every bit as much as the younger ones:
Although I’m a little surprised little brother gets to play at all. Of course, since we’ve got it in the doorway to the wet bar in our family room (next to my studio), he’s probably just trying to go into the mini-fridge and score a freezer pop. Or a beer.
Tomorrow: a VIDEO TUTORIAL! We’ll be making our own super easy, super quick puppets. See you then!




Susan Nijsen
December 23, 2013 at 9:26 amRe: Doorway Puppet Playhouse.
Thank you for sharing this idea. I had drawn up a more complicated design.
It is 10:22 pm on 23 of Dec 2013 and I am about to construct this for my
great nephews for their Christmas present !!! I work well under presure!!!
I wish you all a Happy Christmas from Australia.
Regards, Susan.