The Flip Flop Dress is a classic girl’s dress with a fully lined bodice. One of the features I love about this dress is that all the interior seams are completely enclosed: the shoulder seams, armhole seams, side seams and even waistline seam are all tucked inside the bodice lining, so that only the skirt side seams are visible once the dress is complete. Lining a garment is always my preferred method of sewing, since it’s so tidy and neat.
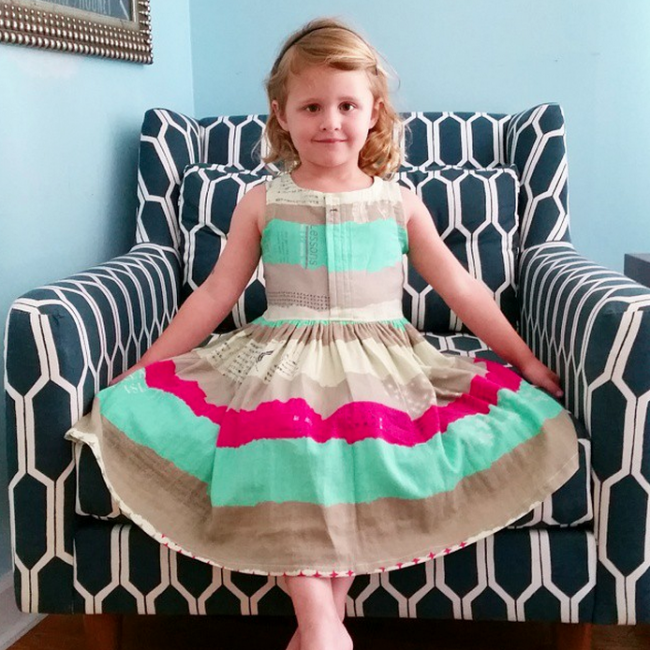
On the other hand, some garments demand to be left UNlined. The dress above, for example, is made of double-gauze, which has as its greatest asset its breathability. The lightweight weave allows air to move through it while still remaining opaque, and it’s my go-to summer fabric for everything from pajamas to blouses to dresses and skirts. Lining it would defeat the purpose of using double-gauze in the first place, so I needed a technique to keep this version unlined.
Supplies
What follows is a step-by-step tutorial for making The Flip Flop Dress with no bodice lining. This is perfect for lighter fabrics to make a more summery dress for warm weather, or for heavier fabrics if you want to style the sleeveless version (View B) as a jumper over blouses and tees, or even as a school uniform. You’ll need:
- A copy of the Flip Flop Dress sewing pattern, available as a printable PDF, along with the required fabric
- 2 yards of 1/2″ single fold bias tape, either homemade or store-bought
- two facings for the opening edge (either front or back) measuring 3″ x 12″
- a pair of pinking shears or a serger, to finish your exposed seam allowances
Instructions
Follow the pattern instructions until after the completion of the shoulder seams. Finish the shoulder seams with your preferred method: use pinking shears to finish off the raw edges; use your machine’s zigzag stitch to overcast the seam allowances (overcast each raw edge separately and press the finished seam allowances open); or use a serger on the seam and press seam allowances to the back.
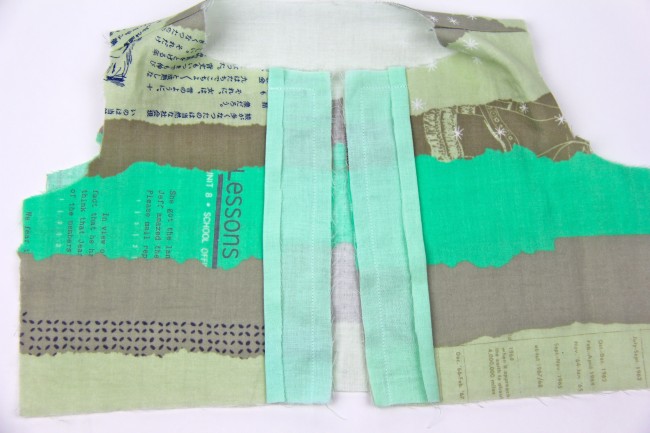
Once the shoulder seams are sewn, press under the un-notched edge of the facing by 1/2″. At the buttonhole opening (either front or back–construction is identical for either), place facing right sides together with one side of the opening. Sew along the neckline edge, over the fold, and pivot at the corner. Complete the seam along the opening edge, using a 1/2″ seam allowance. Trim any excess length from the facing at the waistline.
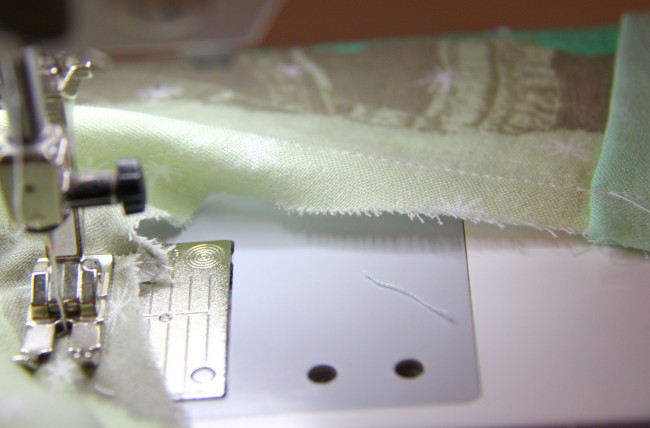
Using your standard stitch length, staystitch the neckline and armhole edges at a 1/2″ seam allowance. This will both stabilize the curves to prevent stretching and give you a guideline for placing the bias tape when sewing.
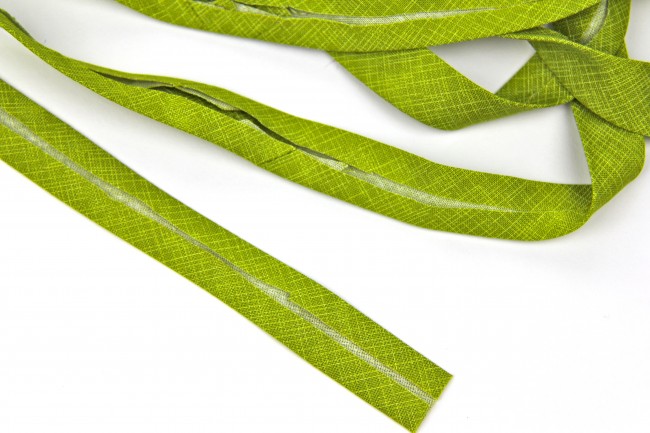
Cut 1.5 yards of bias tape measuring 1″ wide, or use a package of store-bought 1/2″ single fold bias tape. Using a bias tape maker, fold in the edges by 1/4″ on each side. You can also do this manually, without the bias tape maker, but take care to keep your folded edge as consistent as possible. (Store-bought bias tape is always an option, but I prefer the options and quality I get from making my own. See my Continuous Bias Tape video on my YouTube channel to see how easy that can be!)
At the neckline edge, place the bias tape right sides together, with the raw edge opened out so that the fold lies flat. Keep the fold aligned with the staystitching; the raw ends of the bias tape will overlap the facing’s folded edge. Sew in the fold at a 1/2″ seam allowance.
Trim the seam allowances to about 1/4″ or even with the raw edge of the bias tape. Clip the corner at a 45-degree angle, close to the stitching. Clip the neckline up to the stitches but not through them at all the curved edges.
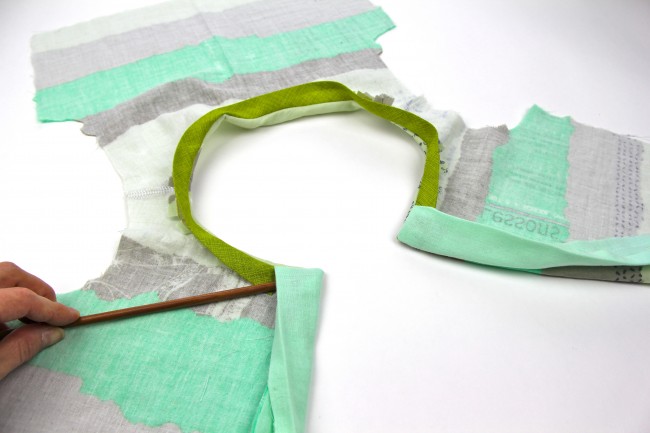
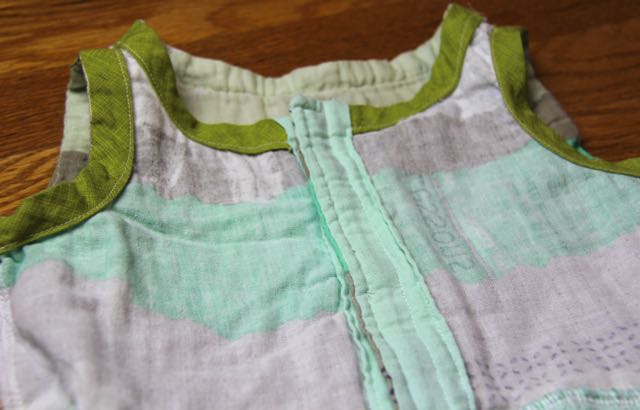
Fold the bias tape around to the wrong side, along with the facing, keeping the remaining folded edge of each turned under. Use a knitting needle, chopstick or point turner to pop out the upper corners on the button edges. Press along the neckline seam.
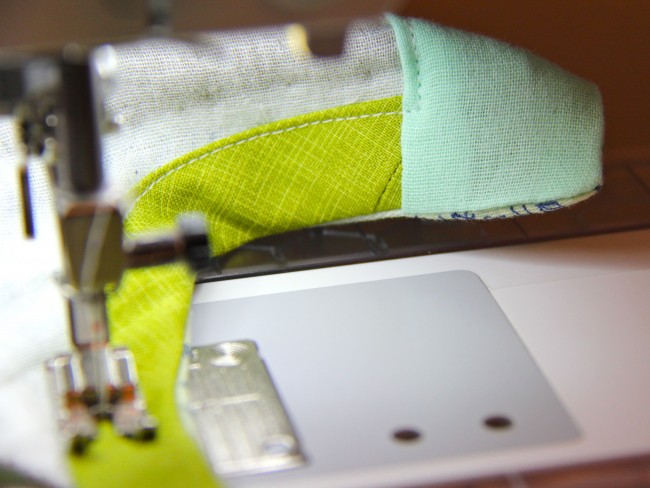
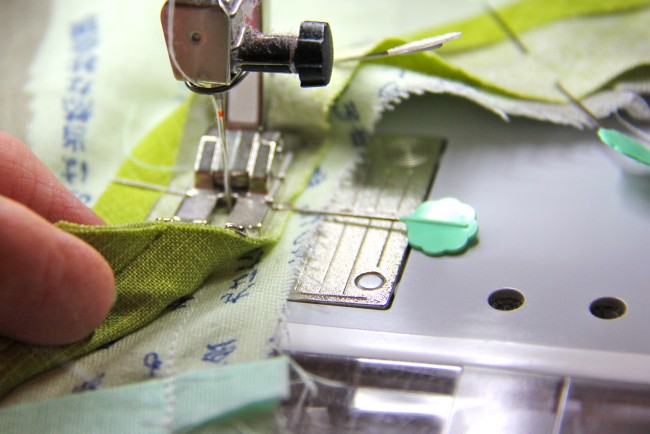
Stitch close to the folded edge, approximately 3/8″ from the neck edge. The raw ends of the bias tape will be caught beneath the facings. Pivot your stitches at the folded edge of the facing and complete your seam along the folded edge. Backstitch at the waistline edge.
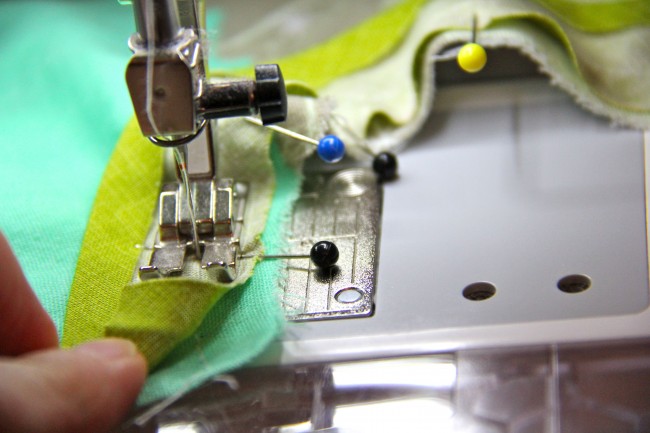
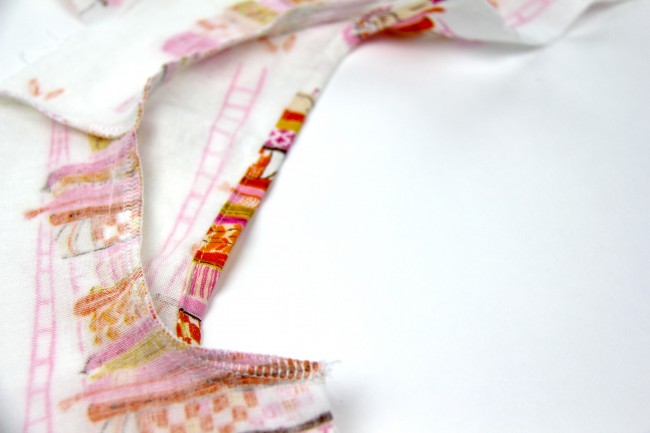
For the armholes, the raw ends will be enclosed in the side seam, so construction is slightly different. Begin by placing the bias tape right sides together with the armhole edge, exactly as with the neckline construction, using the staystitching as a guide. Stitch in the fold at a 1/2″ seam allowance. Trim seam allowances to 1/4″ or even with the raw edge of the bias tape.
Press the bias tape away from the seam. Bring the front and back bodice together at the side seam, with the bias tape folded away from the bodice. Match the seamline. Stitch the side seam using a 1/2″ seam allowance, through the bodice fabric and the bias tape, with the remaining raw edges of the bias tape folded to the wrong side.
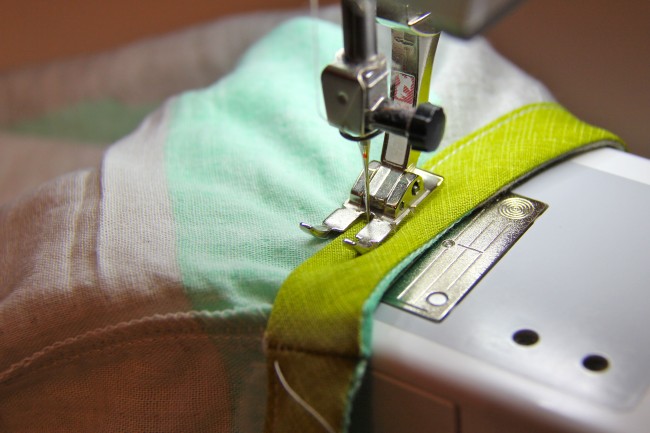
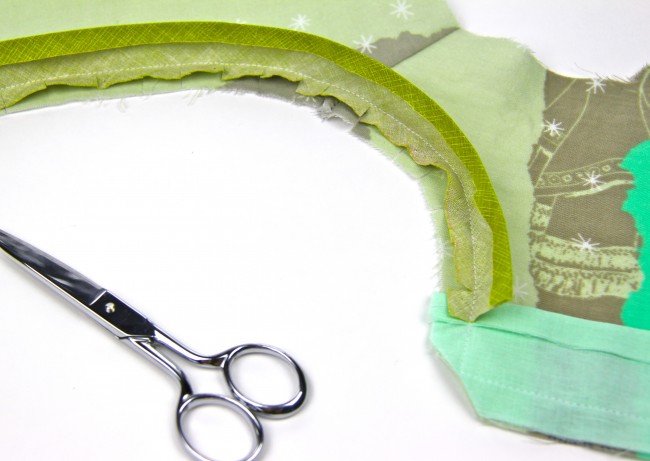
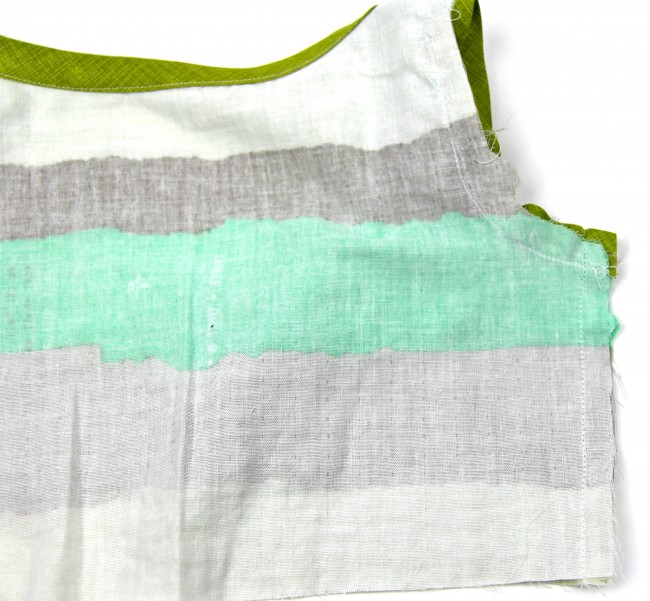
Finish the side seam allowances with your preferred technique (in these images, the seam has been finished with an overlock machine, but you might also use pinking shears or an overcast stitch on the sewing machine, and then press seam allowances open). Fold the bias tape to the wrong side and press in place. Stitch close to the folded edge of the bias tape, about 3/8″ from the armhole edge, around the entire armhole circumference.
Adding Cap Sleeves to the Unlined Bodice
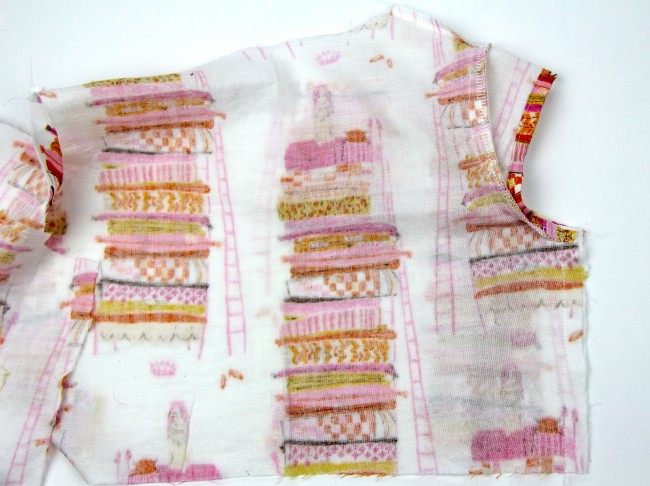
You can even use the cap sleeves from View A of the pattern, but omit the lining! I made a double-gauze version with cap sleeves from a hoarded Heather Ross print, but serged the seams and left the bodice unlined.
To do this, cut two of the cap sleeve pattern piece from your fabric. Hem the lower edge of the sleeve by pressing under 1/4″ and then pressing another 1/4″. Stitch close to the pressed edge to make a hem. Then, attach the sleeve to the bodice by pinning along the shoulder opening, following the directions in the Flip Flop pattern. Finish the shoulder seam using your preferred technique.
Place the bodice front and back right sides together, matching the sleeve along the underarm. Sew the side seam from the sleeve hem to the waistline. Finish as desired.
Complete the remainder of the unlined cap sleeve dress as above!
Alternate Closures
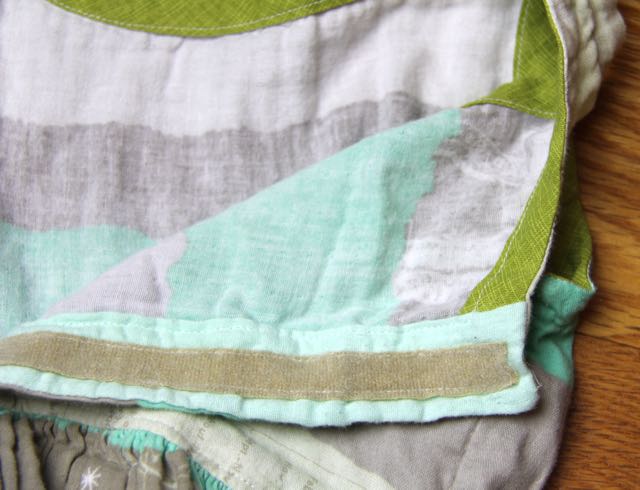
For the closure on this particular version, my daughter requested hook-and-loop tape (known by the brand name Velcro). Now, I’ve never made a dress with a front Velcro opening, but buttonholes are my least favorite thing to sew, so I was totally up for the experiment.
It went off without a hitch! Had I planned it this way all along, I might have included the ends of the Velcro in the waistline seam, but other than that, it was a simple application to the interior of the bodice opening.
Remember, when using hook-and-loop tape, the “hooks” are the rough side, and should be placed facing away from the body; the “loops” are the soft, fuzzy side and should be placed facing toward the body. This avoids any scratchiness near the skin!
The Flip Flop Dress pattern runs sizes 2T-6 and is available here. Happy sewing, everyone!