I’ve always been more than a bit messy when I sew. You can always tell when I’ve been on a late-night sewing binge, because generally I wake up to something that looks an awful lot like this:
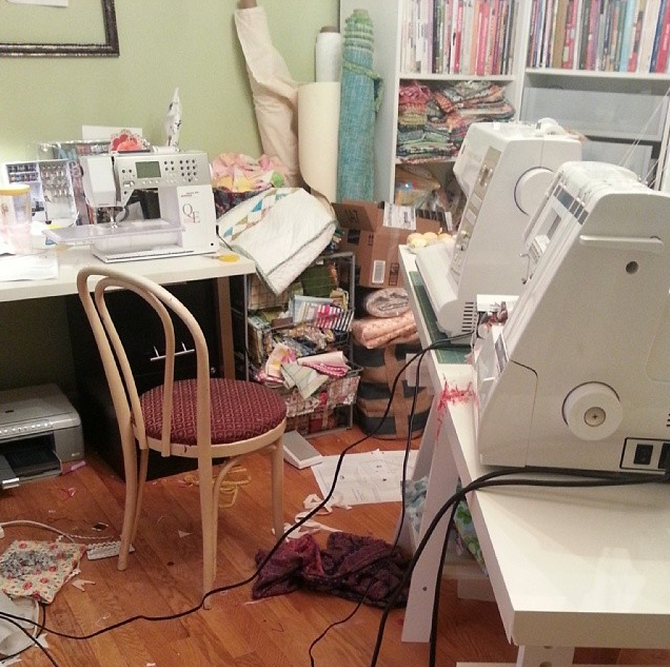
There are bits of thread and snippets of fabric and trim all over the floor, and a general state of dishevelment that defies the degree of productivity in evidence. Or maybe it’s in proportion to it. Whichever.
When I first started getting really serious about sewing, I had an old office chair that I used, in front of an old hand-me-down office desk made of oak. The chair had small casters on it, which seemed really awesome at the time: I could roll from sewing machine to serger and celebrate all my victories, just like Alex P. Keaton. But it had unexpected consequences when one day, the little rollers wouldn’t roll anymore. I mean, the chair would roll across the floor, but it was more gliding on the wheels than the wheels actually turning. A very small amount of research into the problem revealed that the issue was all those tiny bits of thread and trim and fabric getting caught up in the spindles of the wheels, gumming up the works and preventing them from rotating. What a bummer.
I assumed I’d been relegated to a lifetime of non-rolling chairs–and where’s the fun in that?? Somehow I never quite put it together that I could just–gasp!–not carelessly toss my bits of thread on the ground, and then I wouldn’t have an issue. Growing up, I don’t recall ever seeing my mother use a thread receptacle, and I had certainly never heard the term “thread catcher.” I think my mom just kept the trash can really close to her side while she sewed–which seems like a nice idea, if you’re not tragically awkward and vastly more likely to trip over the can and break your teeth than you are to ever actually land any threads IN the can.
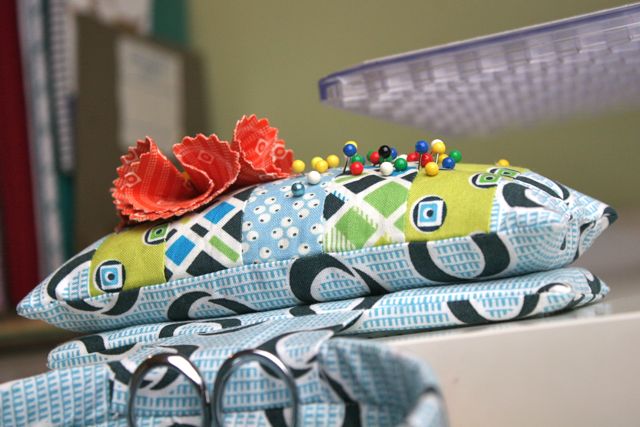
Enter: the Curry Bungalow Thread Catcher pattern. I saw this puppy on Pinterest not too long ago, and pinned it to my Inspired to Sew board. I’ve been on a kick with Pinterest lately, though: I have spent so long pinning things and then forgetting about them that I’ve started CLICKING THROUGH AND BUYING THEM. Yes, I realize you’re reading this thinking, “Mind=BLOWN,” but there it is. So I not only bought the pattern, I bought the supplies kit, and then I MADE IT.
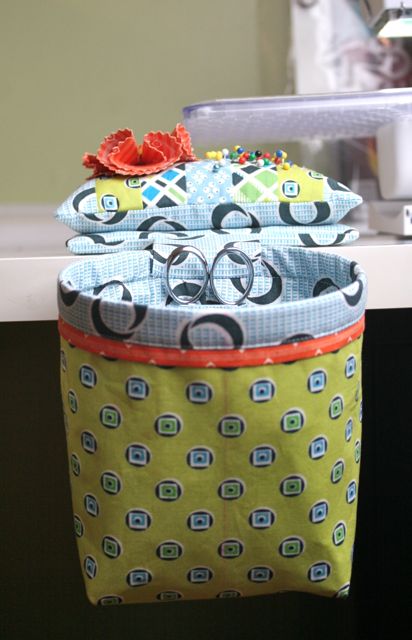
I feel like I could rule the world right now. I’m Leo DiCaprio on the bow of the Titanic, y’know, when things were going really well and no one even knew there was an iceberg. Bad analogy, because this thing is going to work out juuuuust fine.
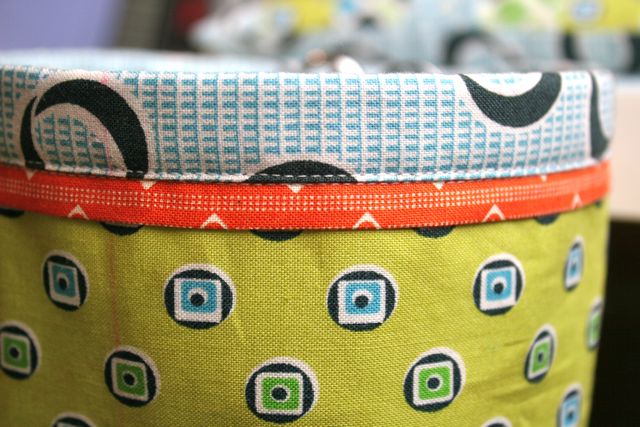
This is such a clever little pattern. The thread catcher “basket” has a casing with a piece of stiff Rigilene running through it, which keeps the rounded shape and makes sure the opening stays open all the time. Which is awesome, as the idea of keeping a sad little plastic grocery sack on the table next to me made me so depressed I was forced to take to my bed. There’s a skinny little band of contrasting fabric running just below the casing that gives a nice chance to mix up some fabrics–for mine, I used all Denyse Schmidt, from a Florence bundle I bought at Pink Chalk Fabrics. We could all use more Denyse in our lives, am I right?
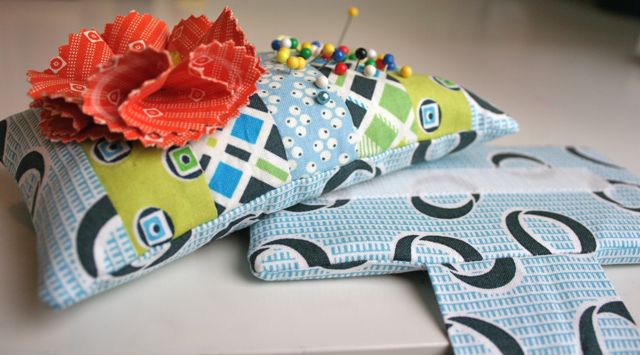
Plus, these colors are totally in my comfort zone: I love blues and greens, particularly these chartreuse-y shades of green and softer, more robin’s-egg-and-turquoise blues. Add in a bit of persimmon, and I’m singing.
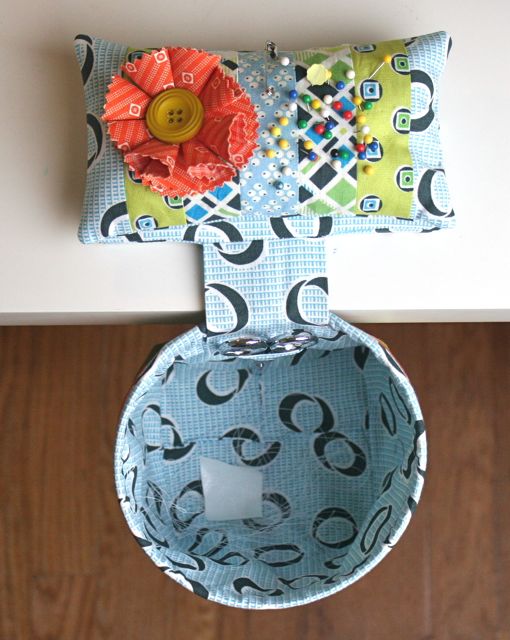
The pattern includes not just the basket but a sweet little patchwork pin cushion, which attaches to the basket with hook-and-loop tape, sewn on to a base that’s filled with–wait for it–a subway tile! I know, isn’t that genius? It weights the whole thing down, gives a solid place to attach the pin cushion so it doesn’t slide all over, and it holds the basket at a great angle (which you can adjust by moving the tile closer to or further from the edge of the table) so that you’ve got your best shot of actually getting stuff INSIDE the basket.
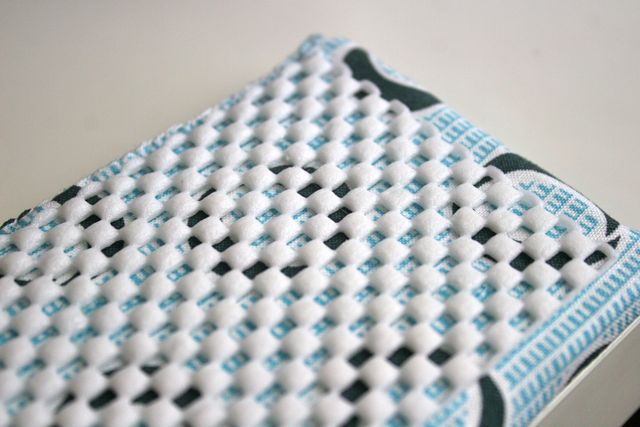
Keeping the tile from slipping around on the table top is a bit of kitchen drawer liner, cut to size. The great thing about the kit that comes with the pattern is that ALL these things–the Rigilene, the drawer liner, the interfacing, the tile, even the walnut shells to fill the pin cushion–are included and ALREADY CUT. YES, I JUST YELLED THAT AT YOU BECAUSE IT IS TOTALLY THAT AWESOME. No thinking, no measuring, no worrying, no buying an entire package and only using 18″. All’s I had to do was choose my fabrics and trim some rectangles. It rocked.
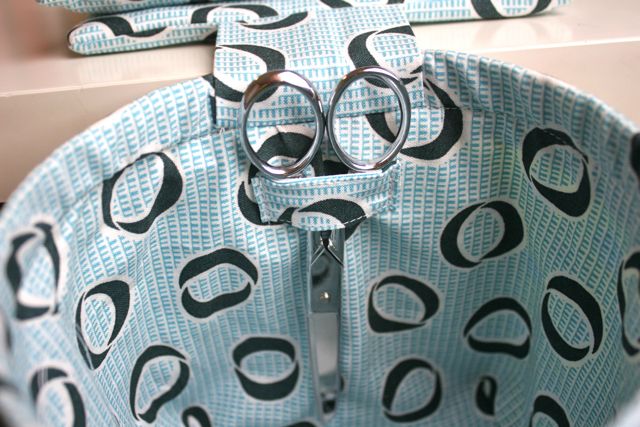
And the details are really thoughtful, too. This little scissors tab? I have used the stink out of it already, and I just made this thing last night. I generally have somewhere between 2 and 673 pair of scissors floating around at any given time, partly because I like to suit my scissors to the task, and also because I can never find any when I need them. This single tab, just a tiny detail, has made it infinitely more easy for me to keep up with where my scissors are, and to trim loose threads as I go–I can’t even start to calculate how many years of my life I’ve just gotten back, in thread trimming alone.
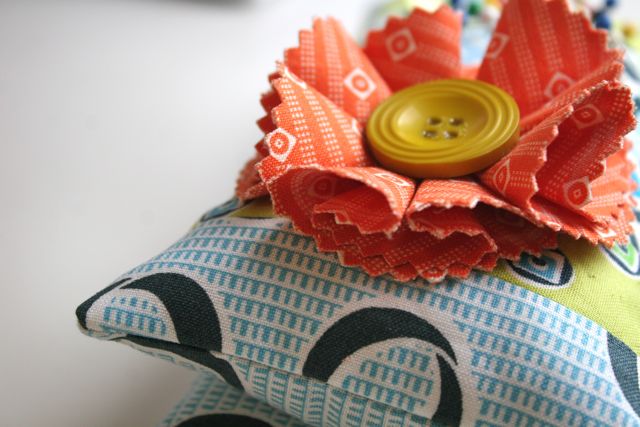
I adore the tiny button posy detail, which was included in the pattern, and which totally makes the pin cushion. That pop of contrast ties the whole thing together, like a great rug.

I’ve already gone back and ordered kits to make two more of these–the kits are only FIVE DOLLARS, y’all, for reals–because I’m realizing that I would like to have one of these on my cutting table, one by the sewing machine, and one at the ironing board (although I’m leaning toward some kind of ironing board organizer, but that’s another conversation). This was a quick sew–about two hours total, from cutting to finish–and I can pretty much guarantee will get 6.7 squees from my Bee next time they’re over at the house.
Sigh. The satisfaction of knowing I’ve made something both lovely and functional, coupled with the joy of shopping for a comfy chair on casters to put in from of my sewing machine? Priceless.

Betz White
November 7, 2013 at 6:08 pmFabulous! Love the extra touches, too!
JEAN SELL
February 2, 2014 at 10:21 pmHow do I order one of these kits and how much is a kit?
I really like it. The Thread Catcher and Pin.
Deborah
February 3, 2014 at 9:53 pmThere’s a link to her shop in the body of the post, or you can find her here:
https://www.etsy.com/listing/150573755/supply-kit-for-sew-in-style-thread?ref=shop_home_active
Hope that helps!
Daisy
March 15, 2014 at 3:54 pmThis is so incredibly clever! Even though I have a perfectly good thread catcher, it’s nowhere near as amazing as this one — I just threw it together on a whim and regrettably didn’t give any thought to things like interfacing. The boning in the casing is brilliant. And I even have some leftover Rigilene boning hanging around waiting for me to come up with a way to use the rest of it.
Deborah
March 20, 2014 at 4:36 pmI bought kits to make two more–and boy, am I glad I did, since our son got a little too excited with the scissors and snipped this one right where the catcher meets the weight. 🙁 The supplies coming all together like that, for such a great price, makes it easy to whip one up!
Dresden Thread Catcher & Pincushion | Colorize
June 18, 2014 at 6:50 pm[…] first saw one of these nifty hanging thread catcher bag/pincushion combo things at Whipstitch a while back, and I became sort of obsessed with making one. Seriously, how cool is that thing? […]
Sewing Studio Tour | Whipstitch
September 1, 2014 at 10:33 pm[…] German beer stein that my folks got in Europe when I was a baby to organize pens and pencils. My Denyse Schmidt thread catcher sits next to my machine. The small, low basket behind the machine is for the on-deck […]