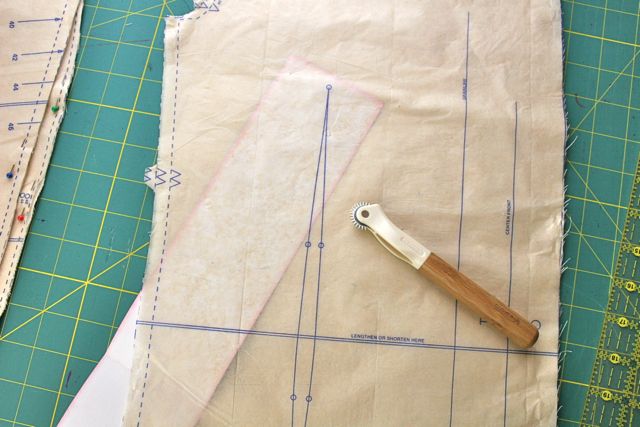
Most of my students in my Intro to Sewing class over the years have asked me about the various supplies I demonstrate or share with them, and inevitably we get around to talking about the tracing wheel. Honestly, for ages I just told them they’d never use it, because so few people ever really do. Times are changing, though, and more and more of us are not only sewing garments but we’re also looking to push our sewing skills and trying new things. The tracing wheel is coming back into hipness, y’all.
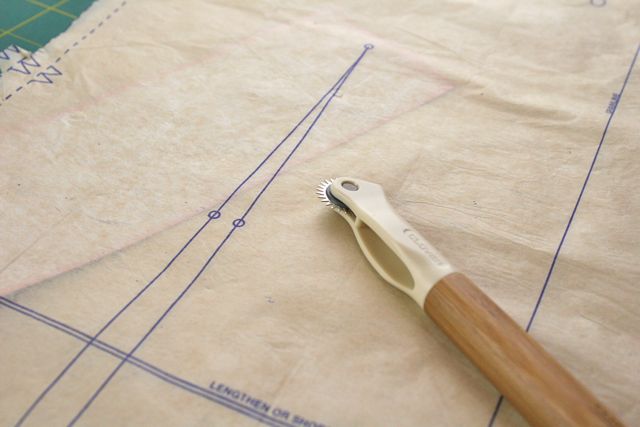
While I have been working on my husband’s (overdue) jacket, I wanted to make an effort to keep the sewing as accurate as I could, so that when we did the fitting and I made adjustments, I would know that I had followed the original pattern faithfully before messing around with stuff. The idea is that if I can keep as close to the pattern as possible, then I’ll begin to see some themes in the adjustments I make, and then I can begin to predict changes in advance, making it easier to design, adjust and construct garments for him. I don’t have a ton of experience sewing for men, so I want to be as methodical as I can. Hence: the tracing wheel.
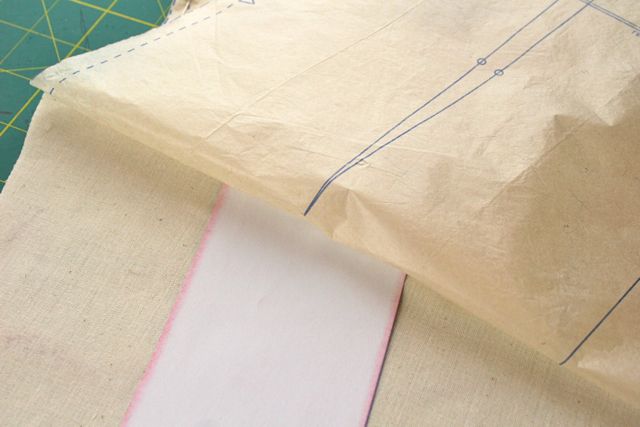
A tracing wheel is what it looks like: a metal wheel with (or without, depending on the model you have) teeth, on a handle that allows you to roll the wheel along a single line. By placing a piece of carbon or transfer paper between the pattern and the wheel, it’s possible to nearly-perfectly transfer the markings from the paper to the fabric. The wheel makes it easy, and eliminates the need to fold the pattern back (which I have done for years) or guess at where the lines ought to be on the fabric (which I don’t recommend).
There are a number of different tracing products you can choose from–I’m using the Clover serrated tracing wheel here, along with the Dritz tracing paper, but I also like the Saral paper, and there’s a slightly less expensive but just as awesome Clover tracing wheel that has a plastic rather than a bamboo handle.
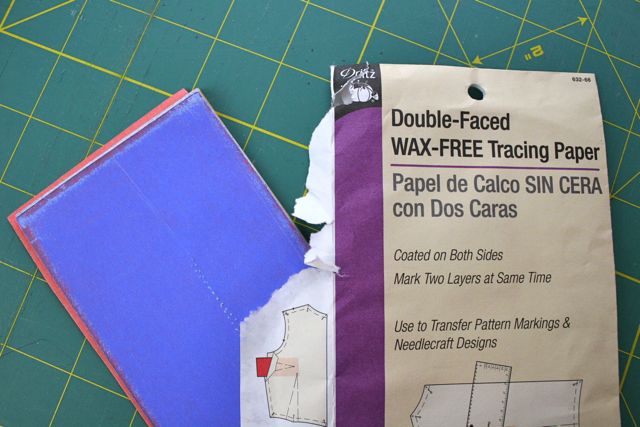
Just search for “tracing wheel” or “wax free tracing paper” and you’ll get plenty of great results.
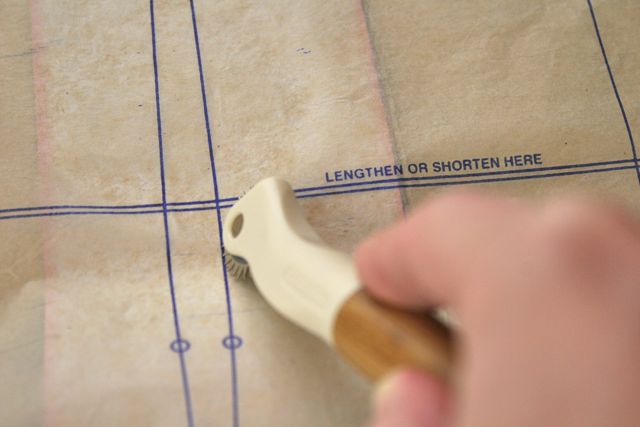
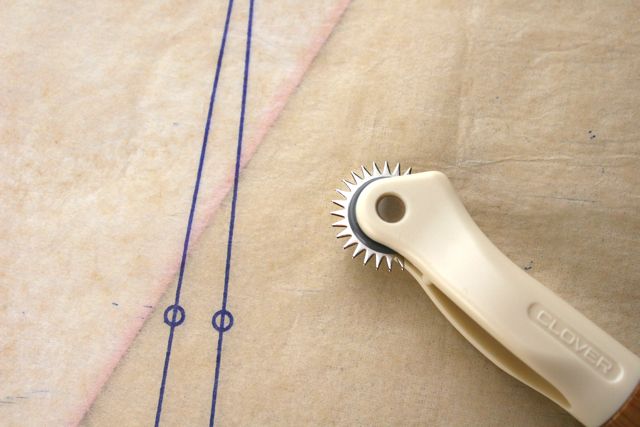
From there, the process is just what you’d think: make sure the edges of the tracing paper extend beyond the lines you’re tracing, place the pattern on top with the edges of the pattern and the edges of the cut fabric lined up, and then trace away. You don’t need to use a ton of pressure, just enough to mark the fabric. The serrated edges will help, like this:
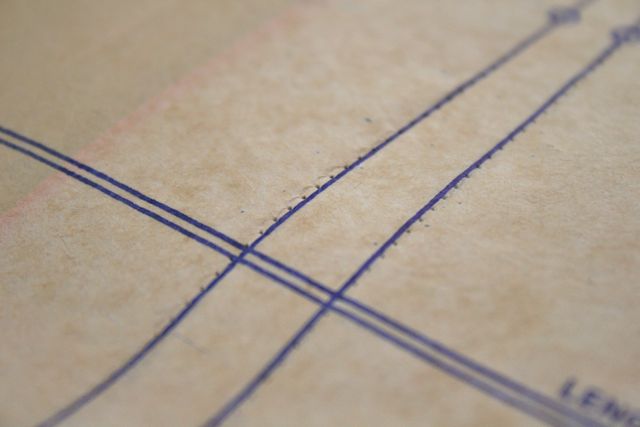
See all those teeny-tiny little pinpricks? They’re made by those spokes on the wheel piercing the pattern paper as they roll across it. They don’t leave any permanent marks in the fabric itself, but they’ll “dot” the line you’re transferring to the fabric in such a way that it won’t be a solid line. Generally, this is a good thing, since it means less chalk to remove later.
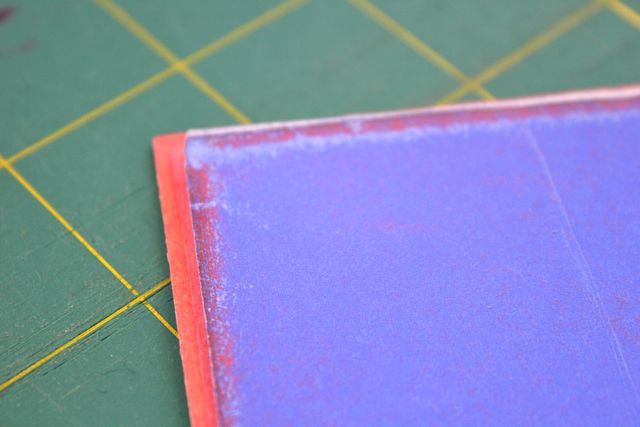
Most of the transfer papers come in various colors–light colors for dark fabrics and dark colors for light fabrics. Pretty nifty, huh?
I’m off to finish work on this muslin–my sweet husband, long beleaguered, has given up hope that this jacket he never really thought would be made will actually ever get made, despite how hard I tried to convince him that I was totally going to sew something for him. My Sept 30 deadline (totally self-imposed, I’d like to point out) has long passed, but I happened to stumble across a really amazing wool that would work for cooler weather. Shhhhh! Christmas is right around the corner.

French Toast Tasha
December 3, 2013 at 4:09 pmA few weeks ago I had a sewing day for friends in my studio, and one friend brought a tracing wheel and paper, and my sewing buddy remarked that it was a very old-school way to transfer markings. I usually just make tailor’s tacks at relevant spots, but this kind of looks like fun, I may have to try it!
Deborah
December 4, 2013 at 4:03 pmSeems like for curved lines it’ll be especially quick and useful! I haven’t used tailor’s tacks very often–not in years, as a matter of fact. I have a velvet dress and a wool coat coming up on the list, though, so I may need to dust those off!