So, I’m sitting at the laptop, 20 minutes into naptime. And our three-year-old appears, holding her woobie: Pink Blankie. Not the most creative name, but there it is. Except, I look closer at Pink Blankie (PB for short) and there are TWO. Two pieces, that is.
“Honey,” I ask, “What happened to Pink Blankie?”
“I ripped it.”
“Why did you do that?”
“Because I was being bad.”
So, that settles that. She went back to bed with half of PB, and when she woke up, verified that I’d be able to “stick it back together.” I promised I would, today as she went off to preschool, and thus I found myself with the tattered bits of a flannelette blanket. A mother’s work is never done.
I considered my options: I could zigzag over the tear. That’d be quick and easy. But with fabric this worn and soft, I knew the stitches wouldn’t hold long. I could run a quick straight seam, but again, they might not hold very long, and the seam allowances were sure to fray like mad. So I decided to use a French seam, to get those seam allowances all wrapped up and out of the way.
A French seam is really just two seams running parallel to one another. The trick is that the first is run with wrong sides together to create the seamline, and the second is run with right sides together to capture those seam allowances.
I began with PB’s wrong sides together and ran a 1/2″ seam. Most French seams would use a smaller seam allowance, like a 1/4″, but the condition of this fabric made me think wider was the wiser course.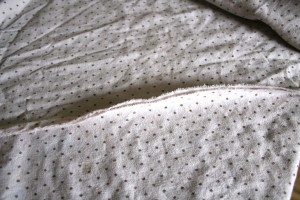
After that, I pressed the seam allowances in one direction, then pressed the fabric right sides together to make a nice, crisp seam line. Since this is the line I’ll be following for my next set of stitches, I wanted to be sure there were no bubbles or lumps. I trimmed the seam allowances down to 1/4″.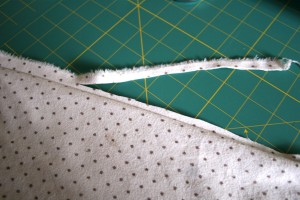
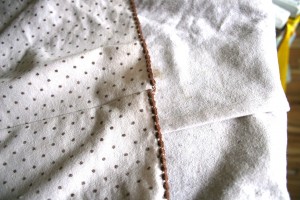
Next, I ran a second seam with right sides together, I stitched a 3/8″ seam allowance, wide enough that the 1/4″ seam allowance I just trimmed is trapped inside the new seam. This is the key to the French seam, and the reason it’s so popular with chiffons and other fabrics that tend to ravel.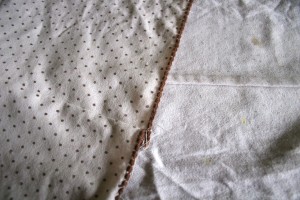
Once that was done, I didn’t like the look of the finished seam sticking up, and kinda had a feeling that Picky McNapper wouldn’t, either. So I opted to turn my French seam into a flat fell seam. 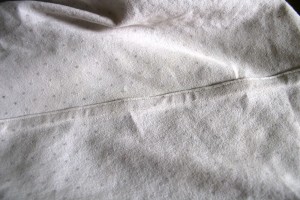
Look at the inseam of your jeans: this is a flat fell seam. It’s incredibly strong, incredibly durable, and lies flat so lacks bulk. Which makes it perfect for PB. To make a flat fell seam, take your French seam, press it over on its side, and stitch very close to the finished edge. That’s it!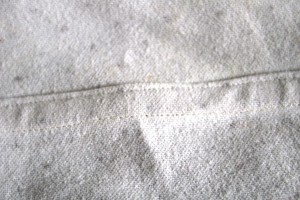
Our girl is happy now, and very, very impressed. A little stitchery, and suddenly I’m superMom. Another reason to love sewing.

Diane Christy
February 4, 2010 at 10:24 amClassic Maisie; honest, direct, completely stream-of-consciousness. I don’t see Maisie becoming a labor contract negotiator, she has too many opinions of her own!
Jillian
February 6, 2010 at 8:18 pmI just had to comment–It is so funny that you call her blanket PB for short, because my daughter has her “penguin blanket”, aka PB. Ha ha! Her reasoning also sounded a lot like my daughter who, when asked about why she’s done something, will reply ,”I’m just being a brat!”. Crazy kids! 😀 Love your site, though!
Robin ♥ @ TipToeTango
April 18, 2013 at 3:51 pmThat is too cool. What a sweet story! Good job super mama!