These tees are from weeks and weeks ago, and I’ve sat down to write about them maybe six or seven times/. Each time, I ended up with a whole lot of philosophical ideas about how kids dress, and what’s in the stores, and Why We Sew For Older Kids, and I was never really happy with the clarity of those ideas.
So I’m gonna let them marinate a little longer and simply show you two of the four tee shirts I made for our kids a few weeks ago when I (re) discovered these delicious knits in my stash.
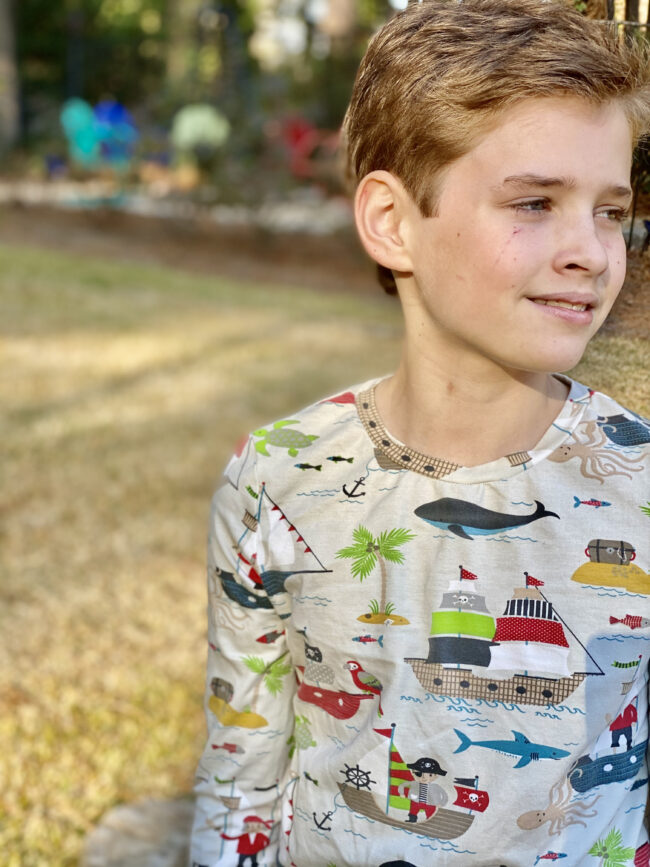
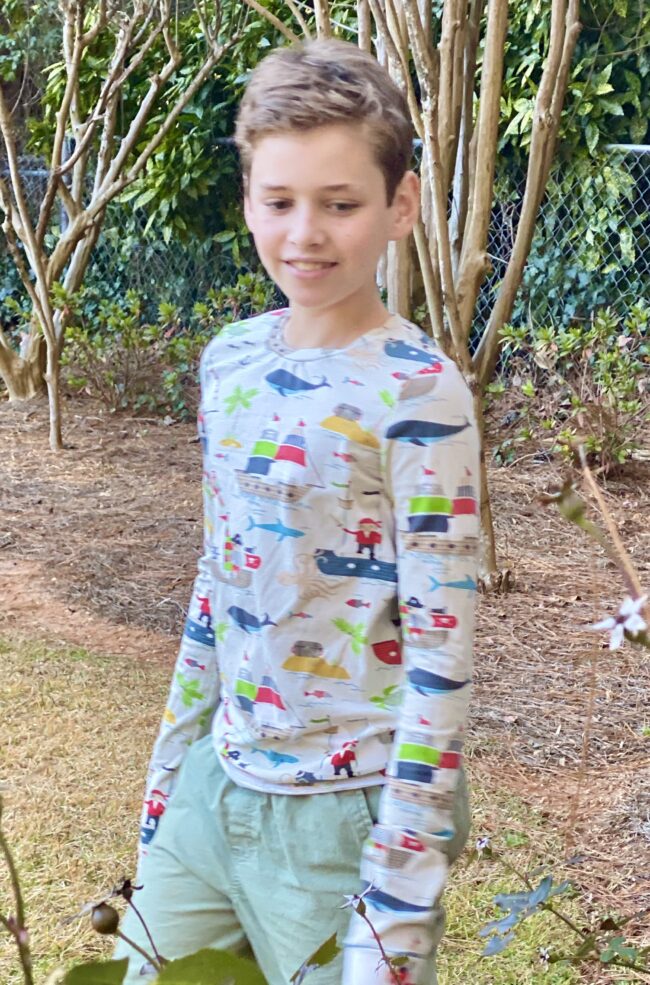
Our son is in middle school now, and when I showed him this print I wasn’t totally sure he’d still be interested. At first he thought it was jammies, but when I said it would be a shirt for whenever he was stoked. So: pirate tee.
The pattern is the Flashback Skinny Tee from Made By Rae, a long-time favorite of mine. I lowered the neckline very slightly on the versions for our girls, but this one for our boy is straight off the size 12 and fits like a dream. I always use the larger measurements for the cuff.
These were easy to cut and put together. I tend to batch things like this, so I had already prewashed and folded each of the knits (I really can’t remember where I bought them but they’re all cotton jerseys similar to these). Then I cut out all four tees at once using the pattern pieces I’d used previously, and then I set everything aside until one big sewing session where I knocked them all out at once.
In the past, I would sew all the seams with my sewing machine on a long narrow zigzag, and then finish with my serger–this time, I did all the sewing on the serger and it was magically fast. We’ll see how well the seams hold up over time and washings? But so far, so good.
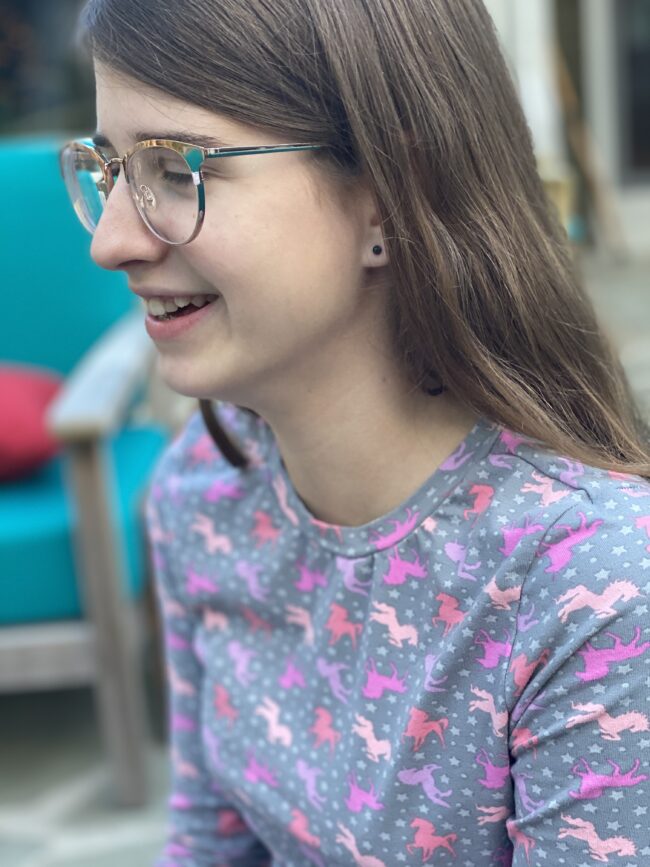
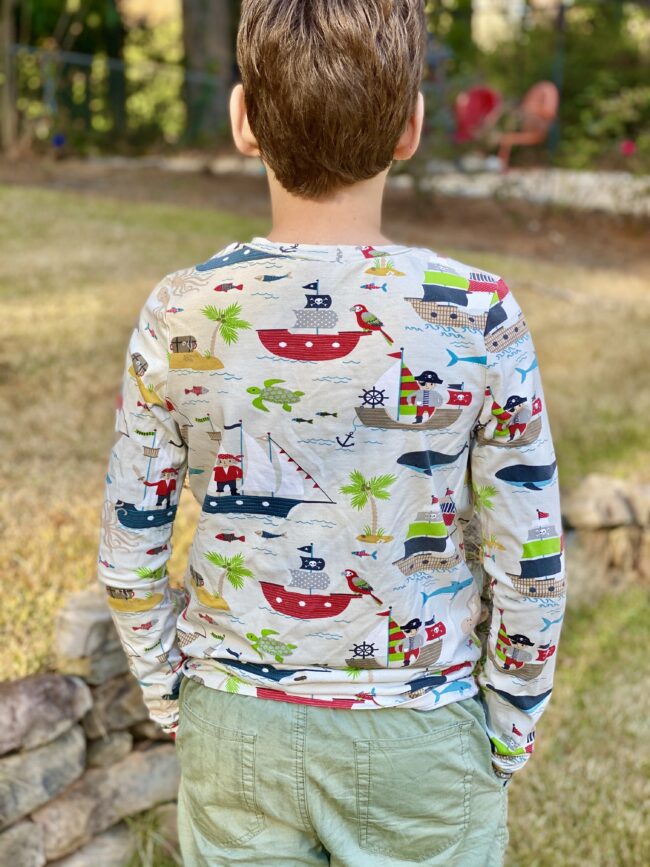
I like that this style is classic and grows with my kids. I like that these tees came out looking like something you could get at the store, but maybe a little more well-made and better quality fabric and funner prints. The cotton is super soft and the kids all immediately put them on as soon as they came off the machine.

For folks who haven’t sewn knits before, the neckline can be a challenge, but it’s also one of the most delightful parts, once you get the hang of it. There’s a seam in the center back of the neckband; I line that up with center back on the tee, then divide the rest of it in half by folding it flat and placing pins at 3 o’clock, 6 o’clock, and 9 o’clock. I match 6 o’clock with center front, and the other two slightly to the FRONT of the shoulder seams. This divides the volume of the shirt evenly around the band, and makes for a (mostly) smooth finish. I love that it feels so professional afterward, no pressing or folding necessary, but also that it’s forgiving, so if there ARE any puckers, they stretch out when the shirts are worn.
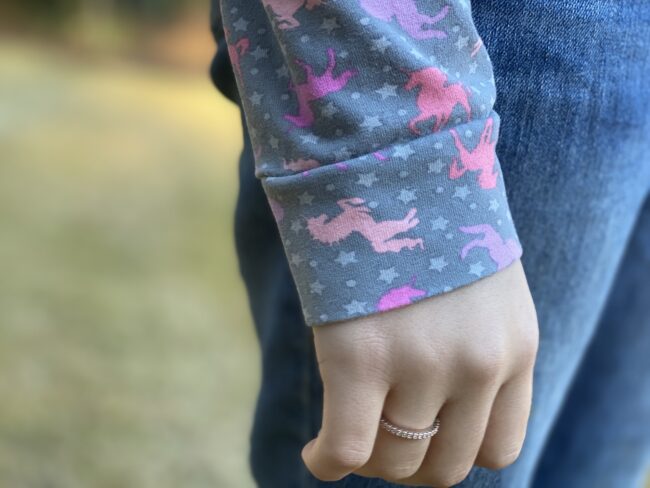
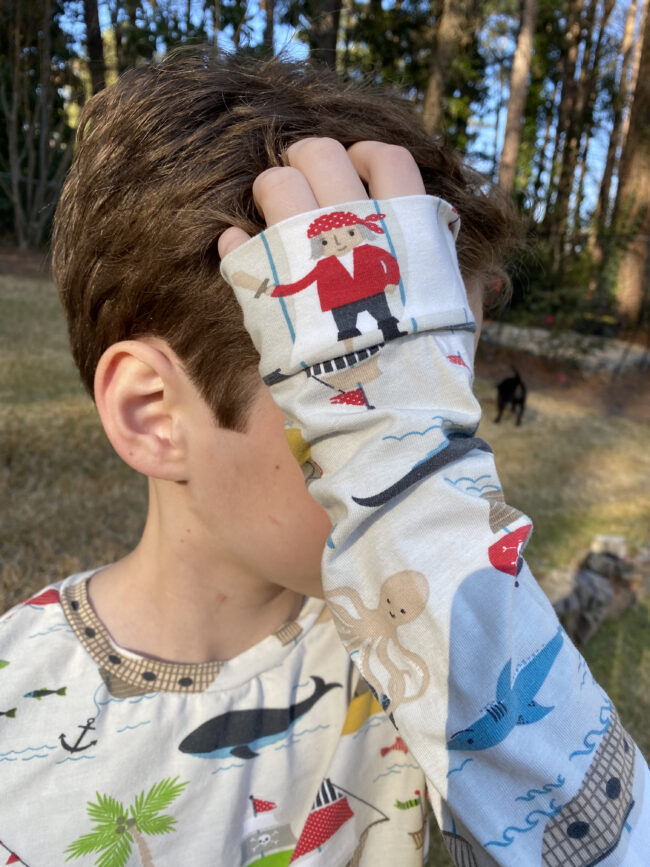
The cuffs are even easier, since the measurements for the cuff are equal to the opening of the sleeve. No stretching, just sew! Easy peasy. You can see my tutorial for making your own cuff right here.
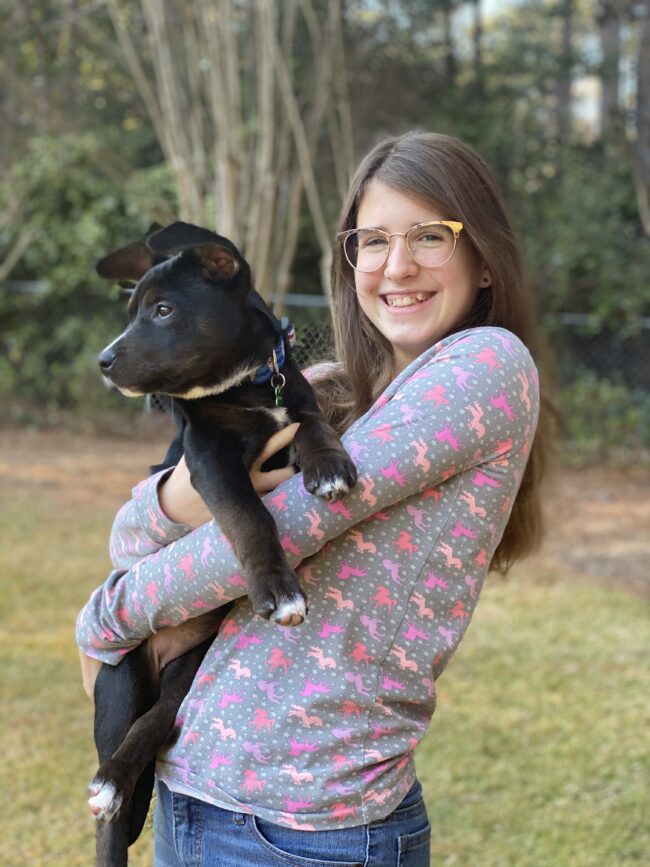
The other two shirts I made in this batch were for our youngest, and they are ALWAYS in the wash because she wears them as soon as they come out–and what greater endorsement could I get for something handmade, right?? Our kids needed long-sleeved shirts for the cooler weather, I had knits on hand that they were excited about, Rae had a pattern that I’d used successfully in the past, BOOM. Satisfying sewing.