 In the last lesson, Patience, my kids spent their wait time talking about colors and what matches and doesn’t match, and planning out designs and stringing their noodles into perfectly unique creations. Totally love. This lesson is an extension of that one, and builds a bridge between last week and next week with what I consider to be a super-essential character trait: Focus. As a former schoolteacher, I have spent wayyyyy too much time having to ask students–middle and high schoolers, in my case–to focus their attention on a SINGLE thing. As adults, we are horribly, horribly hypocritical about this, as most of us struggle to do the very same thing.
Let’s Hear It For Single-Tasking
I’m gonna say it out loud now: I think Oprah was wrong about that whole multitasking thing. I don’t think multitasking makes any of us better people or better workers, and it hardly ever makes what we produce better. I know for a fact that meals I cook while trying to get the laundry done are never as delicious; projects I sew while trying to answer email are never as fast or accurate; and conversations I have with my husband while trying to wrangle the kids are never as deep or as intimate as I want them to be. Even if the two tasks are good things, learning to focus is important for little ones so they’ll have the ability to turn their attention to what really, truly matters when the time is right. [Soapbox speech complete.]
So this activity–another spin-on-an-old-classic–is about sewing with our kids and asking them to focus. Well, really, I didn’t have to ask: the beauty of working with lacing cards is that they inherently demand focus from our children, and that makes them a great tool for reinforcing that trait without having to be explicit. In fact, we didn’t have big, fat, deep discussions about focusing while we did this–I think I said the word “focus” once or twice, and that was about it. But the seed was planted, as it were. And for younger kids, that’s enough at this point. No sense beating them over the head.
We made our own lacing cards here, partly for the fun of it and partly because I think some of what I wanted my children to get out of it all was best served through customized shapes and design–more on that below.
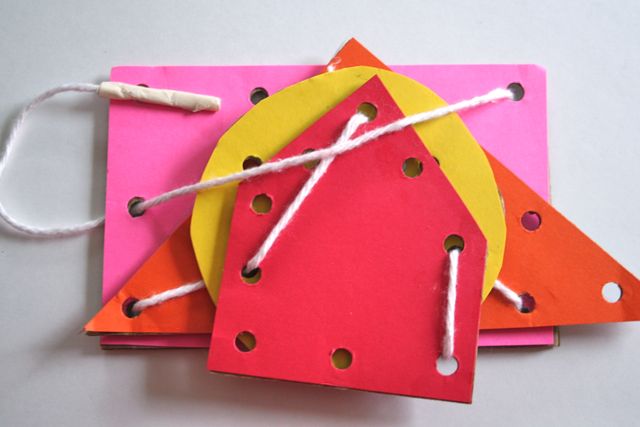
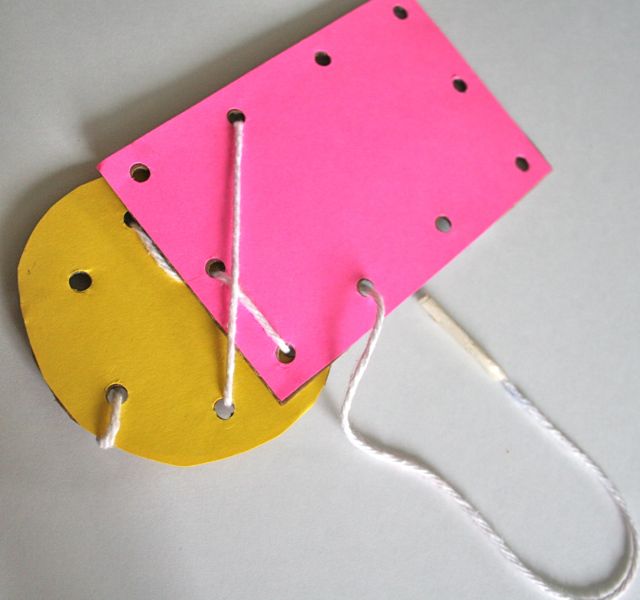
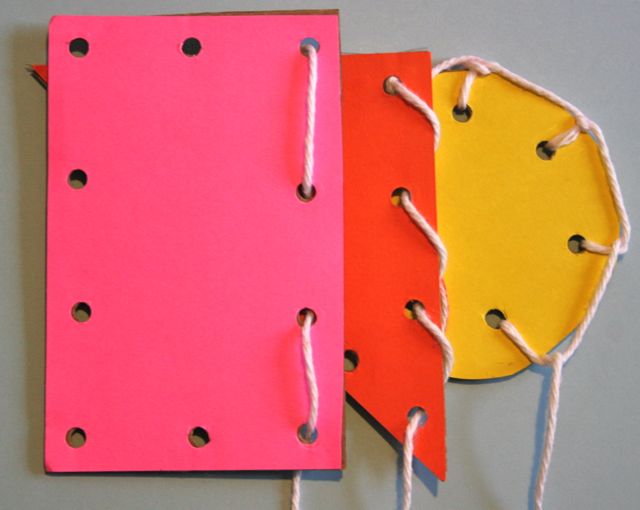
We really made two sets, the first more durable and simply-shaped than the second. These cards, made of card stock on top of cardboard, are sturdy enough for little hands and have clean lines, allowing them to double as manipulatives for demonstrating stitches and technique to older kids.
Most of the supplies are things we already had on hand (although I did go buy new colors of card stock, for variety): an empty cardboard box, paper scissors (NOT your good sewing scissors!), a standard hole punch, and a jar of rubber cement (yum).
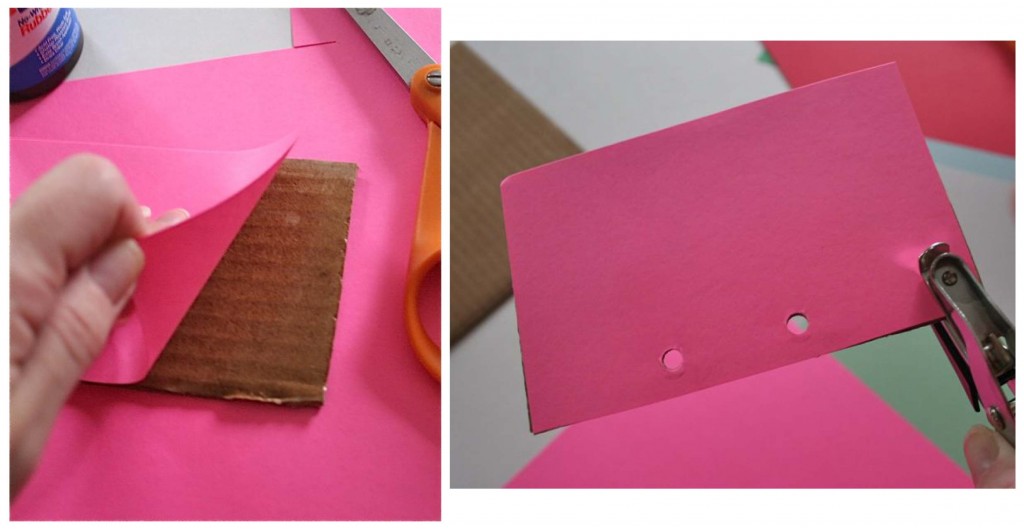
Cut card stock and cardboard into simple geometric shapes, then glue the colored card stock on top of the cardboard. Our boy and I found that rubber cement always works best when slightly dried so it’s tacky–he had a great time blowing on the pieces to dry them slightly before we stuck them together.
Once the rubber cement has dried, punch holes around the perimeter of each shape. I won’t lie: this part was a little hard on the hands. If you get stuck, try rotating the shape left and right while squeezing in place with the hole punch, kind of rocking it on the punch-point so it will pop through. This is the only step that I didn’t actively encourage the kids to take part in, or that I wasn’t sure they’d be able to do–our oldest struggled a little, even, and complained that it hurt her hands. High school can be so hard on one’s tender skin.
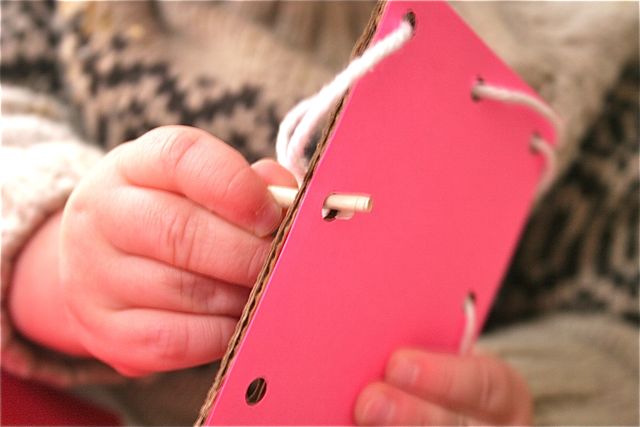
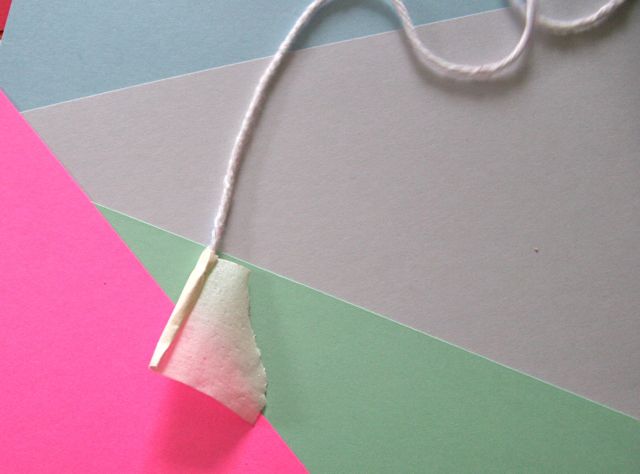
For the lacing, you could use a standard shoe lace, but I made a “needle” and “thread” with yarn and a one-inch-long piece of masking tape. This made a longer point than a shoe lace has, and made it easier to demonstrate how to use a needle–it made the work a little more real to the little ones, and a little more manageable for our older ones.
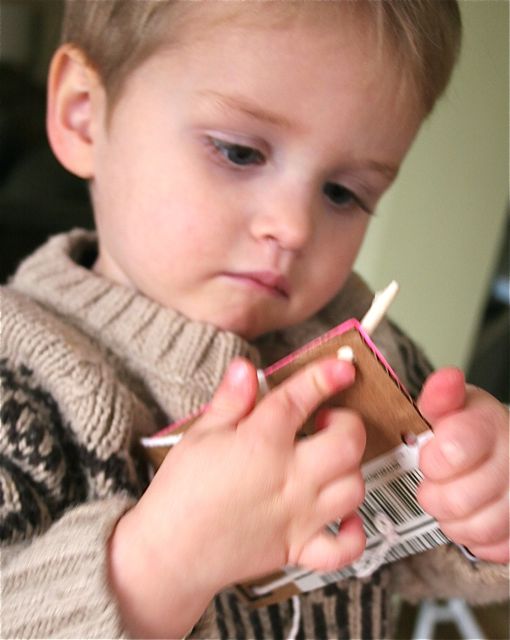
I think you can figure out the basics of lacing the cards: put the “needle” through one of the holes, then pull the “thread” behind. That’s the entry-level skill I want my kids to get out of this activity. From there, the variations are what make it both interesting and more fun, as well as adaptable to different skill levels. These shapes are great in that they’re stackable lacing cards, something I couldn’t find in stores no matter how hard I looked (well, OK, Googled–although this toy is cool and pretty close to what I had in mind). With the littlest, who is not quite two-and-a-half, we spent some time working on how to get the lace through the holes, and then quickly moved on to lining up the holes so he could lace two at a time.
For the older kids, especially my 15-year-old, believe it or not, the sturdy cardboard made these great for teaching types of stitches and technique. With the fat yarn and the chunky card, it’s easy to see the differences between a running stitch, a whipstitch (essential skill!) and a blanket stitch. And because the cards are stiff, they make practicing these stitches super easy, too. See? And you thought lacing cards were just for occupying toddlers.
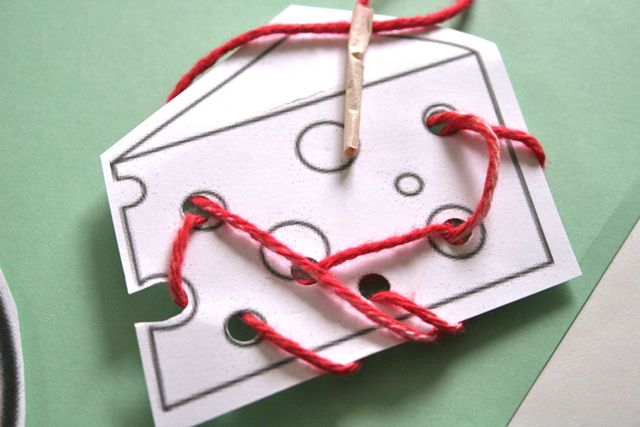
The second set we made are of card stock only, no cardboard backing. These could, of course, be glued to cardboard as well, but I opted not to so that the children could work with something less forgiving. I noticed that for our four-year-old, the softer cards were good for encouraging her not to yank too hard on the lace or she’d tear the paper–but to take up the slack and keep the lace taut so she’d have enough to go all the way around the shape. It was an unanticipated lesson, but a great chance to ask her to focus on what she was doing, not get so excited that she damaged her work, and to work patiently through the card.
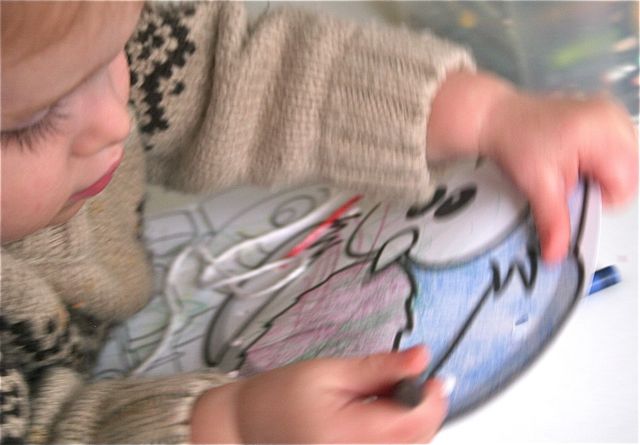
Each of these cards was printed on card stock using line art. Download the images we used here, as a PDF, or create your own using line drawings or outlines you find online (try Googling for the name of the shape or picture you want, along with the keywords “line art,” “line drawing,” or “outline,” and then clicking on the “images” tab to locate the best art). We spent some time coloring each card, which was a lot funner than I expected. Our boy, especially, really got into it, and wanted to add his “artistic touches” to each and every card. Please note that the downloadable PDF was creating using images I located through a Google search, and is for your personal use only. Copyright for individual images belong to their owners.
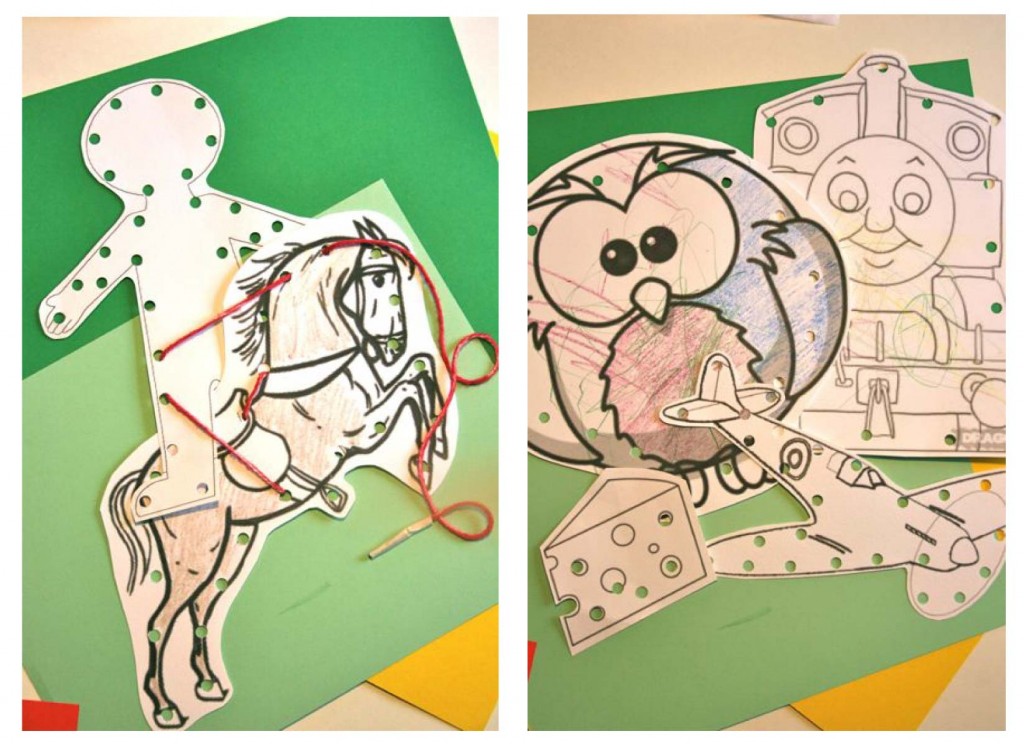 These cards are also stackable, and we played a bit with putting one shape with another, just for kicks. You could totally print these in color, laminate them, make a travel set, all kinds of things. Want them to learn to lace their names? Just grab a specialty punch that lets you get to the center of the paper, and go to town! It’s an endlessly adaptable activity that can be recreated as your children grow to teach them new skills as they’re ready.
The Take-Away
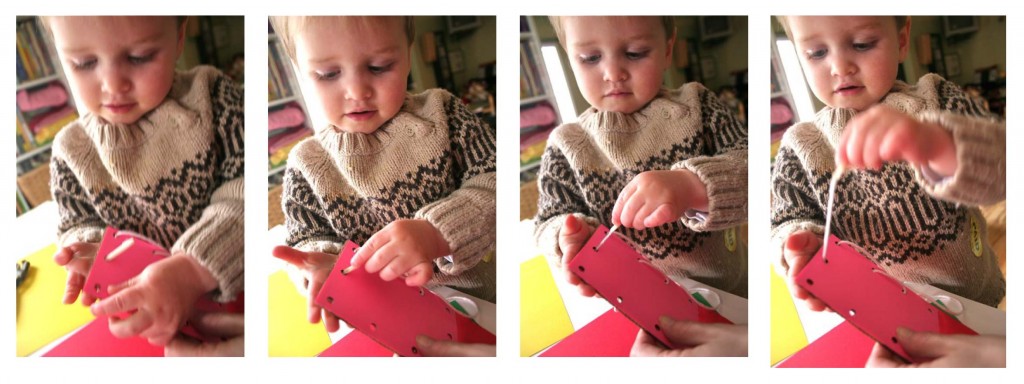 Watching even the littlest ones really “get” sewing is super fun. Watching them naturally turn their focus to a task is, quite honestly, inspiring. Any parent will tell you: we learn as much from them as they do from us, if we’re paying attention. And that’s what this lesson is really about. Yes, I wanted them to learn to use a needle, to draw the thread, to create a stitch, to connect two pieces together. But more than that, I wanted them to learn to follow their eyes, to give in to the moment, to experience something new fully–at least, I thought that was what I wanted, until I realized that I am the one who needed it most.



Cathy A
January 20, 2011 at 3:27 pmI have to agree with you on the multi-tasking thing. There’s a bunch of research that says that doing one thing at a time is much more efficient than multitasking. A task can take something like 4 times as long when it’s done in little bits rather than just all in one shot. And that doesn’t even take into account the quality of the work.
Tweets that mention Sewing With Kids, Lesson 2: Focus | Whipstitch -- Topsy.com
January 20, 2011 at 4:39 pm[…] This post was mentioned on Twitter by Deborah Moebes and gigi kennedy, Chris Warnick. Chris Warnick said: RT @whipstitch: Today's Sewing with Kids lesson is UP! http://tinyurl.com/496kfll […]
Janimal
January 21, 2011 at 10:04 amOh how cool! Just yesterday I bought a kit to weave strips of paper onto preprinted precut cards, to work on with my 2 year old. Kind of the same concept in mind. She’ll need to focus, with my attention, and manipulate the paper strips into the precut holes.
I think the different shapes and colors you made are terrific. I will definitely have to copy this as a project for us. Thanks!
lois
January 28, 2011 at 10:02 amLove the post about sewing with kids. My try it out on the neighbors children and will save for my future grandbabies. The “kids” were engaged over Xmas and are already talking about baby names!
The blog is great, I have been sewing for over nearly 45 years and it is fun to find new inspiration.