 Well, it’s Mother’s Day. Again. The day when many of us plan our own celebration–cheerfully, knowing that’s how we’ll have a special day. It’s the rare occasion when we ask for what we really want: breakfast in bed, someone else doing the vacuuming, an afternoon nap, and maybe a handmade card. Doesn’t all that sound lovely? I think I just distracted myself thinking of how soothing it would be to lie in bed, drinking tea, dozing off to the sound of the vacuum running in the distance, knowing that no one would be looking for me for a while, perhaps hearing a faint, far-away voice say, “No, sweetie, Mommy is resting–let’s go outside and let her have some quiet.” Awesome.
Mother’s Day is such a great chance for us to teach our kids not only how we want to be treated, or even how we hope they will treat others, but how we ourselves treat those we love. It’s when husbands really ought to step up and make sure the kids do something nice for Mom, to not only let the kids demonstrate that they love Mommy, but to model that Daddy loves Mommy (same thing is true on Father’s Day, just FYI). I want my children to see my marriage as something to emulate–because one way or another, they always seem to mimic our behavior, and I hope that I will give them something lasting and honorable and admirable to look up to and want to have for themselves.
Showing our kids how to love others–and how adults love other adults–doesn’t have to begin and end with our spouses (and I think: really shouldn’t). And what better day than Mother’s Day to have them work on a project to show gratitude for the ones who love us, and whom we ourselves love unconditionally? This simple and quick project was a chance for me and our four-year-old to make something for my mother, and for me to model for her how grown-ups show each other they care.
Materials
card stock (I like colored, but it will largely be covered by fabric, so it really makes little difference)
fabric scraps (small and scrappy works great!)
your machine
thread
Steps
Sewing Goal: to introduce our children to the variety of stitches the sewing machine can produce
At this point in the process, I wanted our girl to see what the machine can really do–that it has options, and speeds, and can be a world of choices and excitement. So I looked for a project that would allow us to use the machine and play a bit with what it can do. A stitch sampler of straight lines isn’t all that exciting for someone who’s in preschool, but random lines of various types of stitching are right up her alley, so we used that interest and combined it with a simple stitched card to create a Mother’s Day gift for my mom, who lives two hours away.
Step 1: select scraps
I got out the ticker tape scrap bucket, wanting to limit her choices somewhat to the smaller scraps. Children can often get overwhelmed when confronted with the limitlessness that most of our scrap collections represent, and this allowed me to minimize the selection to only those scraps that really were small enough to be useful for putting on the card.
Step 2: arrange scraps on the card stock
This is a completely free-form endeavor, and I say: let ’em do it however they want. Miss M really, really didn’t want to have any of the pieces overlapping at first, and worked dilgently to avoid it–that is, until she found some more fabric she super loved. Place the scraps willy-nilly on the card stock with one caveat: FOLD the card stock in half first, making a score mark where the card will be folded. Only place scraps on one side, so that only the front of the card is decorated. Overly-decorated cards tend to be quite weighty and don’t want to stand up properly.
Step 3: stitch through all layers in a random pattern
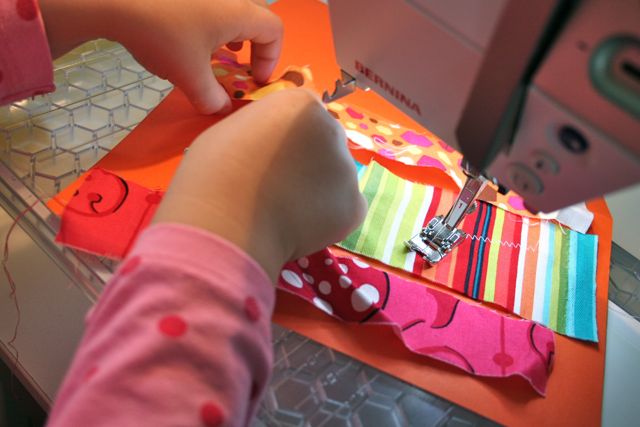
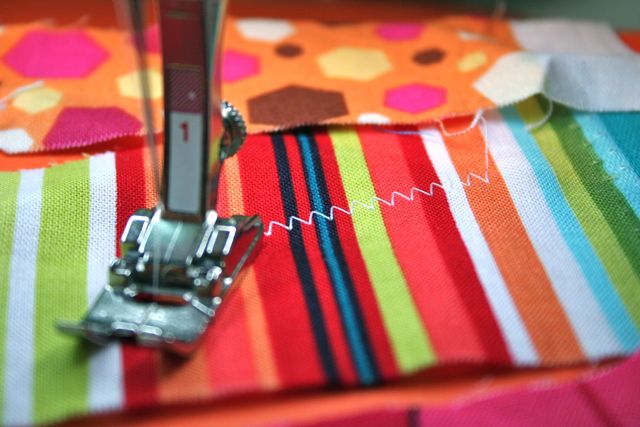
This is where she really got to play. At first, she didn’t want to do it at all: “No, thank you, Mommy, you can do all that stuff.” But when I invited her to choose from the specialty stitch menu and choose some of the “funny looking” stitches, it started getting more fun for her, and that’s when the real action started. We used a straight stitch to anchor the larger corner pieces, then a zigzag in an oval shape, and finally started playing with some funner stitches, just to see what they’d do. I found myself enjoying letting her point out which stitch she wanted and fully giving myself over to saying “YES!” with no editing: if she wanted that stitch next, that’s the one she got. We don’t get to do that very often as parents, and I have to say, it was really warming to have that freedom. Plus, she looooooved it: “Oh, Mommy, let’s do this one next. Grammie will think that one is funnnnnny.”
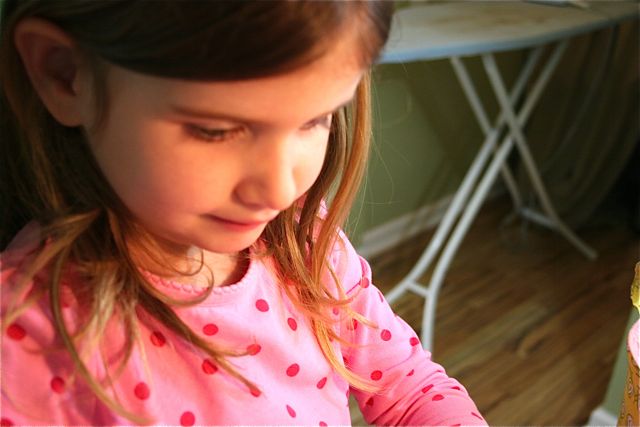
Look at that concentration!
Step 4: trim edges
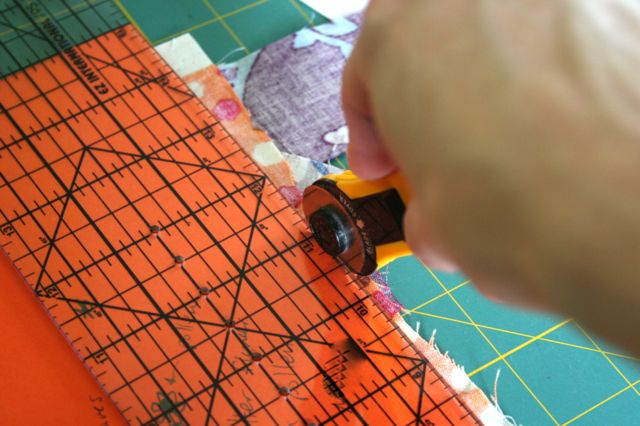
Once you’re satisfied with how much coverage/how many stitches you’ve used–and I say, use ’em ALL, cover it up, go back-and-forth over yourself, even if it’s just varying lengths and widths of zigzags–take the card off the machine. At this point, trim any edges of fabric that might be hanging over the edges of the card, so that they’re all nice and tidy:
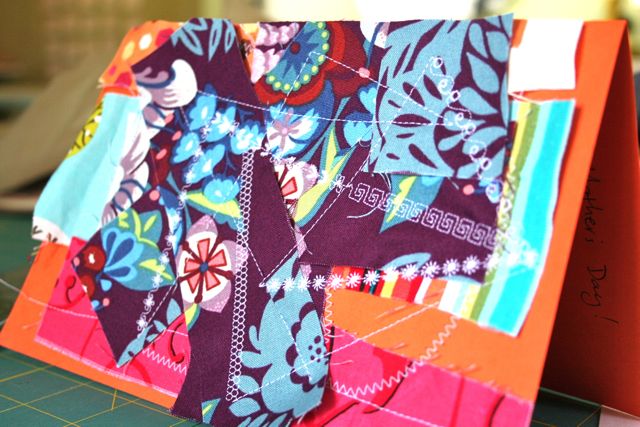
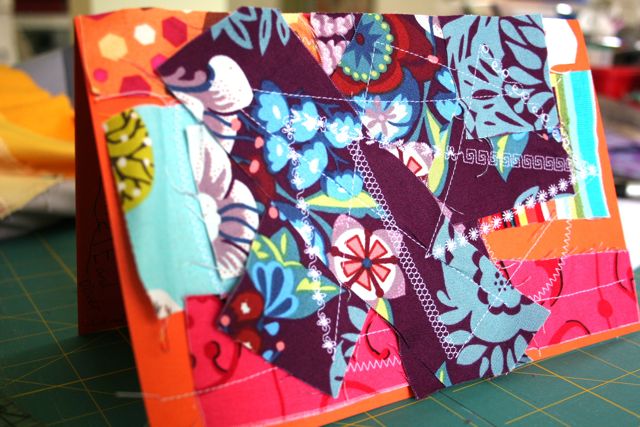
And voila! A finished card that any mother or grandmother would love. Miss M dictated a letter to me, which I dutifully inscribed within, and then she signed her own name. We’re packing it off via Priority Mail so it will arrive by Saturday, and she’ll have it in-hand even if we can’t be with her. And hopefully, as our children grow, they’ll see their parents taking care of their grandparents, showing them affection and being thoughtful and living out all the qualities we hope our kids will possess. Talk is important, and often ignored. It’s action that really imprints on our kids and makes them who they will become.
Happy Mother’s Day, everyone, for all you do to make your little people better people!


Ginger
May 5, 2011 at 9:51 pmI completely agree with your first 3 paragraphs.
Tommy
May 6, 2011 at 11:45 amGreat idea to point out this helps kids know how to treat others. Kids do treat others as their treated at home. I have heard the saying over the past 10 years, ” that people cannot give what they do not have and they cannot show feelings they have never seen or felt from others.”
The project ideas are really good and I hope some fathers step up and try hard this year to show their gratitude for Mothering their children.
Rachel at Stitched in Color
May 6, 2011 at 4:32 pmLove your intro, Deborah. I always feel guilty that on Mother’s Day what I’d really like to do is have as day all by myself. This time we’re going kayaking as a family. That’s good too.
Thank-you for suggesting this card! Aria will make two: for my mom and my MIL. And everyone (Aria and moms) will love it! What a great idea!!!
Elisabeth Irwin
May 7, 2011 at 3:06 pmI love this idea–I’m not sure my son is old enough for the sewing machine yet, but I might have him try a fabric collage on a card instead–then perhaps we can sew down the edges together. I also love what you said about modeling gift giving to our children–I’ve always thought of it as teaching them to show love through making and giving, but not as demonstrating the way that adults love one another, too. Good to think about for Father’s Day:).