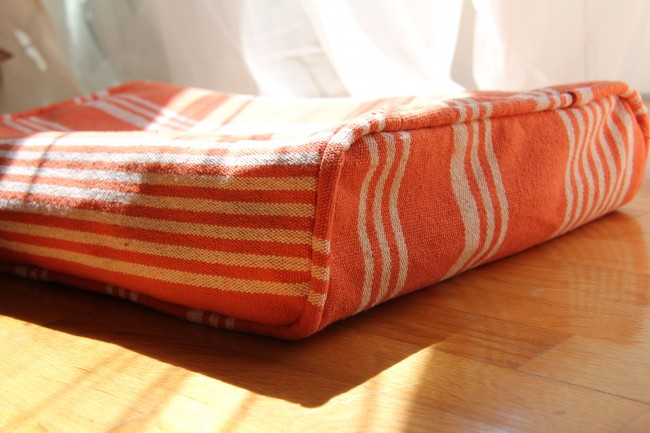
When I was dreaming up the Prayer & Meditation Cushion pattern, one of the first epiphanies I had was that it really needed piping.
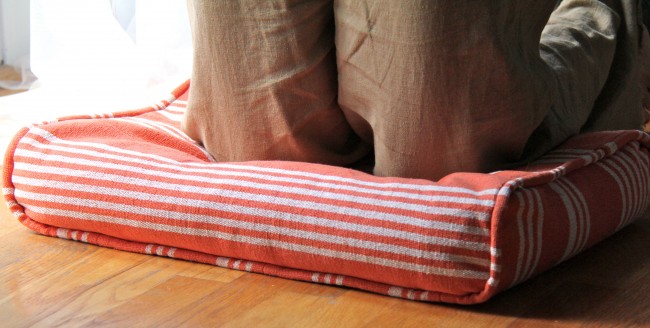
One of the best parts about piping is the way it really defines a seam and makes it POP. I love it on almost everything–children’s clothes, women’s dresses and tops, pockets for a bit of sailor flair, handbags for a bit of chic, and obviously on cushions.
Piping comes in a huge range of widths, from “micro” all the way up to an inch in diameter. An INCH! Massive!

image via Vogue Fabrics Store
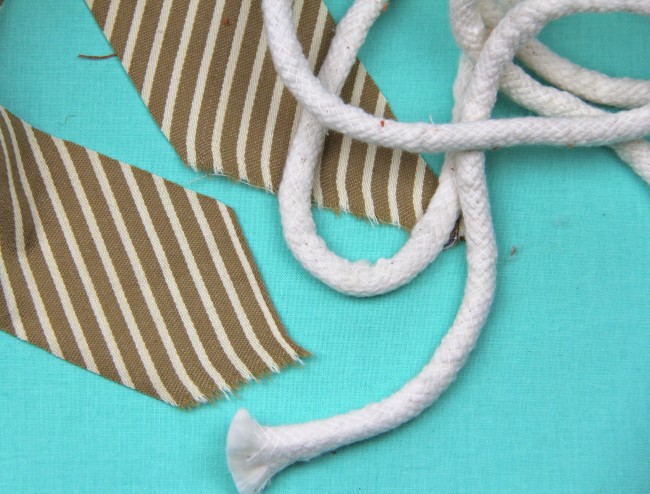
I generally purchase my piping as piping filler cord, like in the image above. This gives me the widest range of options for my piping sizes, which come in fractions of 32. Weird, right? I use a lot of 16/32″ piping, which is 1/2″ so why don’t they just call it 1/2″? But they don’t. Whatev. For the sample project above, I used 18/32″ piping filler cord, purchased by the yard.
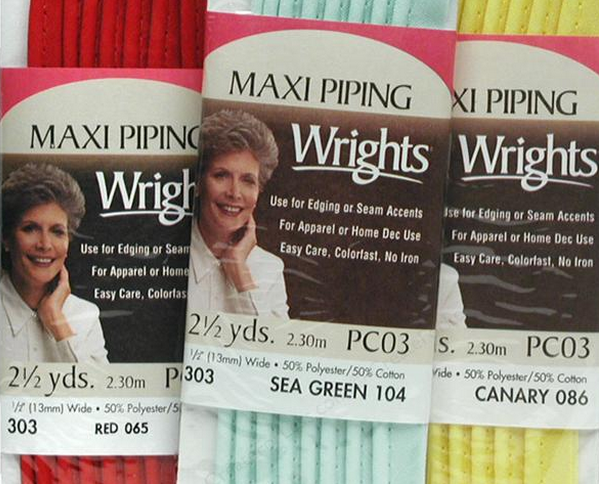
image via Create For Less
You can also purchase pre-made piping, which comes in a variety of colors and packaged at your local fabric shop. Pre-made piping is 1/2″ in total width–that’s the distance from the edge of the round cording under the fabric to the raw edge of the piping strip, NOT the size of the cording itself. Pre-packaged piping is almost always made from poly/cotton and in solid fabrics, although I suspect you could locate a custom seller on Etsy who is making custom printed cotton piping by the yard.
The cording, in either case, whether you make it yourself or purchase it from at store, is wrapped inside a strip of bias tape. Bias tape! My favorite thing!! (Dana pointed out in a recent episode of her show that maybe she loves piping because it means she gets to use bias tape, and I am SO on board with that. Piping really DOES make everything better.)
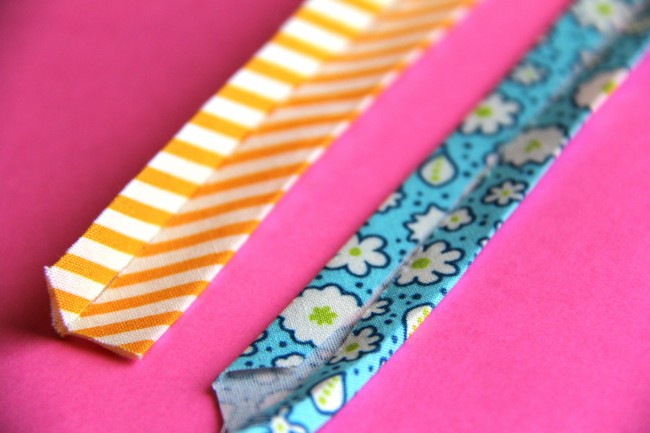
Because you’ll be using bias tape to make your piping, you’ll be cutting your fabric on the diagonal–which, with striped or plaid fabrics, can make for some really fun and interesting visual effects. Using bias tape to wrap your piping cording also means that more threads from the warp and weft of the fabric are exposed to wear, and the fabric will last longer (as opposed to cutting your fabric on the straight grain or the cross grain, which would expose a single thread to constant wear and cause it to fail sooner). Since piping is installed in seams and is often seen at points where it will receive a lot of friction–edges of handbags, corners of cushions, pockets of garments–covering the cording with bias tape is of huge benefit in the long term. [For more information on the sewing terms above, see Christine Haynes’ excellent new book, How To Speak Fluent Sewing. For details on making your own continuous bias tape to cover you piping cording, see my YouTube video tutorial, which now has a whopping 24,000+ views!]
To make your own piping, some basic tips will help the process go more smoothly:
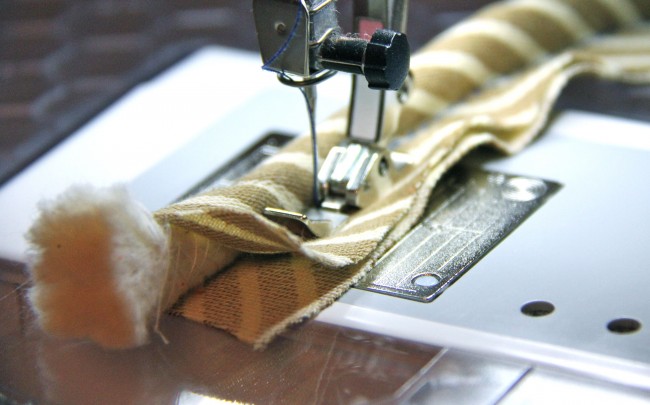
First, BASTE the cording inside the bias tape. You want to create a baseline for future stitches, and to capture the cording inside the bias tape nice and snugly. The best means to achieve this is with your zipper foot. For my style of sewing machine, the zipper foot is very narrow, without much flange sticking out to the sides. This allows me to get suuuuper close to the cording, but not sew through it, which putting basting stitches through both layers of the bias tape ONLY. You’ll notice in the image above that the bias tape is folded AROUND the cording, with the cording on the WRONG side of the bias tape. The two raw edges of the bias tape are brought together before basting, and kept as even as possible throughout the length of the piping.
If your machine’s zipper foot is wider, try adjusting the needle placement. You ought to be able to shift it, by using a button or knob or lever, from left to right of center. This will allow you to get the needle as close as possible to the cording without sewing through it. Your brand of machine may also make a specialty PIPING FOOT, which would not have come with it when you bought it, but can be purchased from your dealer (there are also some generic piping feet available on Amazon.)
Applying piping is a fairly simple process. You’ll want the seam allowance on your piping to be equal to the seam allowance on your project for easiest placement–just line the raw edge of the piping up to the raw edge of your project, and you’ll know that the basting line on the piping is the same as the seam line on your project. If your seam allowances differ, you’ll want to place the piping so that the basting line and seam line match up, even if this means having a little extra fabric peeking out un-evenly.
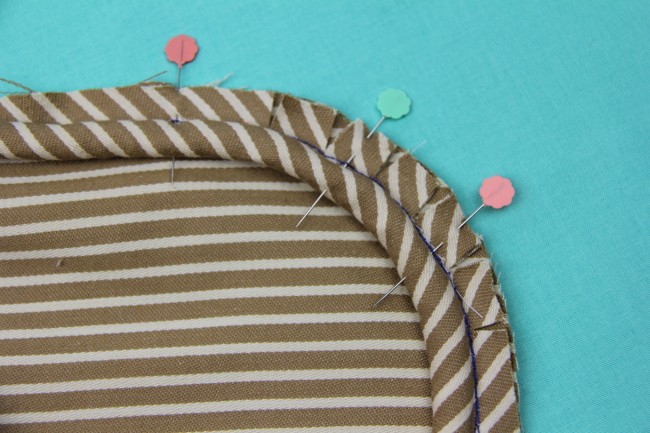
From there, simply pin the piping to the project, on the right side, along the edge that you’d like to pipe. I like to push the pins through the seam allowance AND the cording, to prevent them from rocking to the back and sticking me in the hand as I work. For curves, SNIP the seam allowances up to the basting stitches (but not through them), to release the piping and allow it to shape itself to the curve. This doesn’t damage the integrity of the piping at all, since you’ll be sewing right over these basting stitches with your final seam, anyway.
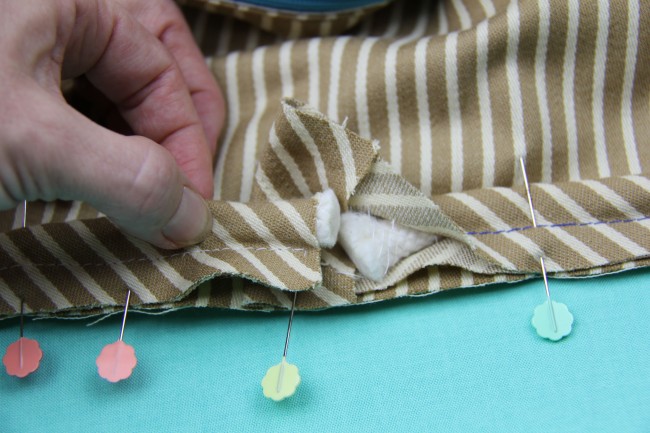
On a project where the piping is IN the seam, but ends where that seam ends–say, for example, a pocket or the yoke on a dress, where the seam will be crossed by another and the piping is a single line–you can trim out the cording to reduce bulk and let the rest of the bias tape fall inside the seam to be finished off. On a cushion, though, where you want to create the illusion of a single line of piping going all the way around, and the piping WON’T be crossed by another seam, you’ll need to finish it off neatly. I used this technique in Stitch By Stitch, and on the Prayer Cushion: on one end of the piping, fold under about 1″ of the bias tape and trim out the cording inside it. Snip the other end flush so the two ends of cording just KISS one another at the point where they’ll meet. Lay the flush end inside the folded end, taking care that the cording doesn’t overlap–they ought to butt up against one another. Then wrap the folded end around the cording to secure the two ends together. Neat!
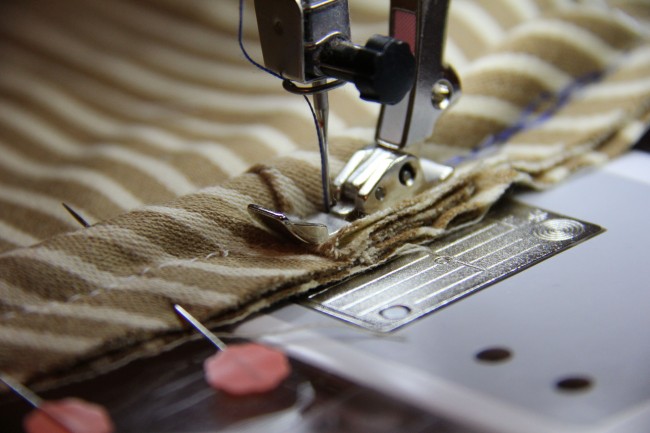
Once you’ve secured both ends in this technique, you’ll want to go back and baste across the fold to secure it before sewing the final seam.
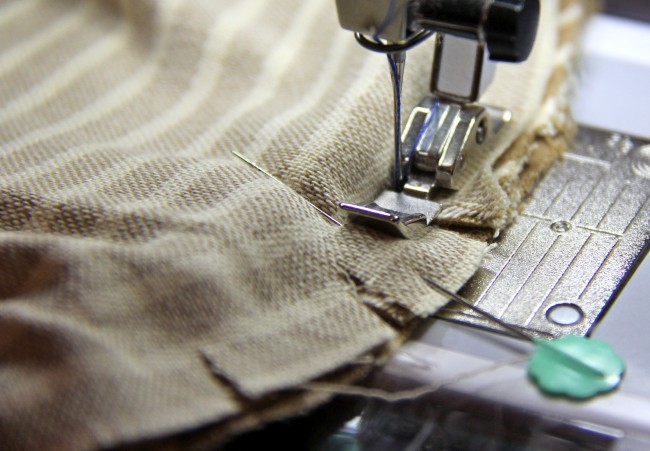
Once you’ve applied all that piping, the final seam is a breeze! You sew it exactly as you would the same seam with NO piping, except use your zipper foot again to get super close to the cording–in some projects, you can sew with the basting stitches facing up and use them as a guide for placing your final stitches. For this step, you’ll use your default stitch length, NOT your basting stitch, since you want these stitches to last.
Ultimately, piping is an extra step that you can pop in on nearly any design. You’ll create your piping and then apply it to the main/front/outer piece of the project, then treat that piece as a single element when finishing your assembly. It’s a great, core skill to have and a fun design element to play around with!
For more about piping and to watch the always super-fun Dana in action, check out her recent piping episode of MADE, Everyday.