 Sometimes, when children are introduced to new ideas, they struggle with getting their tiny hands around tasks suited to a bigger world. For them, and for us, it can be tough to stay tuned in when a job feels too big or too tough, and it leads to lack of attention and–gasp!–quitting. I want my kids to learn to press on through, to recognize that even though the going can get tough, that if we push ourselves, if we challenge ourselves, if we have faith that at the other end of the experience something wonderful is waiting, that we can discover amazing worlds, right in our own hands.
And that last part–the faith in discovery–is a big part of the thought process behind today’s lesson. I want my kids to trust me, I want them to believe that if Mommy introduces them to a new craft or toy or book or game that it’s because I know they can do it. I believe in them, I see their ability, and I trust that they can succeed. HUGE ideas for little people, but central to growing up secure and healthy. And the seeds for such a giant idea can be sown with something as small as an after-dinner activity.
Plastic Needles and Plastic Canvas
After dinner is hardly the place I would ordinarily do a craft project. I’m much more likely to plan it for, say, after breakfast, when the light is bright and our bodies are rested and when we’re all full from breakfast and in that golden hour of no-one-screaming. It lasts from around 9:30 to 11ish at our house each day, that perfect period of contentment when we all universally like one another, and no one is poopy or grumpy or cranky or anxious or tired or hungry or irritated. It’s my favorite time of day. But this week, we took a few minutes after supper one night to do our craft, and it was a real risk. I share this because some of what I learned is the direct result of WHEN we did this lesson, and it wasn’t at all what I expected.
Plastic canvas is a perennial favorite of crafters. There’s something very Free To Be You And Me about it: it makes us think of tissue box covers and camp. But for teaching kids to sew, it have some distinct advantages, despite its 1970s afterglow: the holes are precut and regularly spaced, making it easier for tiny fingers to work out the rhythm of stitching; the needles aren’t terribly sharp, and help littler ones avoid any unseemly incidents; the yarn is thick enough that any mistakes or changes in stitch technique are visible right away, making it simple to point out distinctions and build on the lessons of the lacing cards; and the length and complexity of the project is fairly whimsical in nature and can be as persnickety as you’d like (or not), so it suits all ages and inclinations.
I wanted this next lesson to really be about how to hold the needle, where to put the needle, and how moving the needle in new directions changed the way the project turned out. Again, like the last two lessons, these all seem like super simple concepts, but for children–who are tabluae rasa and don’t have any clear conception of what sewing is, no expectations for this experience–spelling it all out and making it explicit is the best way to lay a foundation that will let you have much more complicated lessons later.
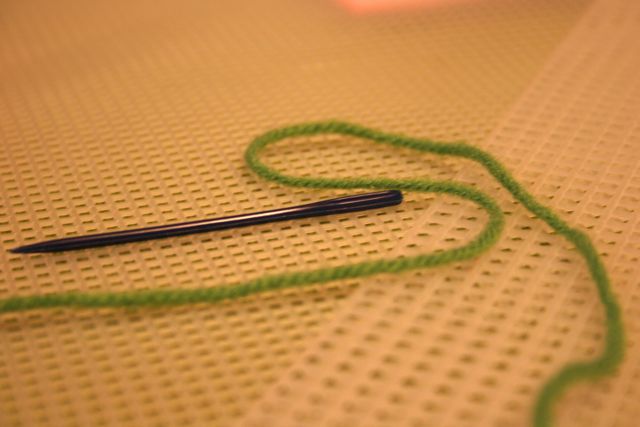
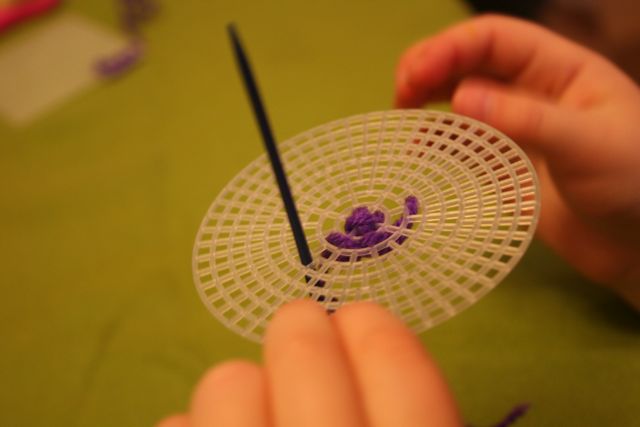
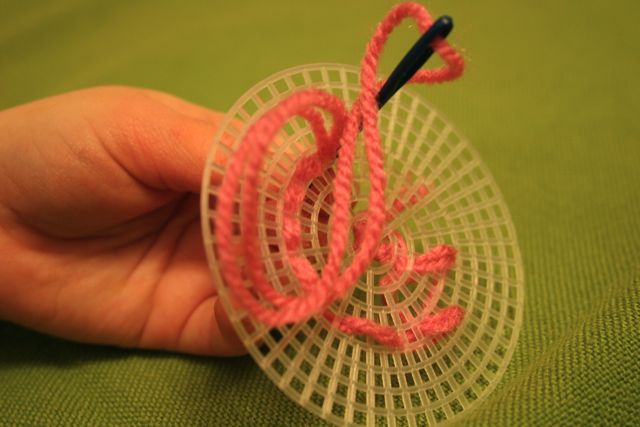
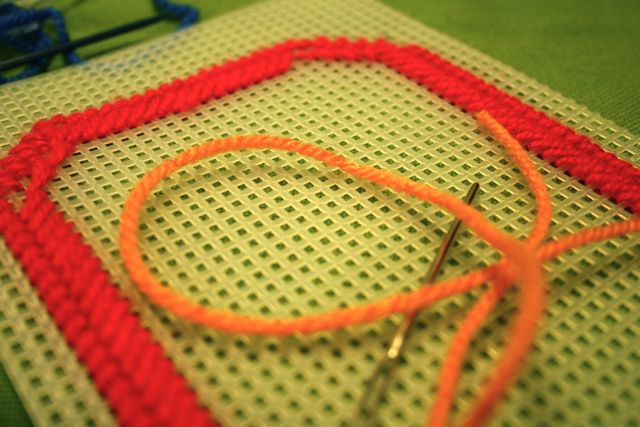
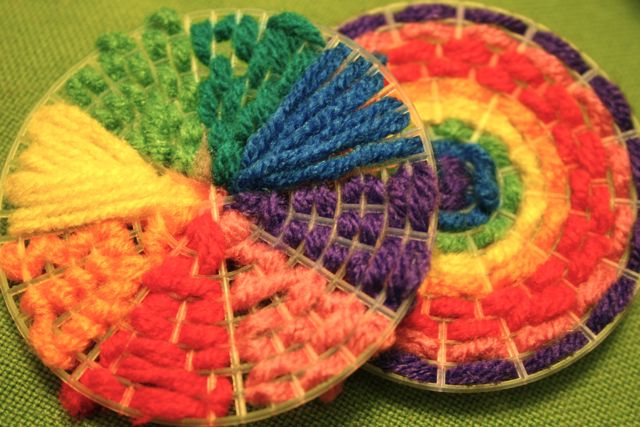
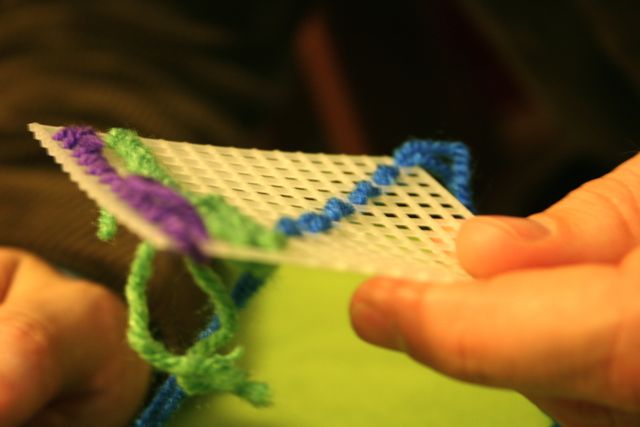
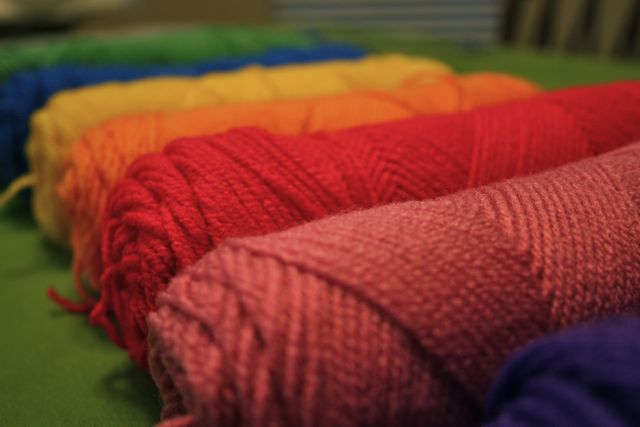 So for the two younger kids, we worked with very few expectations. Under the warm glow of the overhead lamp in the dining room, after the dishes had been cleared away, we pulled out skeins of yarn in bright solid colors. Laid out in a row, I produced the plastic canvas and needles. Plastic canvas is just what it sounds like: plastic sheeting that has been molded into a grid, with the openings appearing at regular intervals to allow a needle and thread or yarn to be passed through it. The canvas sheets can be cut into shapes, like squares and rectangles, that are then put together (and they also come in little circles!). I got mine here, in the size 5 and 7. The smaller number is a larger opening (5 openings per inch in the size 5, for example, so sort of a big hole for the needle to pass through); I wanted to have some that were super easy to use for our two-year-old, and others that were a little more challenging for the oldest and the four-year-old. I also got some circles, which come in only one grid size (and will use the leftovers to make this fabulous travel sewing kit for myself!). The plastic needles we keep in stock at Whipstitch, so I brought home four: one for each of the kids, and one for me.
While I’d love to offer you a concrete projecty-project that we did with these supplies, I mostly let this lesson be free-form, and allowed the kids to play with the tools and see what would happen.
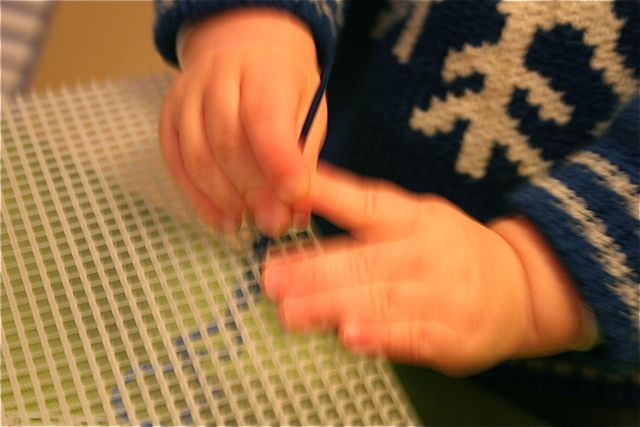
The two-year-old tried threading the yarn in and out six or seven times, and then wandered away; I think to a degree, this was pretty challenging work for him, and he lost interest because it was above his interest level. To lure him back, we spent some time touching the needle to see how sharp it was, looking at the colors of the yarn, and arranging the yarns into a rainbow. I absolutely didn’t expect this to turn into a chance for him to show off his knowledge of colors, but he really enjoyed that–and his role became that of handing out yarn when his sisters asked for a new color. Until he bailed again and went and played with his trains.
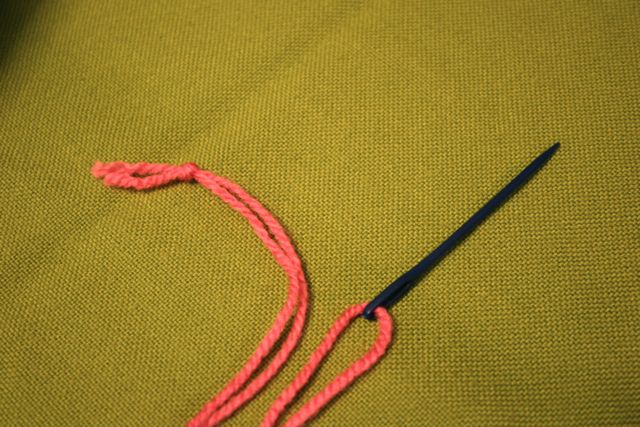
The four-year-old loved the whole concept from beginning to end. She wanted to thread the needle, she wanted to poke it through the openings in the canvas, she wanted to change colors every thirty seconds. But she got frustrated. When we first began, I used basic Plastic Canvas Rules about how to treat the end of the yarn: ordinarily, when working on a project with plastic canvas, you’d leave the yarn end unknotted and work the loose end back under the stitches later, to secure it. With an eager child who likes to YANK, that’s not gonna do the trick. So we ended up doubling the yarn and knotting the end to make it possible for her to see results.
The oldest got much more into this than I expected–I think I’ve said that for every lesson, so maybe I should just start to realize that even at 15, she wants to feel included and she loves to do crafts and working with her hands gives her an excuse to be part of the hearth and the family. She immediately decided on a formal shape to create, and began working away at it. About halfway through, she saw that it was going to take her longer than she had imagined, and she slowed down a little. It took some encouragement to prevent her from changing her design into something more simple just to make the work shorter, and to convince her to go with her original vision.
As the kids worked, I talked to the girls about colors and the color wheel. As they created their projects, I worked on a couple of stitch samplers, and we looked at primary and secondary colors, our younger girl asked about how colors blend and we imagined where white and black fit in the color spectrum, our oldest asked what would happen if she skipped boxes or stitched straight lines versus diagonals, so we practiced on the color wheel. It was a good chance to look at some more complicated color ideas while our fingers were busy with the repetitive motion of stitching the canvas. It made the time pass a little more quickly as the girls reached their finish points, and made it a little easier to convince them to stick with it when there seemed to be miles of empty squares ahead of them.
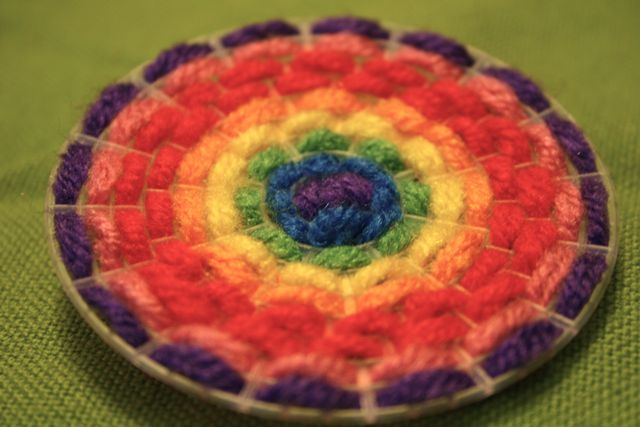
Our oldest worked on a rainbow, her version of a color wheel. The four-year-old did some random stitching at first, but then decided that she wanted to make a barn–after seeing what her sister and I were working on, she made the leap and realized that the stitches didn’t have to be random, but could be organized to make a picture. Her barn is pink, naturally.
Even my husband played a little–I think he saw that we were all sitting around the table, talking and trying something new, and thought he would give it a whirl. The children were delighted, I kid you not–they loved seeing Daddy with a needle in his hand.
It’s Like A Rubber Tree Plant
Once again, I learned more from the teaching than I think the kids did from the lesson. I thought I was demonstrating to them that they could work at their challenge level–above the point where the work is super easy and they can mail it in, but not quite to the point where it’s so tough that they’re frustrated, right at that level where it’s hard and they have to push a little to get it, but that is totally achievable for them. And I was, I was teaching them that. But at the same time, I was learning the same lesson: persistence. Trying one time didn’t get the needle and yarn to work for our four-year-old. She needed to try over and over, and I needed to adjust how I’d assumed the whole project was going to work. Practicing the action of slipping the needle into the canvas was OK for our youngest, but it was hard enough that he lost interest; rather than let him wander off and assuming that he was too young, I had to persist in finding a way to make him part of our time together, in making this craft something that was relevant to him. Our oldest wanted to dial back and make the work easier, and I had to find ways to encourage her to continue on without quitting–but not make her feel as though she was obligated to do it, without taking the fun out of it.
As the kids learn more about sewing, the work gets more challenging, and they begin to have to think about three dimensions and right sides and wrong sides and matching seams and operating machinery. This project might look simple at the outset, but it’s about building confidence, establishing a rhythm of work, and learning that there is totally a pay-off on the other side. I think if we’d done this lesson when we normally would have, and weren’t racing bathtime and a little tired at the end of the day, I might have missed some chances to see better what my kids have to say about how they learn and what they learn. We all really enjoyed working with the gridded lines, letting our brains have a break even before our bodies did, and settling in to the soft repetition of stitching in and out. It makes me hopeful as we move forward that they’ll begin to associate sewing with happy times, loving times, trusting times. And that after all, they’ll be persistent when they set a goal for themselves, because there is always something warm and happy waiting for them on the other side.

Tweets that mention Sewing with Kids, Lesson 3: Persistence | Whipstitch -- Topsy.com
January 28, 2011 at 4:07 pm[…] This post was mentioned on Twitter by Deborah Moebes, Sympoz Sewing Club. Sympoz Sewing Club said: RT @whipstitch: Lesson Three in the Sewing with Kids Series: http://whipstitchfabrics.com/blog/sewing-with-kids-lesson-3-persistence/ […]
Rachel at Stitched in Color
January 28, 2011 at 8:14 pmLooks fun! I just need to find my way to some of that molded plastic. My oldest has done a fair bit of embroidery on her own, so I wonder how she’ll react to this. Thanks, Deborah!
Kimberly
February 2, 2011 at 1:35 amI am sooooo glad you mentioned this! My son constantly wants to sew. He sees me doing it all the time and he just wants to hop right on the sewing machine. The problem is that I need to use the sewing machine! This is just PERFECT and I can’t wait to pick one up at the craft store on our next visit!
Rachel at Stitched in Color
February 3, 2011 at 12:58 pmFYI, this post doesn’t come up when you click the Sewing with Children series button.
Deborah
February 3, 2011 at 2:20 pmThanks for catching that, Rachel! I’ve updated the post–should be all better now.