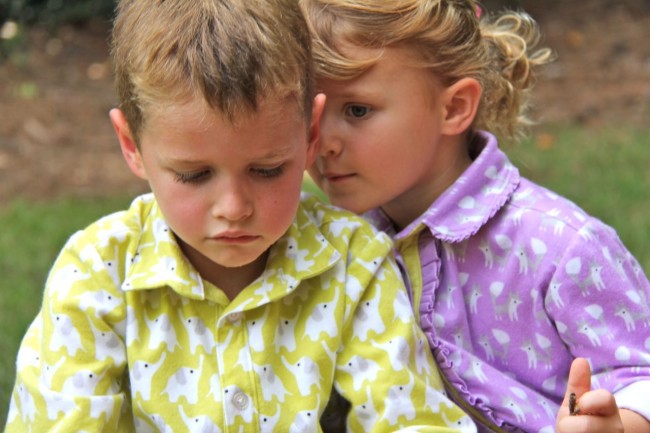
 Well, I can cross off two more items from my to-sew list for the kids, thanks to today’s Fanfare Flannel Extravaganza! Plus, I finally got around to sewing up the Sketchbook Shirt from Oliver + S roughly five years after purchasing it, so today’s sewing is a gigantic WIN at our house.
 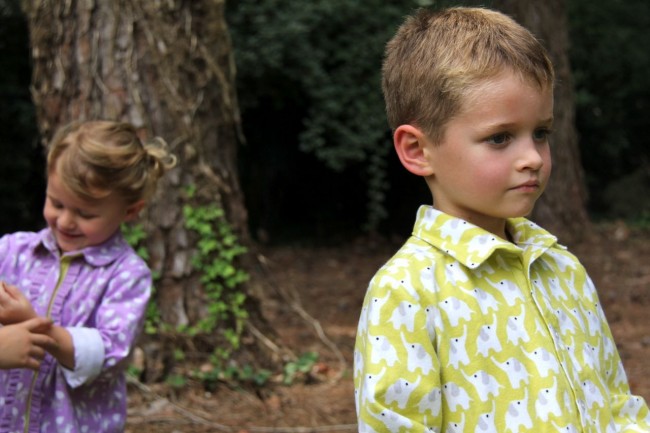 I made one shirt each for our two youngest: his is a size 6, and hers is a size 5. I wanted a classic button-up shirt, but like a lot of folks who sew for their children, am trying to be cautious about using the same pattern again and again and AGAIN (two agains is totally acceptable, but when every. single. shirt. in their closets is identical in construction, it gets a little repetitive). Using my inventory (more on that tomorrow, along with a new printable for keeping track of what patterns you’ve selected to keep track of filling various gaps in their wardrobes) has really helped in that regard. So: Sketchbook Shirt, a pattern I haven’t sewn up previously (sewed up? whichever), and that went together crazy fast. His took a total of two hours from tracing to complete, not including buttonholes, which I always procrastinate installing; hers took closer to three hours, since I was adding ruffles and FORGOT to add them the first time I sewed on the front button plackets. Ahem. Sometimes I just get super excited.
 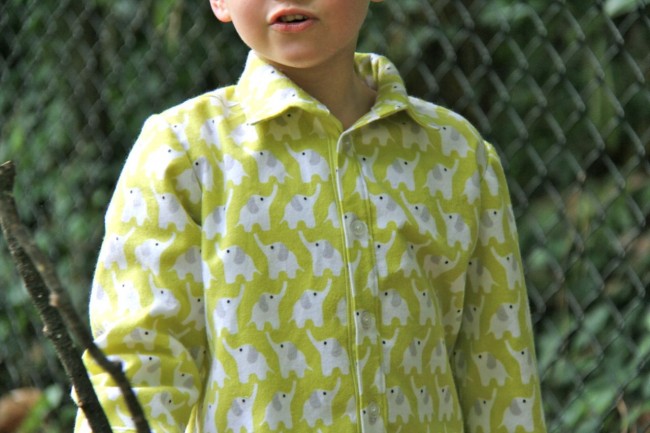 I wanted to play a little, so I didn’t just use this FABULOUS chartreuse elephant print from Rae’s new line of colors in her Fanfare Flannel (an organic cotton flannel from Cloud9; see links to purchase at the bottom of this post); I threw in some bits of the Fanfare solids, too, on the button placket and the undercollar, just for fun. You can see a bit of it peeking our here, at the neckline–I love that bit of POP, and feel like I’m seeing it a lot lately on men’s shirts, right? Like, a hot pink on the collar band, or a little peek of a contrasting fabric on the inside of a sleeve cuff. This isn’t a strong a contrast, but I love that the Fanfare flannels come with solids that coordinate so I have that option.
 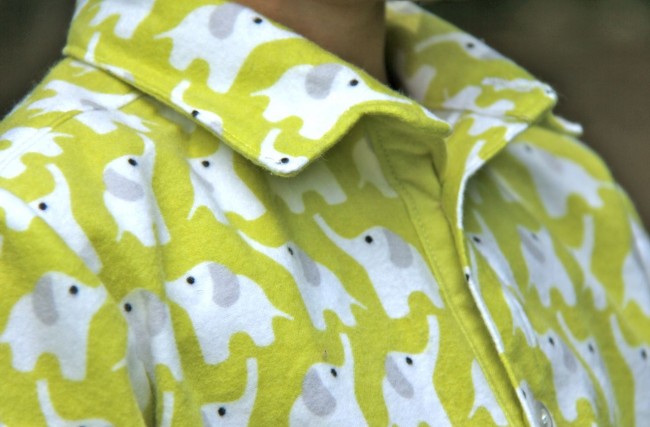 The Sketchbook Shirt pattern features a cut-as-one banded collar, which means that unlike a men’s collar on a button-up shirt, the band–that little curved section under the collar that helps it stand up–and the collar itself–the part with points–are a single piece. I like how much quicker that makes the sewing, since you don’t have to go through the extra steps of attaching the collar to the band before you can sew it to the shirt; if I’m being totally honest, though, I really do prefer my go-to banded collar where they’re separate. I think I just am so accustomed to the seam between the two that NOT having it is less satisfying here. Having said that, the collar looks GREAT, it has plenty of support, and the shaping is super flattering. So if you dislike sewing a banded collar, or have avoided sewing one because it looked too involved, this is an excellent pattern to try–it takes that step out of the equation and is nearly fool-proof!
 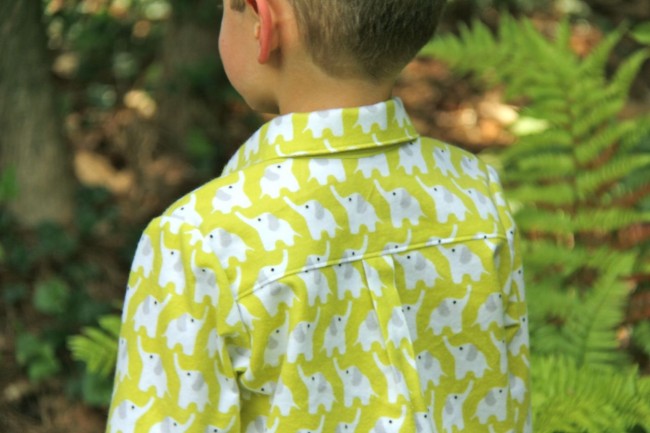 The back of the shirt has a classic yoked upper back, and a small pleat in the shirt back below it–I love, love this detail, and how simple it is to sew while also making the shirt look really professional. Downright store-bought, if I do say so myself. I topstitched the lower yoke seam, after serging the seam allowances, and then I topstitched the shoulder seams, as well, both within the body of the yoke. There was a decent amount of topstitching on this pattern–collar/collar band, cuffs, yoke–but truly not overwhelming. And I like topstitching, so it was fun.
 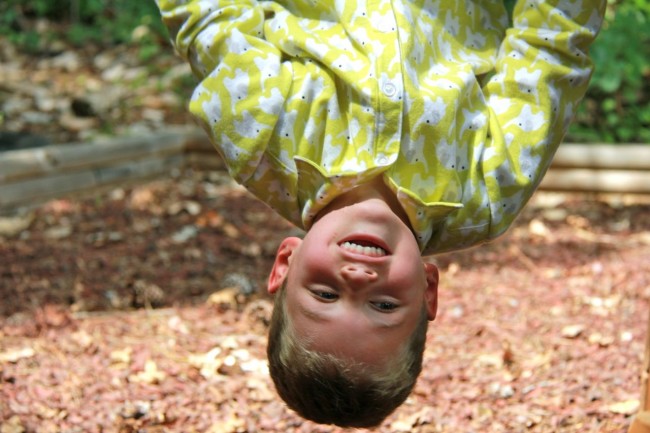 Good grief, this fabric is ABSURDLY soft. Have I mentioned that previously? I mean, like SUPER soft. I really, truly love it. All three of our younger children and I have pajamas made from the first release of Rae’s flannels, and have been wearing them regularly (read: most of the time when they’re not in the wash) and I feel like they’ve held up really well. I haven’t noticed a ton of pilling, like I sometimes do with other flannels, and while I wish they’d softened up a little bit more, sometimes that just takes more wear. The colors stayed super vibrant on our jammies, which was part of what motivated me to choose really bright shades for these shirts: this chartreuse is really deep and rich, and the lilac is so warm and bold. I feel good about those colors lasting and looking great all winter, wash after wash, and staying new-looking and un-pilled through what looks like it might be another cold season.
 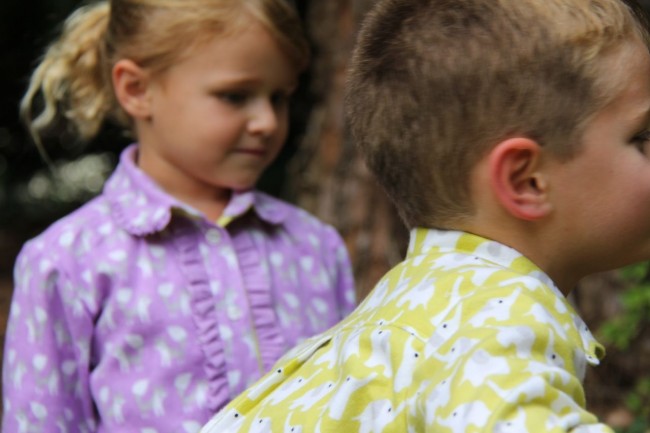 When I very first agreed to be part of the Fanfare Flannel Extravaganza, I knew for SURE that I wanted to make button-up shirts, but even more than that, I knew I wanted to experiment with adding ruffles at the front button placket on the girls’ shirt. Wow, do I love it–I mean, like reeeeeaaallllly love it. So sweet, such a simple bit of sewing, and it makes this a whole different shirt, even though the two are the exact same pattern!
 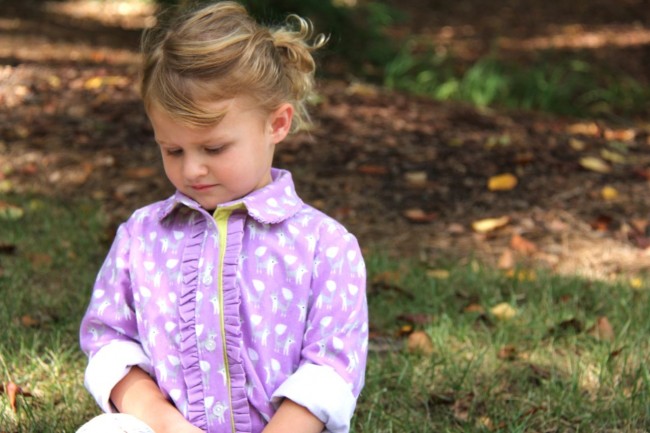 This one is for our youngest, and like on her brother’s, I really wanted to play with the Fanfare flannel solids. I did the undercollar and the button placket both in the same chartreuse, and was tempted to carry that over to the ruffles–but figured less is more (hah! as if) and went the cautious route (chicken route? maybe) and used the coordinating lilac solid, instead. It is a DEAD MATCH for the shade of this fox print (gahhhhh!! which I totally love), and ruffled up MUCH more easily than I would have expected. Flannel can get really thick, and I wondered if that would mean that the ruffles wouldn’t lie flat; in that case, I would have had to relax the ruffles and use fewer of them/less volume, which isn’t as fun, quite frankly. But this flannel really drew up nicely, without a ton of bulk, and they lie so neatly along the sides of the placket! Gah!! Ruffles!!!
 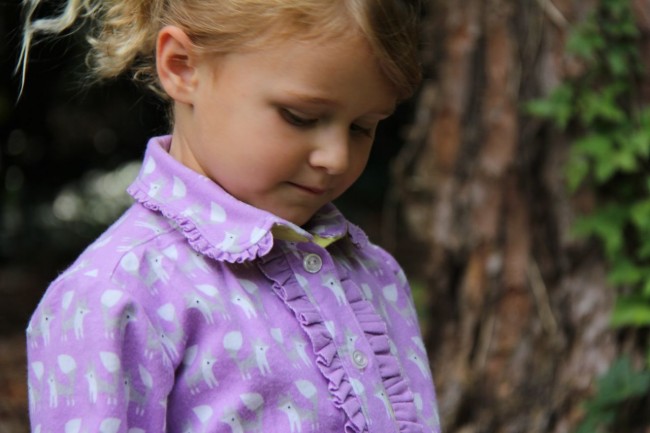 When I traced out the size 5 from the Sketchbook Shirt pattern (yes, I did trace, even though I was tempted to JUST GET SEWING ALREADY, because the pattern goes up to size 12, and we have a lot of years left when I want to have the option of choosing this pattern), I rounded out the collar points to make a subtle not-quite-Peter-Pan-collar shape. Could I love it more?!? No, I could not. CRAZY cute with these teensy ruffles.
 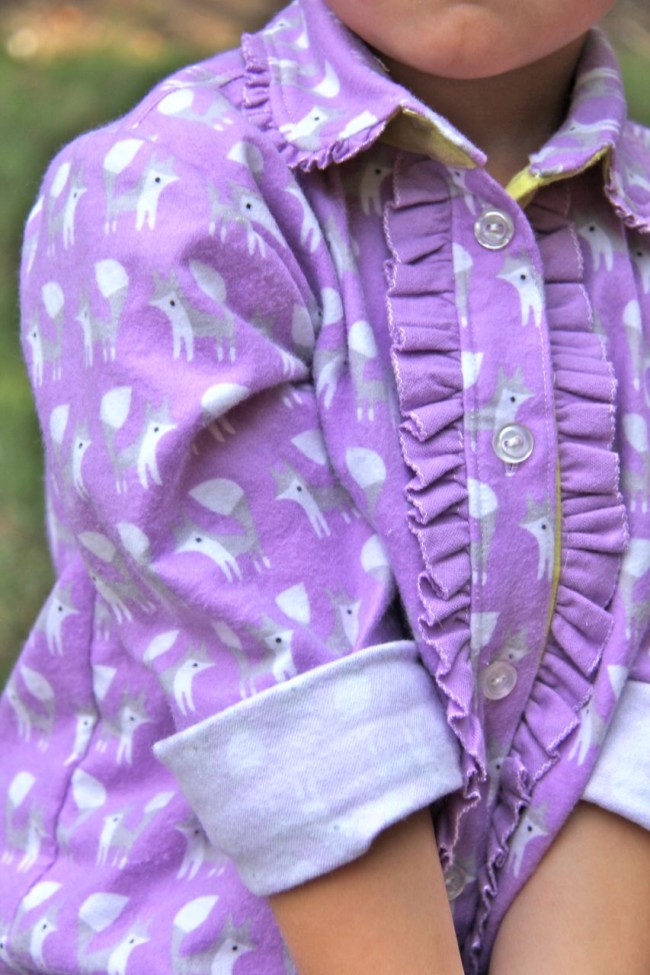 For the ruffles along the front button plackets, I cut a strip crosswise that measured 1.5-times the length of the button placket by 1.25″ wide. That gave me a 3/4″ ruffle along the edge of the seamline, with a 1/2″ seam allowance to match the seam allowance in the pattern. On one long edge, I used an overcast stitch to finish off the edge and prevent unraveling (I debated switching to a matching thread rather than white, which I used for the entire construction of both these shirts, and went with white; I don’t THINK it shows up too much, but might do it differently if I were doing it over), and then ran a line of gathering stitches at 1/2″ from top to bottom. When I attached the button plackets to the left and right shirt front, I simply laid the ruffle wrong side to right side on the shirt front, sandwiched between the shirt front and the placket, then captured it in the same seamline. Easy peasy! Ditto the collar, but there I cut a 3/4″ strip, overcast the edge, ran a gathering stitch at 1/2″ and basted in place on the main collar piece before attaching the undercollar.
 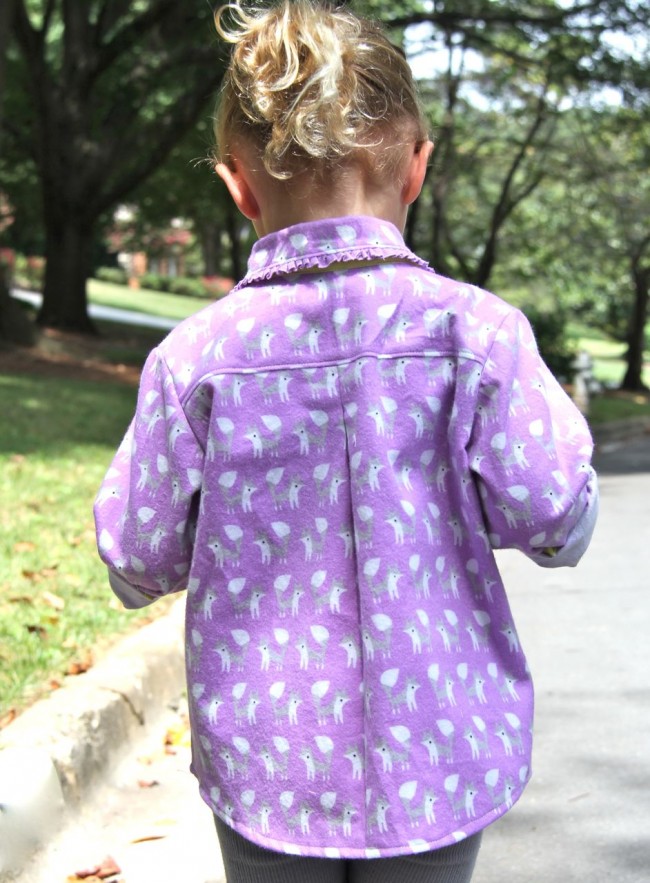 On the back of this one, a happy little accident: I stitched the pleat line down right sides together, rather than wrong sides together, and made an inverse pleat. But I love it! So I left it. So cute, and just a smidge different enough from his shirt that they really look like different styles.
 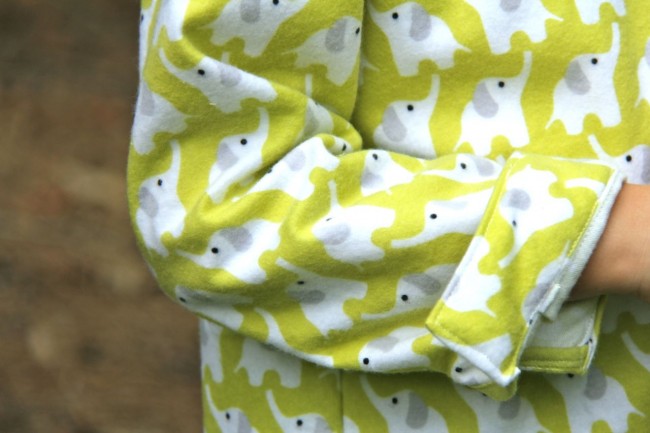 I confess that I read very few of the directions that came with this pattern. I’ve manufactured styles similar enough to this that I skipped that part–with one exception: that slash in the sleeve where the cuff meets and buttons shut. See that skinny strip of contrast there, on the inside? That’s such a finicky, fussy bit of sewing, and I can always use a new tip on how it goes together. Liesl’s directions were EXCELLENT, and gave me a new insight into how that particular bit of sewing can get done well–I don’t remember how I used to do it (badly, I think), but I know I never got results that looked as good as this, and I’m really, really excited about it!! I was also really pleased with how UN-bunchy the flannel is here. This step requires a lot of folding and some narrow stitching, and another flannel might have been too stiff or lacking in flexibility for the job. This organic cotton flannel really pressed well and held its shape, and was very easy to sew in tight quarters.
 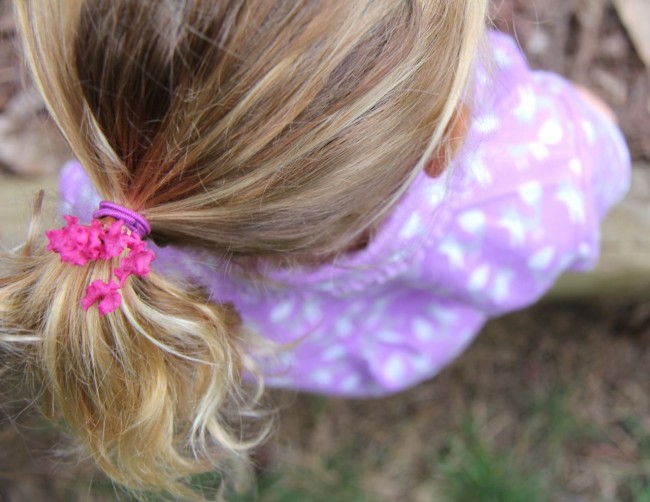 I also switched up how I attached the collar. Most patterns of this style have you sew the whole collar and then attach it with the undercollar already sewn on. I attached the undercollar to the shirt FIRST, then sewed the whole collar on top of it–MUCH easier, I think. More details in a future post!
 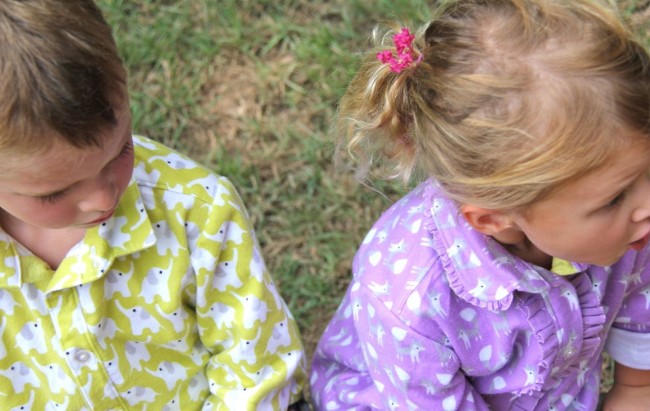 I’m completely delighted with how these two shirts turned out Despite the fact that I ran out of buttons and couldn’t add them to the cuffs (anyone catch that??), they are nearly perfect, and will be a GREAT addition to the kids’ wardrobes this winter. The weather hasn’t turned here yet (poor darlings, they were troopers and modeled these in 85 degrees!), but when it does, the kids will wear them a TON–our girl has refused to take hers off, and keeps talking about how soft and fuzzy it is. We’re all in love! Fanfare Flannel has hit stores all over! Get it from Hawthorne Threads, Pink Castle, or your local fabric shop. You can get the Sketchbook Shirt pattern as either a printed pattern or a PDF direct from Oliver + S or from most of the shops listed above!

Rae
August 19, 2014 at 1:27 pmYou are freaking amazing. That first pic is SO precious, I actually died a little of cute. SO cute!!! Love the ruffle addition too; I need to get this pattern!!
Deborah
August 19, 2014 at 1:31 pmHaha! Oooh, you know how to sweet-talk a girl, Rae!! The pattern is a breeze, and the COLORS in this fabric have me totally giggly. For reals: I did NOT want them to take these shirts off, because I can’t get enough of them. SO soft, so sweet!! Thanks for letting me play out my ruffle-front shirt fantasies with your fabric! 🙂
Lightning McStitch
August 28, 2014 at 8:20 amLOVE these two shirts and the beautiful pictures. I wholeheartedly agree with your comments on the sleeve placket instructions. Awesome, huh?
You’ve done a great job sewing two very different looking shirts from the one pattern.
Dee
August 30, 2014 at 9:37 amI like the white thread on the ruffles! Goes with the white in the fabric! Beautiful job, well done!