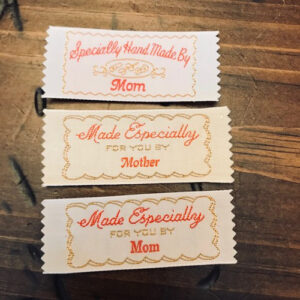
Years ago, when I was very young, my mother made clothes for me and my sisters, and she had these little embroidered tags from the fabric shop that she’d put in the waistbands of our elasticized shorts so we could tell front from back. They seemed so FANCY, like, they were basically like store-bought, right? And they said, “Made especially for you by MOM,” which was all a six-year-old ever needs to hear to feel treasured.
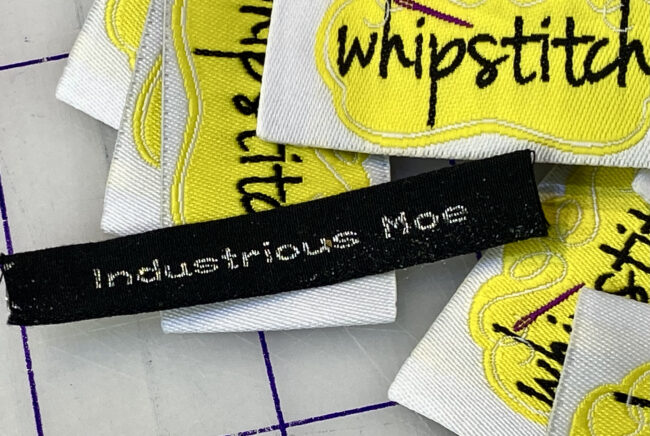
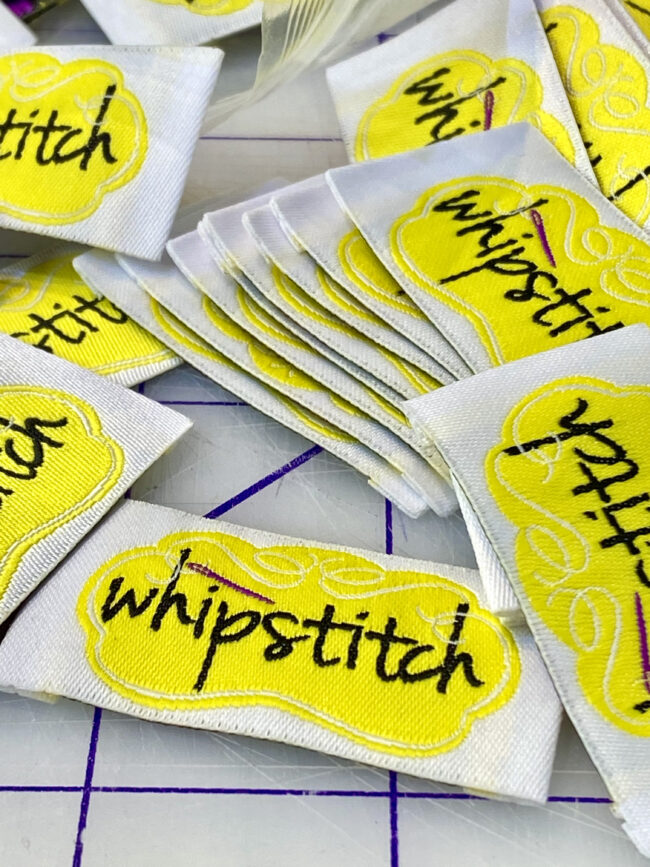
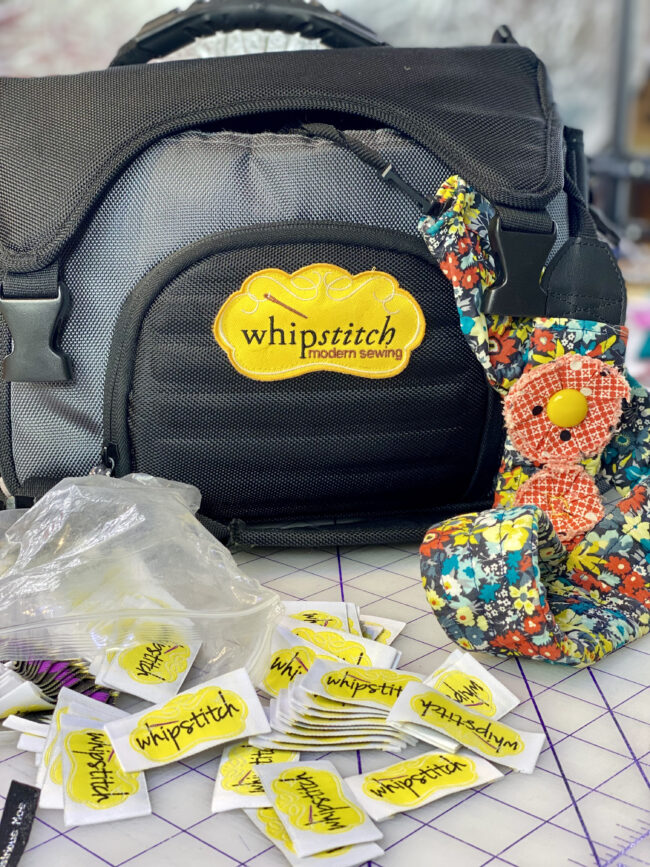
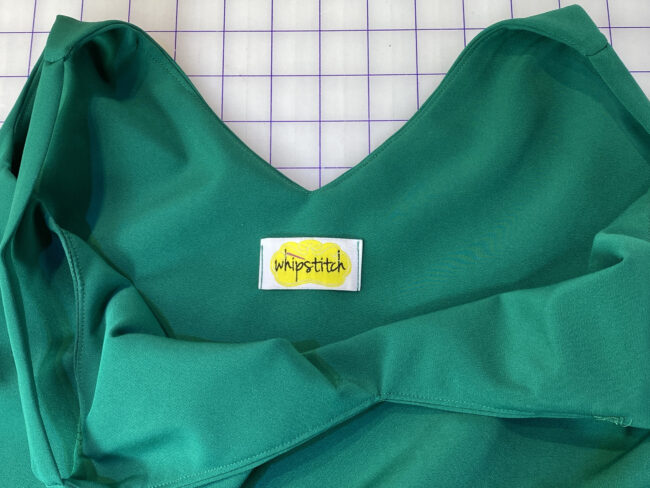
I love having my very own custom labels. Mine have the Whipstitch logo, and I’ve been thinking it would be awesome to have some League of Dressmakers labels to sew into samples for League sewalongs or into prototypes for League patterns. But I could just as easily have had them made with my name or a stock image–in fact, years and years ago, when I very first started making clothing to sell, I had these made up and still put them in garments I sew for my husband using an old nickname:
I’ve tried a few different companies over the years but by far my favorite has been Dutch Label Shop, who made these for me a few years back. I uploaded my art, they sent a proof, and BOOM! I’m in business.
I love adding labels to homesewn to projects. I use them in the same way I have used my Whipstitch patches in the past: to personalize the handsewn things in our home and closets, to remember what I’ve made, and to elevate it by marking it as something worthy of tagging. It lends a sense of gravitas, a little tangible valuation that indicates my time and effort and care have turned into something practical.
Something about a tag feels more professional and polished. The garments I sew and then label have longer lives in my closet, funny enough, and I’m not sure what’s chicken or egg there. Do I label them because I’m more pleased with my results? Or do I wear and keep them longer because they’ve got labels and feel more like “real clothes”?
Maybe you’re not ready to order your own custom labels, but I encourage you to consider using some kind of tag in your handmades. It can be a small scrap of ric-rac, or a bit of ribbon, or even a selvedge that came from the yardage after cutting out. Whether you use one of those examples or purchase labels, there are two main ways I sew them into my clothing, depending on the construction of the garment.
Version One: Folded in half under the neckline
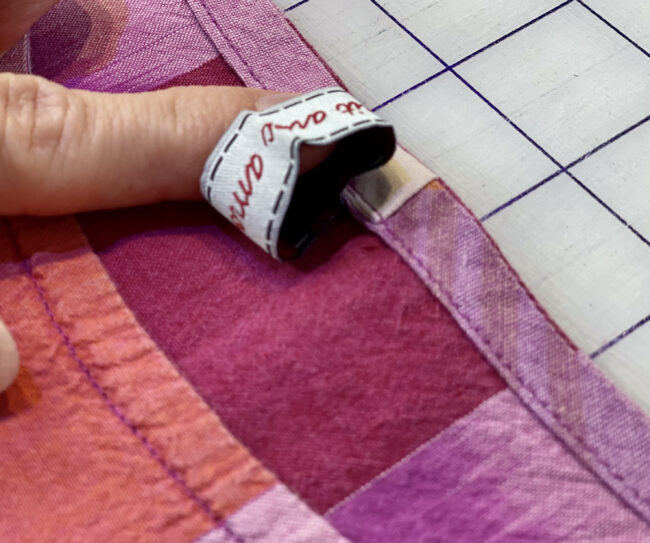
Folding the tag in half and tucking it into the neckline seam is the simplest application. I use it primarily on necklines that are finished with bias tape, because it takes up very little space and doesn’t stiffen the bias binding.
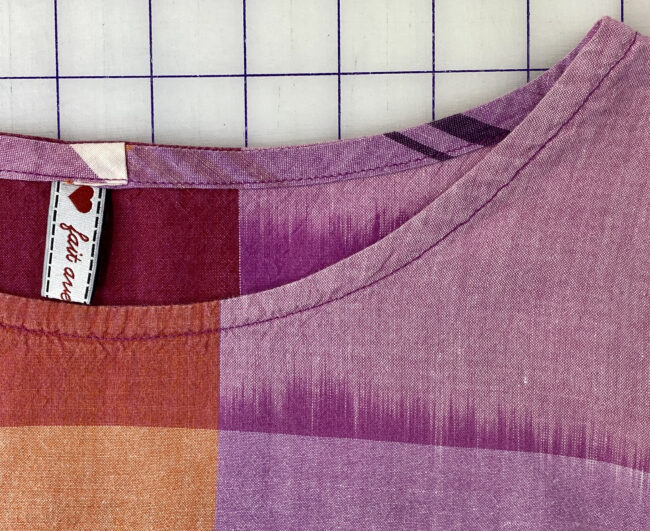
Remembering to stop sewing so I can tuck the tag into the binding is the hardest part of this technique. Seriously. The seam itself holds the tag in place, and it doesn’t even need to be carefully centered in order to serve its purpose.
Folding the tag in half this way mimics how a lot of care labels are inserted into garments we get from a store, and carrying that idea forward it’s easy to see how many different places the tag can go: not just under the interior neckline, but at the interior side seam, or even the exterior side seam, where it’s visible from the outside of the garment.
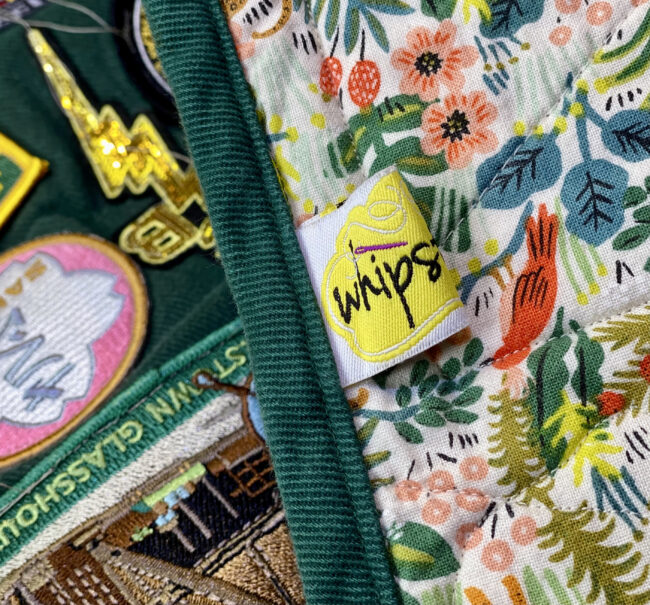
I do the same thing to quilts, tucking a tag under the binding, folded in half. on the backing side. I love the way it looks, and how on a larger quilt it feels like a little discovery every time I see it. This is one of the National Park Junior Ranger blankets I made for our kids, and the tag hides just a bit in the backing fabric, just enough that it tickles me whenever I spot it:
Plenty of store-bought, non-custom labels work great in this kind of application. I really love these from Sublime Stitching, which are longer and narrow and cheeky, and make my kids laugh when they read them inside their Christmas jammies on Christmas Eve.
That brings up another point: tags are a great way of making handsewn clothing easier–by making back vs front super obvious. Especially with kids’ pants (like pajamas) or tops without a really obvious front vs back (like the Ogden Cami), adding a tag at the back makes getting dressed simpler.
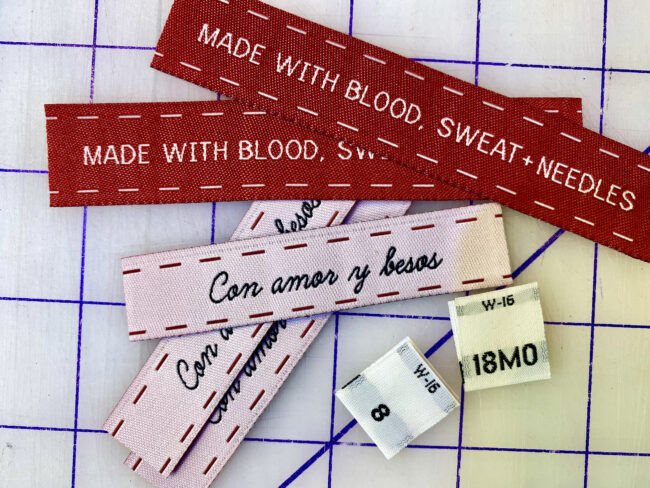
Most vendors who sell personalized or custom-made clothing labels also sell size labels as a stock option. I love adding size labels to children’s clothing so that as I hand down things I’ve made for my kids, or if I donate handsewn garments to charity, I can always tell what sizes they are. You think you’ll be able to tell, but honestly, a tag is about a thousand times simpler and means that your handmades have a life beyond your home in ways that are hard to predict but can really pay off.
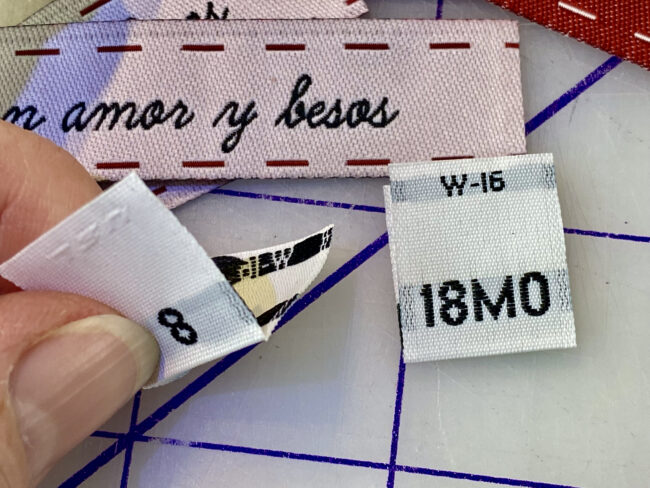
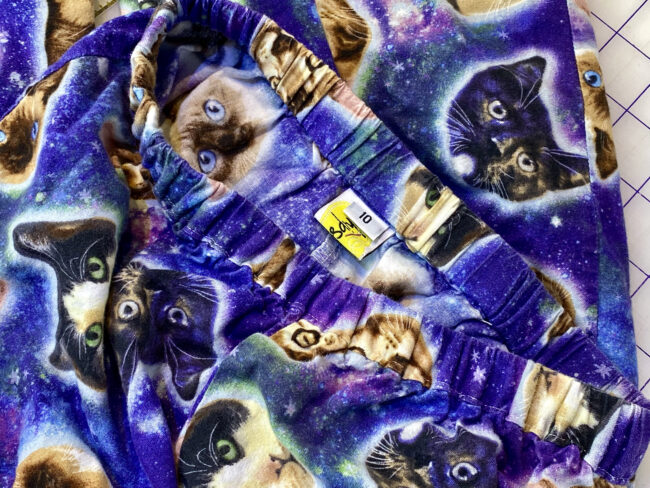
Size labels like this almost always come folded in half, so that the raw ends can be tucked under the waistband or neckline and stitched in place. I like to hold them in that seam, and sometimes use them even when I don’t use another tag.
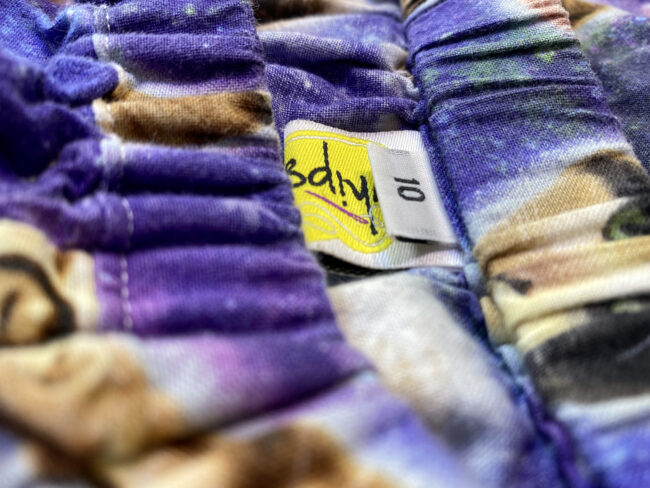
You can also add them WITH a tag, for a really professional look (even when the fabric is cosmic cats):
Version Two: Ends folded square and stitched down
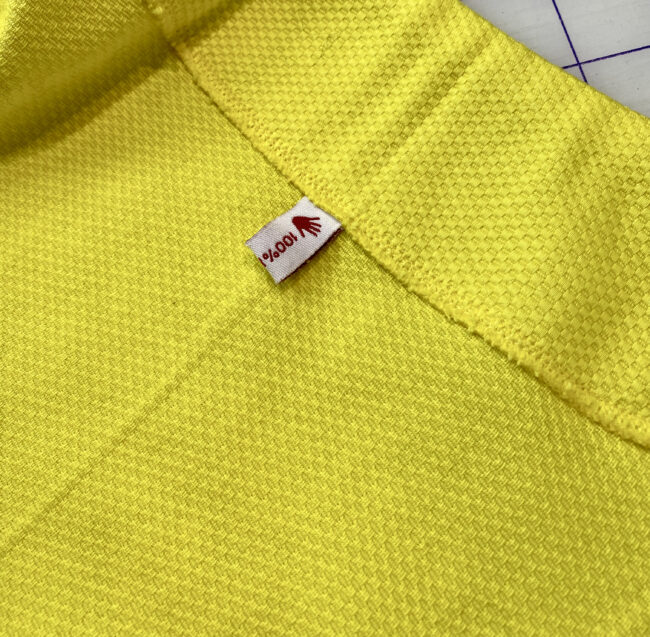
Folding in just the ends, rather than folding the whole tag in half, works best for facings or linings at the neckline of a garment. It’s simple and will lie flat when the garment is worn, which helps keep the fabric appearing smooth from the exterior.
For example, this is the Ogden Cami, and the front of the top isn’t much higher than the back, so when it’s on the hanger, it can be tricky to tell which is which. Adding a tag to the facing means that problem is solved, and stitching through the facing ONLY means that the exterior doesn’t show the stitches holding the tag in place.
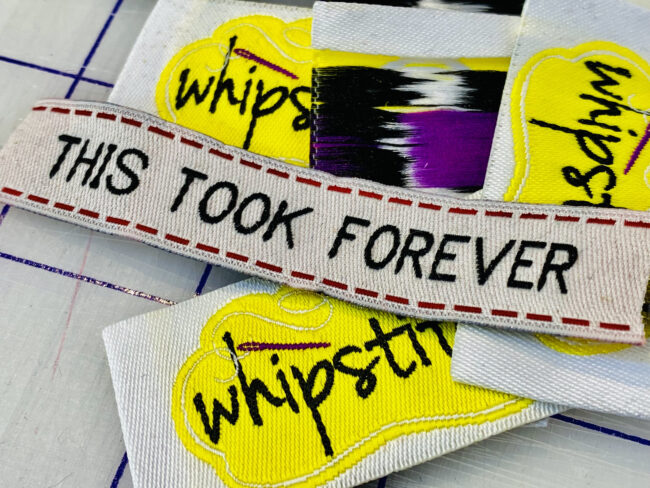
I ordered my tags with the two ends folded under to start with, and if you make a lot of garments with facings, that’s definitely the more efficient way to do things. You could, hypothetically, order one version of tags for side seams and bias necklines, and another for flat facings, two different styles that lend themselves to varying placements. I can guarantee I would have done that if I hadn’t gotten excited and ordered 250 (you read that right) of one style, and now I need time to work through all of them.
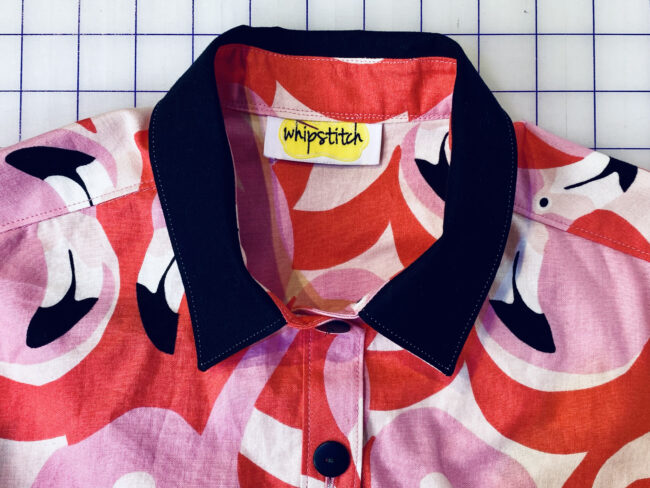
On the Ogden Cami, I stitched from top to bottom on both the left and the right sides of the folded ends of the tag. Another way to install the same style of tag, like in the Archer Shirt above, is to tuck it under the neckline or waistband just like the first technique, but rely on those folded sides to keep it from being scratchy. This can be a nice option if your tags are a little wider, since it makes sure they’re still comfortable.
What about you? How are you adding tags or labels to your handmades to take them to the next level?