
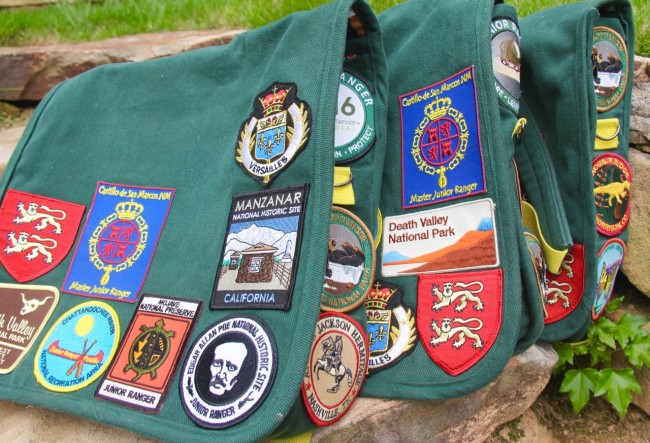
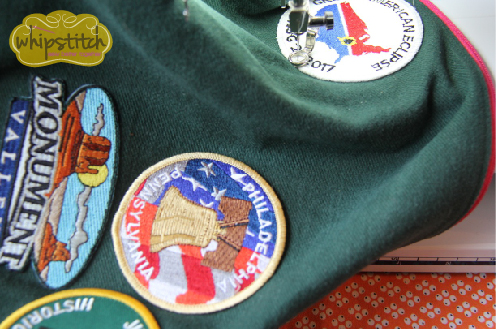
For our children’s Junior Ranger backpacks, I worked hard to plan the design to enable the maximum number of patches to be added over the years. Every Junior Ranger receives a pin when they are sworn in, and I’ve seen some children at various national parks with dozens of these on vests and jackets.
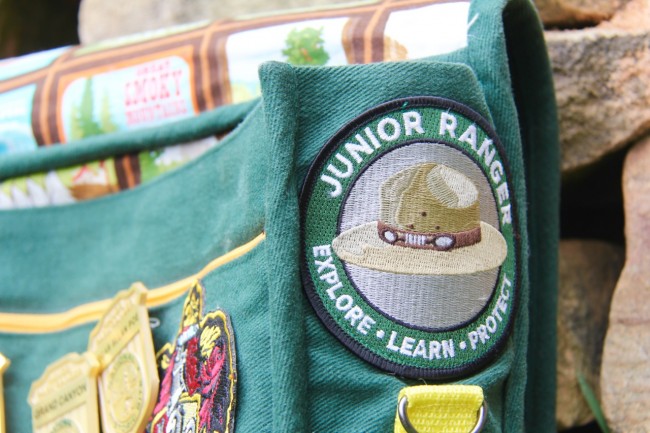
Some of the parks, however, also award patches to their Junior Rangers. They do these in different ways: some parks give the patch as a matter of course. A few have levels of patch, based on the age level of the Junior Ranger in question, and kids can earn more than one patch at that particular park by completing more Junior Ranger activities on subsequent visits (this is usually only the very largest and most popular parks, like Yellowstone). Other parks have it in the gift shop where it can be purchased–but only after showing the pin badge as evidence of Junior Ranger-ness. Some, like Grand Canyon, also have them in the gift shop, but behind the counter where Junior Rangers must ask for them and then purchase. A few (like when we visited Mojave National Preserve this spring) award the patch only if the Junior Ranger activity booklet is completed on-site, versus being mailed in after the visit.* And others have no patches at all, or at least not any specific to the Junior Ranger program (although we have encountered a very, very small number that didn’t have SOME kind of embroidered patch available).
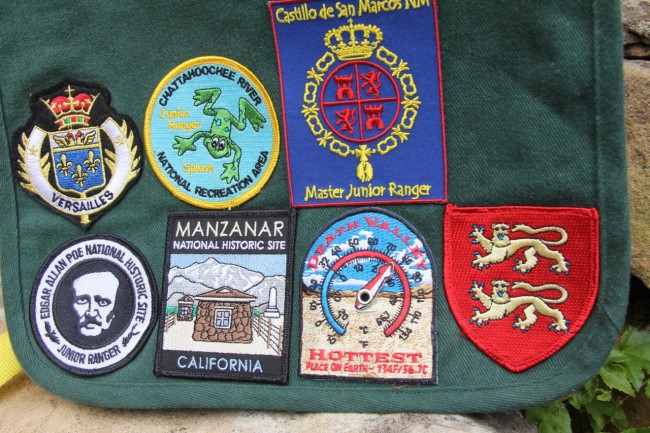
I can’t entirely explain why I’m so obsessed with these patches, but I am. I love that each one is so unique, I love that the come in different shapes, and I love how specific they are to the parks. And my kids feel so excited to really EARN each one–the Park Rangers who award them take the whole process pretty seriously, too, and we have consistently found that they look at every page and every activity the kids have done, ask questions about what they’ve learned, and then swear them in with genuine solemnity. So preserving and displaying them was a big part of the design consideration for these backpacks, and making sure that they’re not going anywhere was a big part of attaching them.
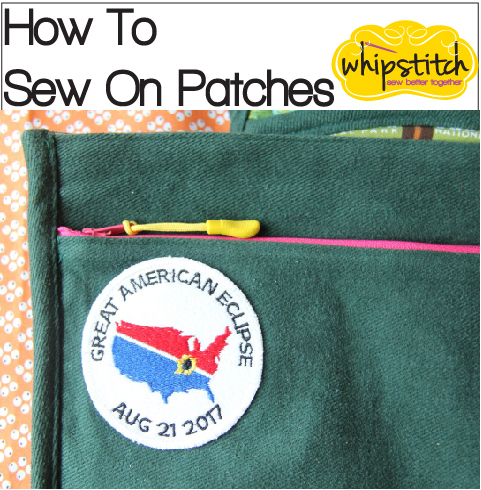
After the recent Total Eclipse of the Sun, I had new patches to add to our kids’ backpacks! So I shot some quick photos while I was at it, in case you’re hesitant to start your own collection because you’re (1) not quite sure how to put them on or (2) worried they won’t stay put. Have fun! [NOTE: these are not Junior Ranger patches, although there is a Junior Ranger badge for the eclipse; you can find these same eclipse patches here.]
Many, but not all, of the patches are adhesive. You can tell if a patch does have heat-activated adhesive on the back by examining the wrong side of the embroidery–while many patches have a coating over the stitches, only heat-set patches will have a thick, slightly translucent or “tacky” backing. It may even have a peel-away paper to protect the glue, which you can remove when you apply the patch.
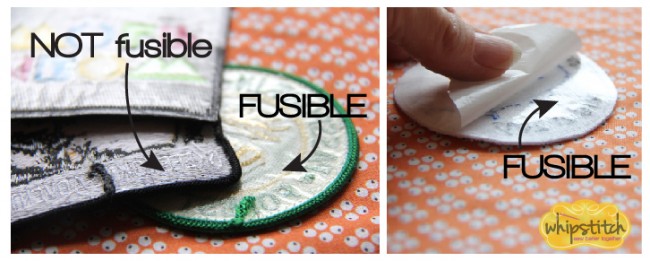
If there is only embroidery thread and no coating, your patch is sew-on only; skip the next two steps at the iron, and instead consider using a sewable glue stick (like this one from SewLine) to anchor the patch in place prior to stitching at the machine.
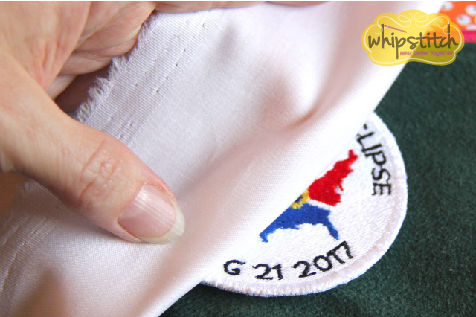
If your patch is of the adhesive variety, you can stick it semi-permanently to the fabric with heat. Do this with a very hot iron and a press cloth. Put the patch on the surface where you want it to stay, and be sure it’s squared the way you like. For me, the heat setting is a temporary measure designed to hold the patch in place until I can stitch it down, but in some cases, it can be tough to sew a patch where you want it–existing seams can interfere, or the fabric may be too thick. The adhesive on most of these patches is very strong, so if you do a good job of fusing it now, it will hold for a long time.
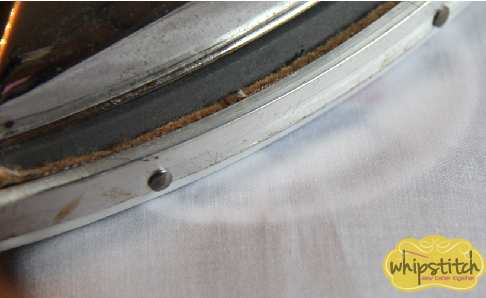
Cover the patch with the press cloth, taking care not to jostle it out of position. Lower the iron over the press cloth, and DO NOT PUSH. We’re not ironing the patch in place, we’re pressing it down, so this is a vertical movement of lowering the iron, not a horizontal movement of pushing it across the fabric. Hold in place for a solid, slow count of 10, then lift and lower again in a new position, slightly overlapping the spot where you previously fused.
Continue like this until every edge has been thoroughly heated–it’s the EDGES that really matter here, because that’s where the patch will peel up if it does. Taking time to make the edges super fused and secure will ensure that the patch stays put.
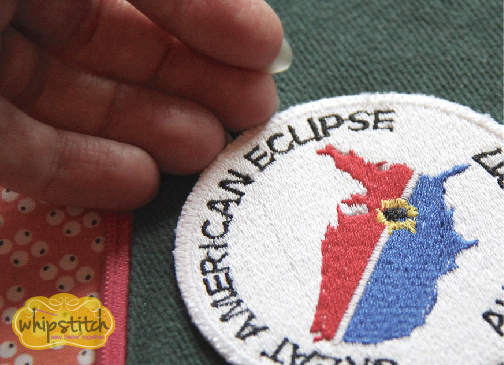
From there, determine if you want to stitch your patch in place in addition to fusing it. For almost all of the patches on the Junior Ranger backpacks, that’s what I did, only skipping the ones that I just couldn’t get to on my machine (for example, the ones near the base of the front pocket). You can test the quality of your fuse to help you make the decision: wait at least ten minutes, then gently tug at the edge of your patch. You should feel no movement or tearing of the patch coming away from the fabric. If your patch does peel away, either fuse again or move on to sewing it in place.
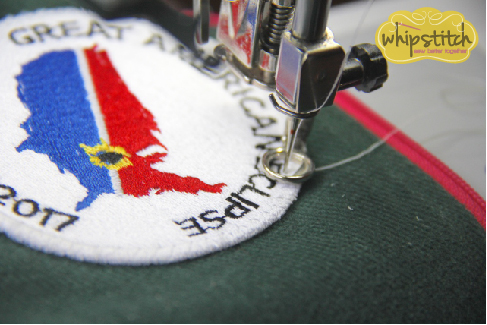
For best results, and easiest sewing, I use lower feed dogs on my machine and use the free motion presser foot, which prevents me from having to rotate the bag or drag large amounts of fabric under my machine arm while I’m stitching. If you don’t have a free motion foot, you can try your regular foot with a little Scotch tape on the bottom to help it glide; if you can’t lower your feed dogs on your machine, try setting it to a straight stitch at length ZERO.
Before sewing, be sure to match your thread to the outermost ring on the embroidery. This will help it to blend and disappear the best.
As you sew, stay in the rolled outer edge to best hide stitches in the “lip” of the embroidery. Keep your stitches short and even, and slowly rotate the patch until you’re able to stitch the entire circumference. For square or triangular patches, pivot at each angled edge to change directions. Using your machine’s free arm makes this easiest with bags and the like, to give more freedom of movement.
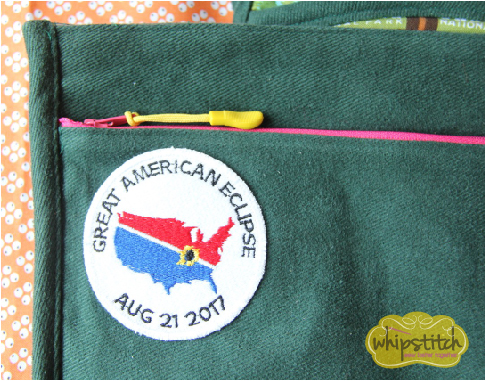
Stitched on this way, these patches should last years to come! The same technique will work for adding patches to jeans, jackets and tees. Easy fix for rips and tears, simple way to show off your affiliations and interests, and fun way to embellish your clothing.
Jennifer O.
September 6, 2017 at 12:50 pmI love your bags and that you’ve created a way for the kids to carry their memories around with them. I was a Girl Scout for many years and collecting many badges from events, cookie selling, camps, etc. Traditionally you’d sew them to the back of your sash/vest, but I quickly ran out of space. My mom/troop leader got us each an oversize chambray shirt and we sewed them all over – it was basically a jacket. And I sewed them all by hand! My sisters even paid me to sew theirs for them. You get in the zone. I should look in my parents’ basement and see if I can find my jacket next time I’m home in Atlanta!
Deborah
September 6, 2017 at 2:28 pmWhat a fun idea! Obviously, the amount of space on these bags is limited, and I love the idea of a shirt that they can grow into and wear for a long time–plus, a chambray shirt is classic! I’m so glad you shared that–it’s great to hear from you! 🙂
Jen - Sewing Queen
February 11, 2018 at 7:00 pmI wonder if I can create patches with one of my embroidery machines?? Thank you for a great idea!!!!
Deborah
February 12, 2018 at 9:35 amI know Miss Make has done that before–she made some for Cotton+Steel last year, I think you can still see them on her IG! 🙂
Personalizing with Patches | Whipstitch
July 23, 2018 at 3:10 pm[…] Second thing I did was get to work adding patches to our tees and sweatshirts to personalize them (see a step-by-step here). Most of these are iron-on, but I never trust the heat-activated adhesive to be strong enough to […]
Bob Wieser
August 9, 2018 at 8:08 pmMy son has a collection of 60 ranger badges.
We put then in a frame with the map form the national park service of the united ststes.
He also has a wooden one that was branded happy 100th birthat NPS.
Deborah
August 10, 2018 at 1:46 pmWhat a great idea! That will be such a treasure for them over the years. <3