So this is the stage in this whole jacket-sewing process where we get to actually see someone wearing the jacket (muslin) and evaluate if it fits as it ought to fit, and hangs as it ought to hang, and has the overall shape and “slimness” desired.
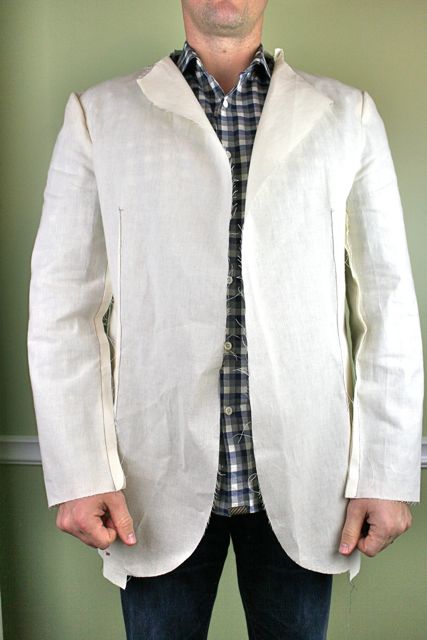
My husband takes a 42 in suit jackets–which is to say, his chest measures approximately 42″. The jacket does not measure 42″ at the chest, naturally, since that would make it challenging for him to breathe, and I prefer him less Smurf-like. Most off-the-rack men’s jackets allow about 4″ of ease at the chest, and this pattern seems to be no different. I was surprised by how similar the fit is here to jackets he has tried on at Banana Republic and Billy Reid. This style is a little roomier than some of the jackets he’s tried at Sid Mashburn, which have a slightly more “European” cut, but I think that might be a good thing. The challenge with a 42 jacket is that many of them are made for men with full chests–and full bellies. My husband has broad, muscular shoulders (yum), but no gut–so a lot of lesser-quality off-the-rack coats just hang on him like he’s wearing another (bigger) man’s cast-offs from the thrift shop. I was pleased to see that this style doesn’t have that look to it–because, wow, WAY less work for me.
There are a number of key fit points that we looked for, using his preferences as a starting point and layered with what we know about how a men’s coat should fit–Esquire magazine does a really great job of compiling cheat sheets for this kind of thing, primarily aimed at shopping, but really useful if you’re sewing, as well. See their article on How to Fit a Suit Jacket, as well as their guide Seven Ways to Tell if Your Suit Fits.
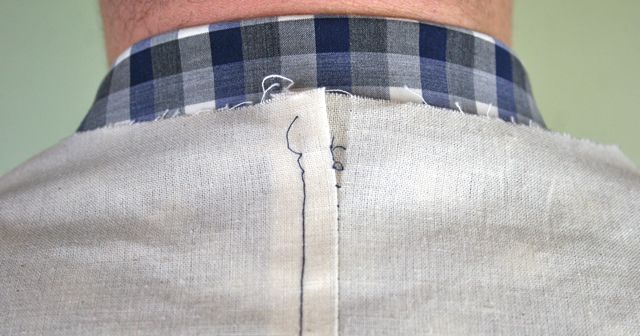
To start with, I wanted to know if the collar hit at the correct point on the back of his neck. Now, he first tried the jacket on with just an undershirt, but we both realized pretty quickly that we weren’t getting an accurate picture of what was happening, so he changed into a button-up shirt with an undershirt beneath it. The coat back upper edge should hit just at the base of the shirt collar, so that the collar (when attached) will lie on top of the shirt collar. Nailed it.
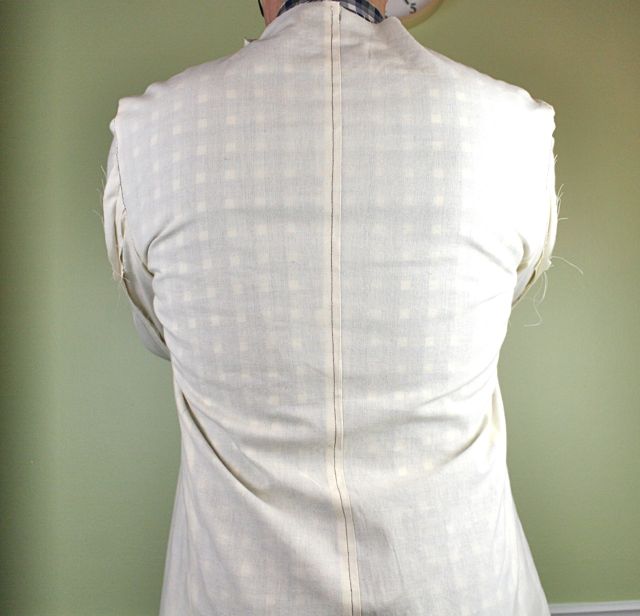
One of the things my husband does every time he tries on a jacket, under any circumstance, is reach around to the front and cross his wrists–he’s testing to see if he has enough room across the back for his arms to reach without raising the jacket unattractively. I don’t want to see a bunch of stretching or puckering across the shoulders, and he shouldn’t feel any pulling when he’s in a more-or-less normal position of reaching to the front. Again, this pattern looks pretty good in that regard–we’re getting a little pleased with ourselves at this point, what with the fit working out fairly well right out of the package.
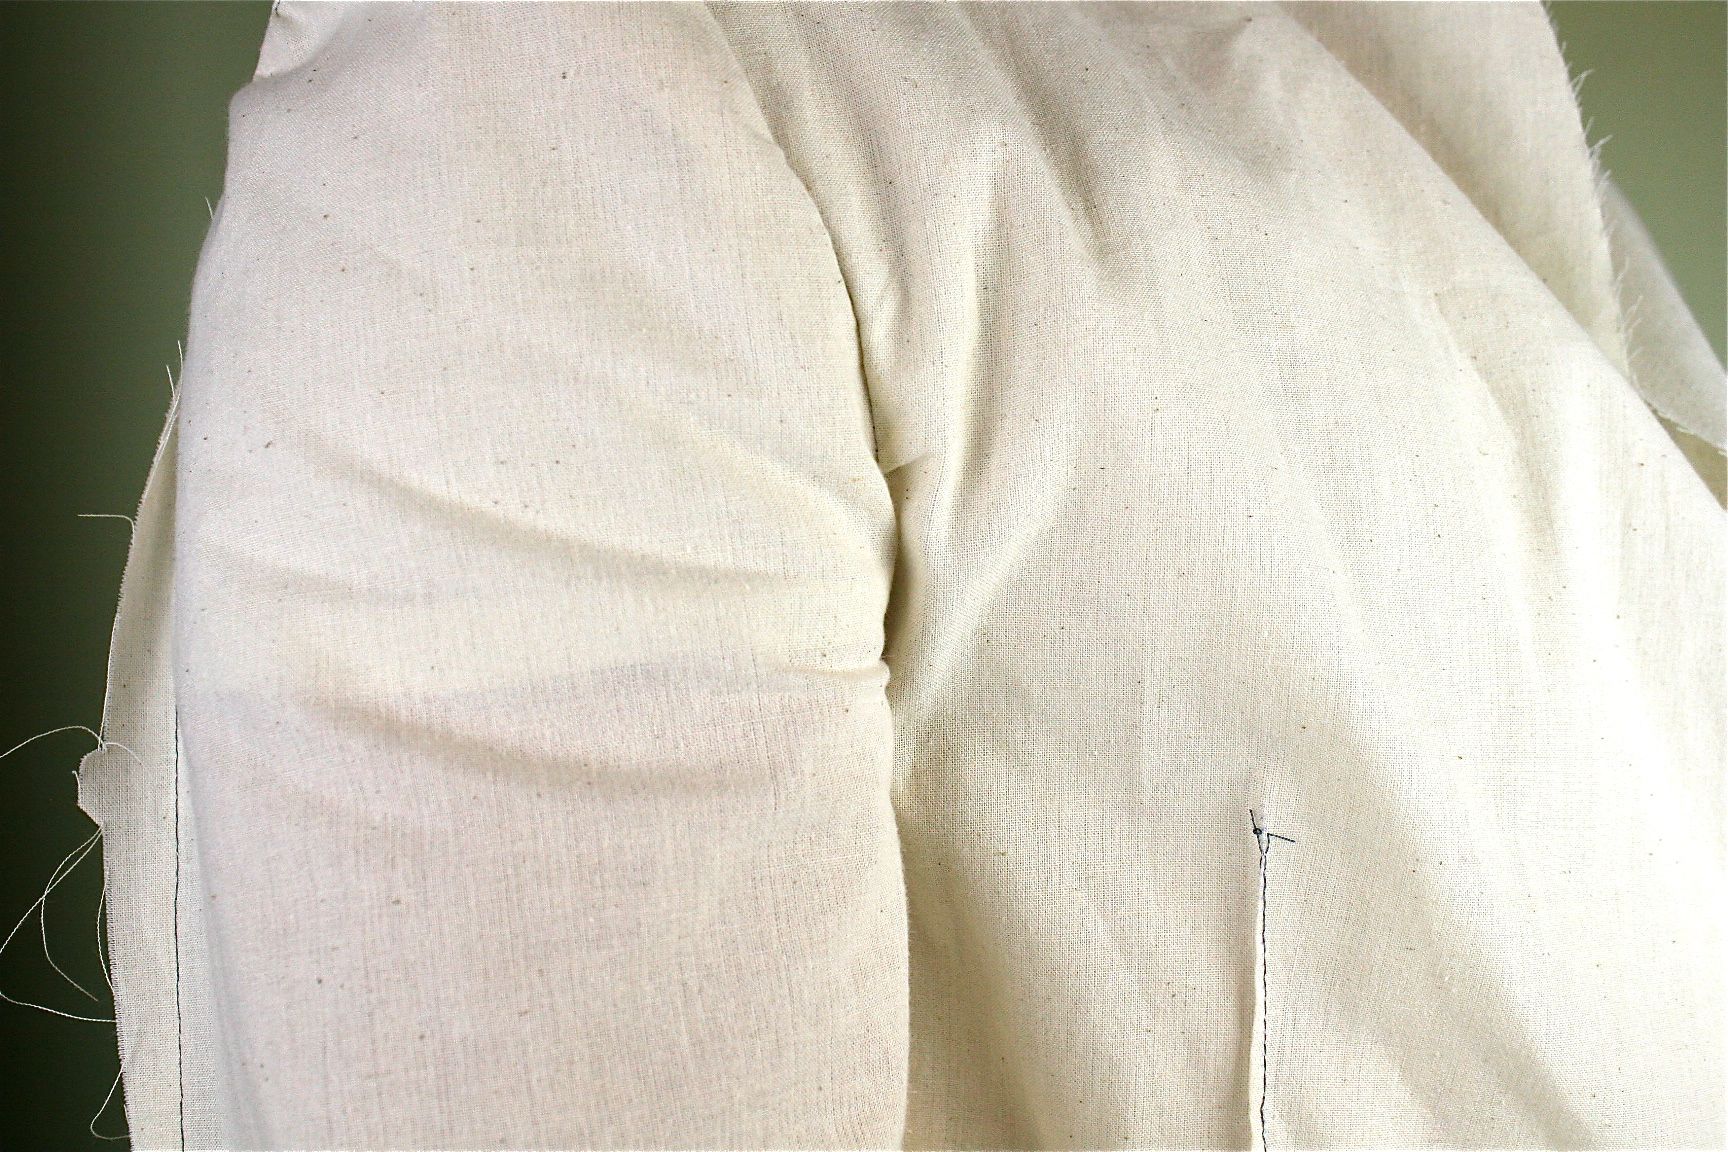
Next concern in the amount of room under the arms, particularly at the front of the jacket. My husband especially struggles with those more European cut jackets, because the narrowness of the cut makes for smaller armhole openings, which pinches and binds on him at the front. With both the undershirt and the collared shirt beneath the muslin, there isn’t quite enough space under the arms here–it’s not horrible, but it’s a little more snug than he would like. Now, if I were to make this shirt out of linen, maybe it would be ok, since he’s less likely to wear an undershirt in the summer months, but if he were to wear a golf shirt or something along those lines, that would be even more bulky than what he has on now. So first chink in the armor: need to adjust the space under the arms.
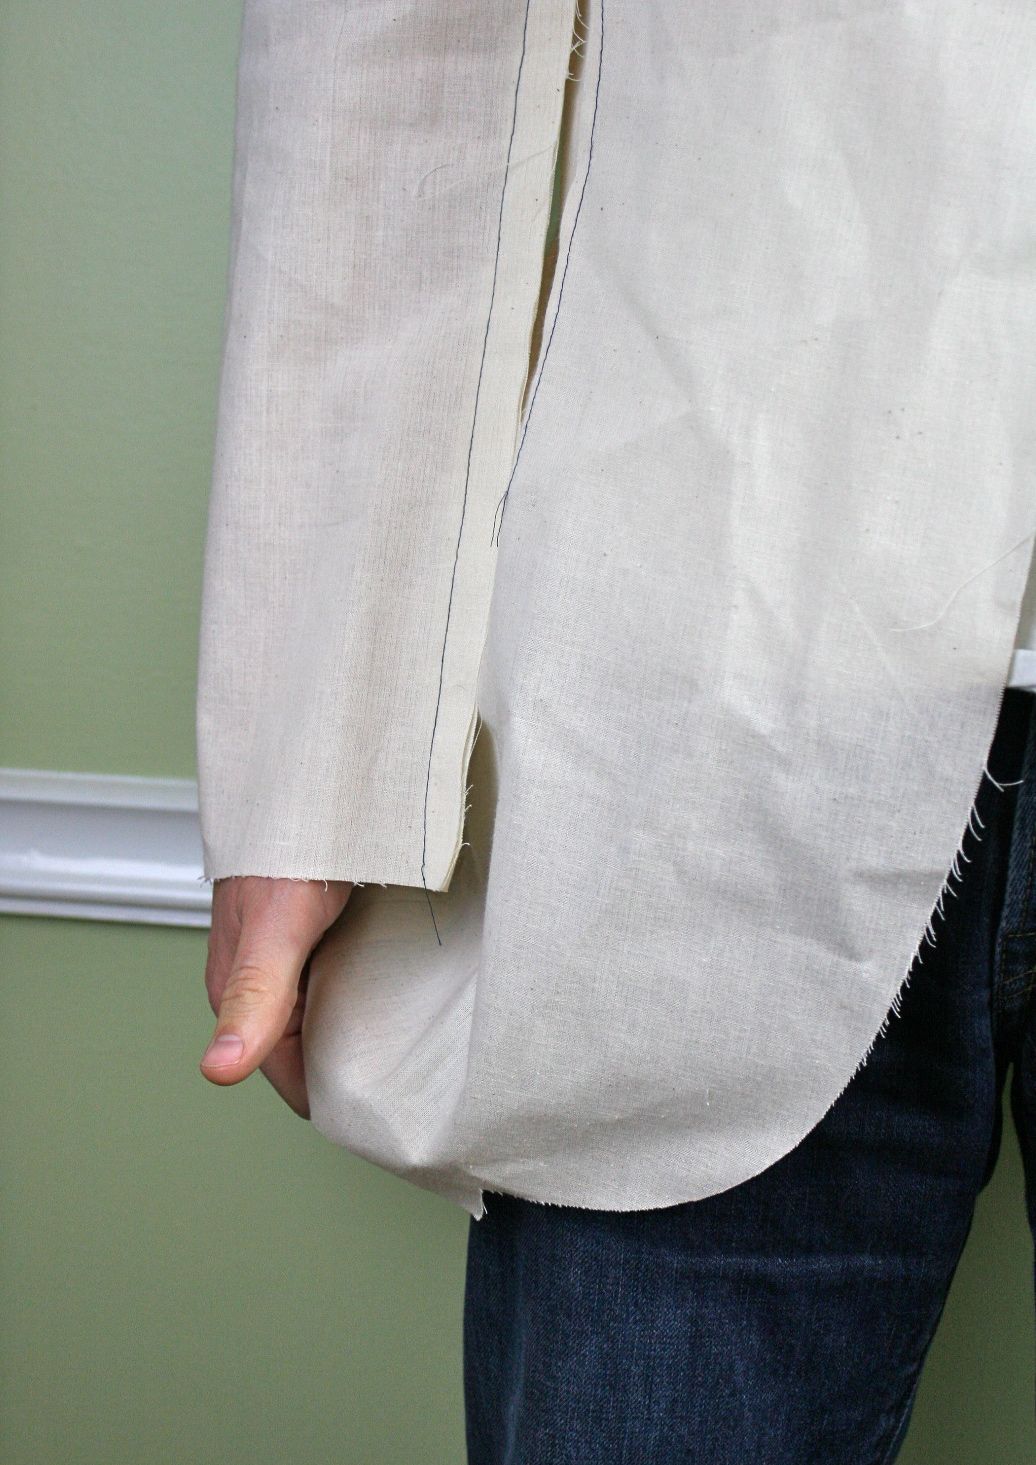
As long as we have this thing on him, we checked the length. Obviously, it isn’t hemmed yet–you can see the little dogleg bit at the front edge there where the facings will attache and allowance has been made for hemming. Taking into account that we’ll lose about 1″ for the hem, this looks pretty good–we want the coat to come to the fold in his knuckles when it’s finished. Which is to say, when he cups his hand under the finished jacket, the finished edge should rest comfortably in his folded fingers.
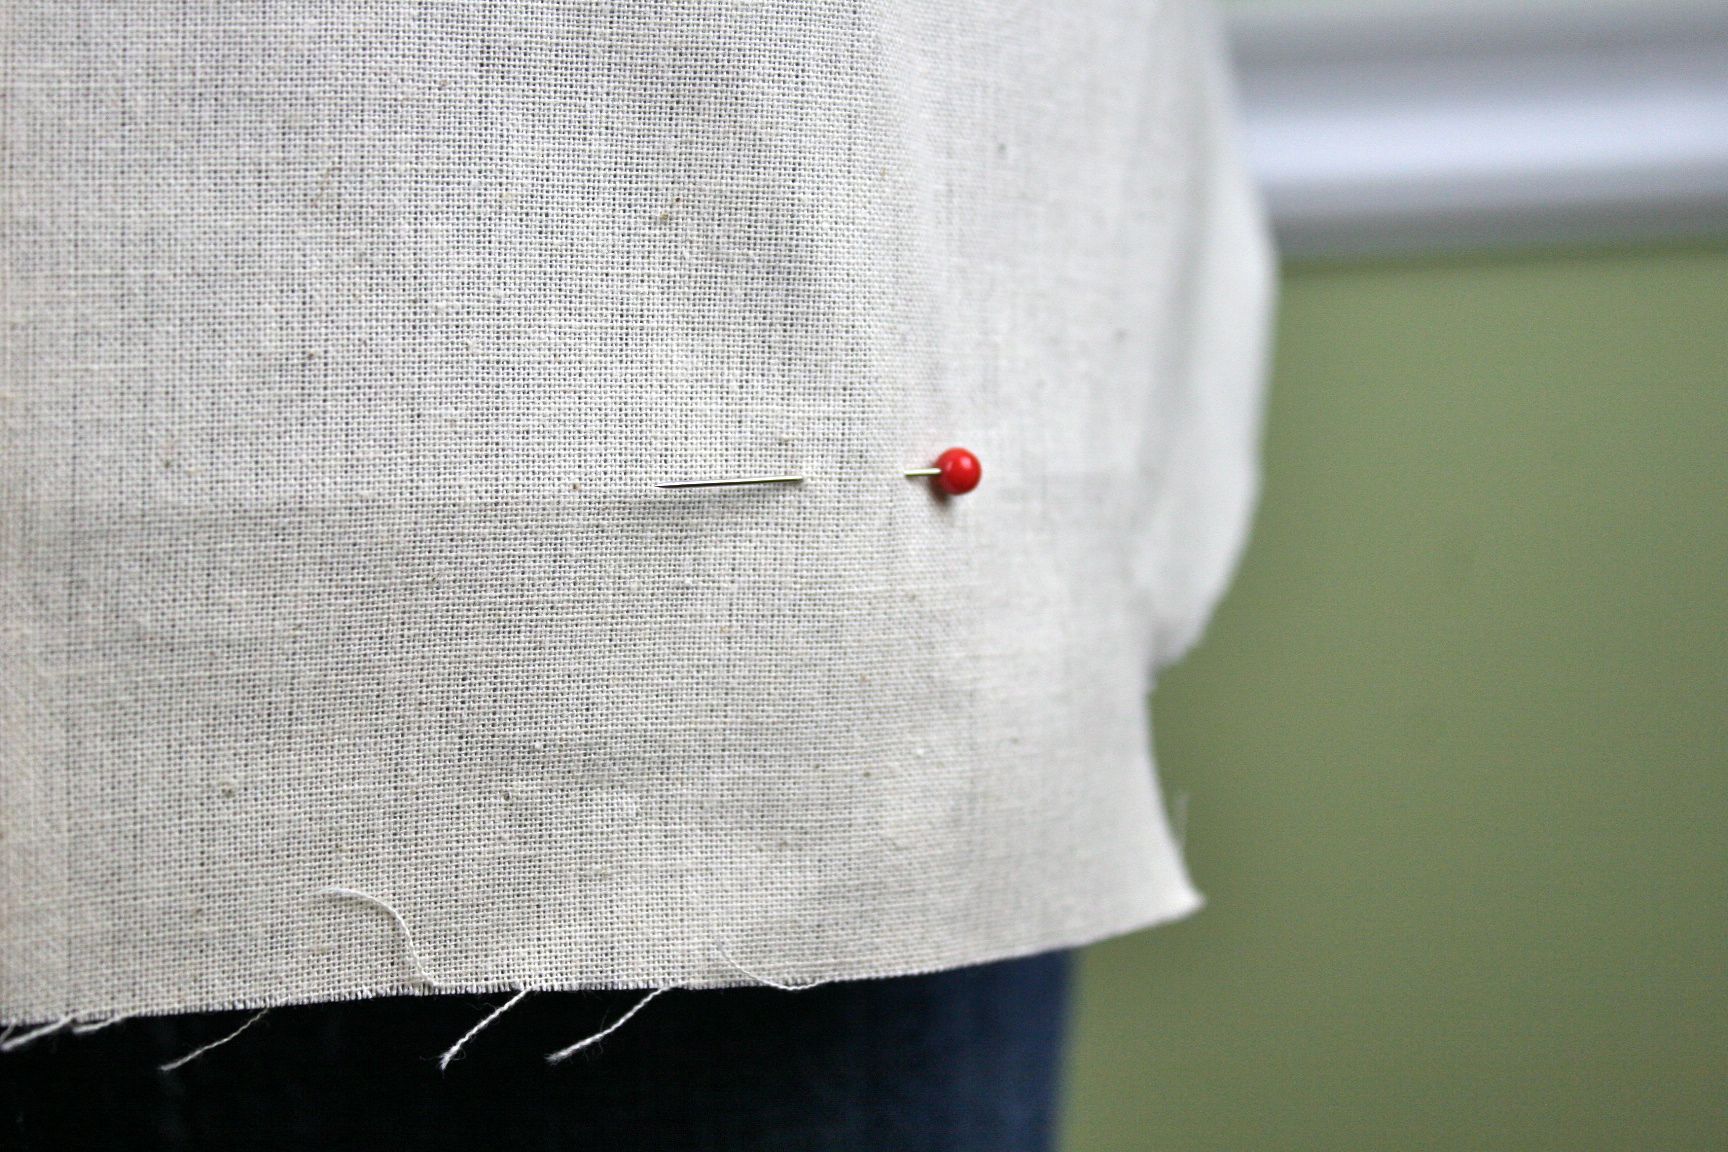
I marked that point on the muslin with a pin, so that when I do the hem, I’ll be able to check the length and get it right the first time. Who wants to do it over again, right?
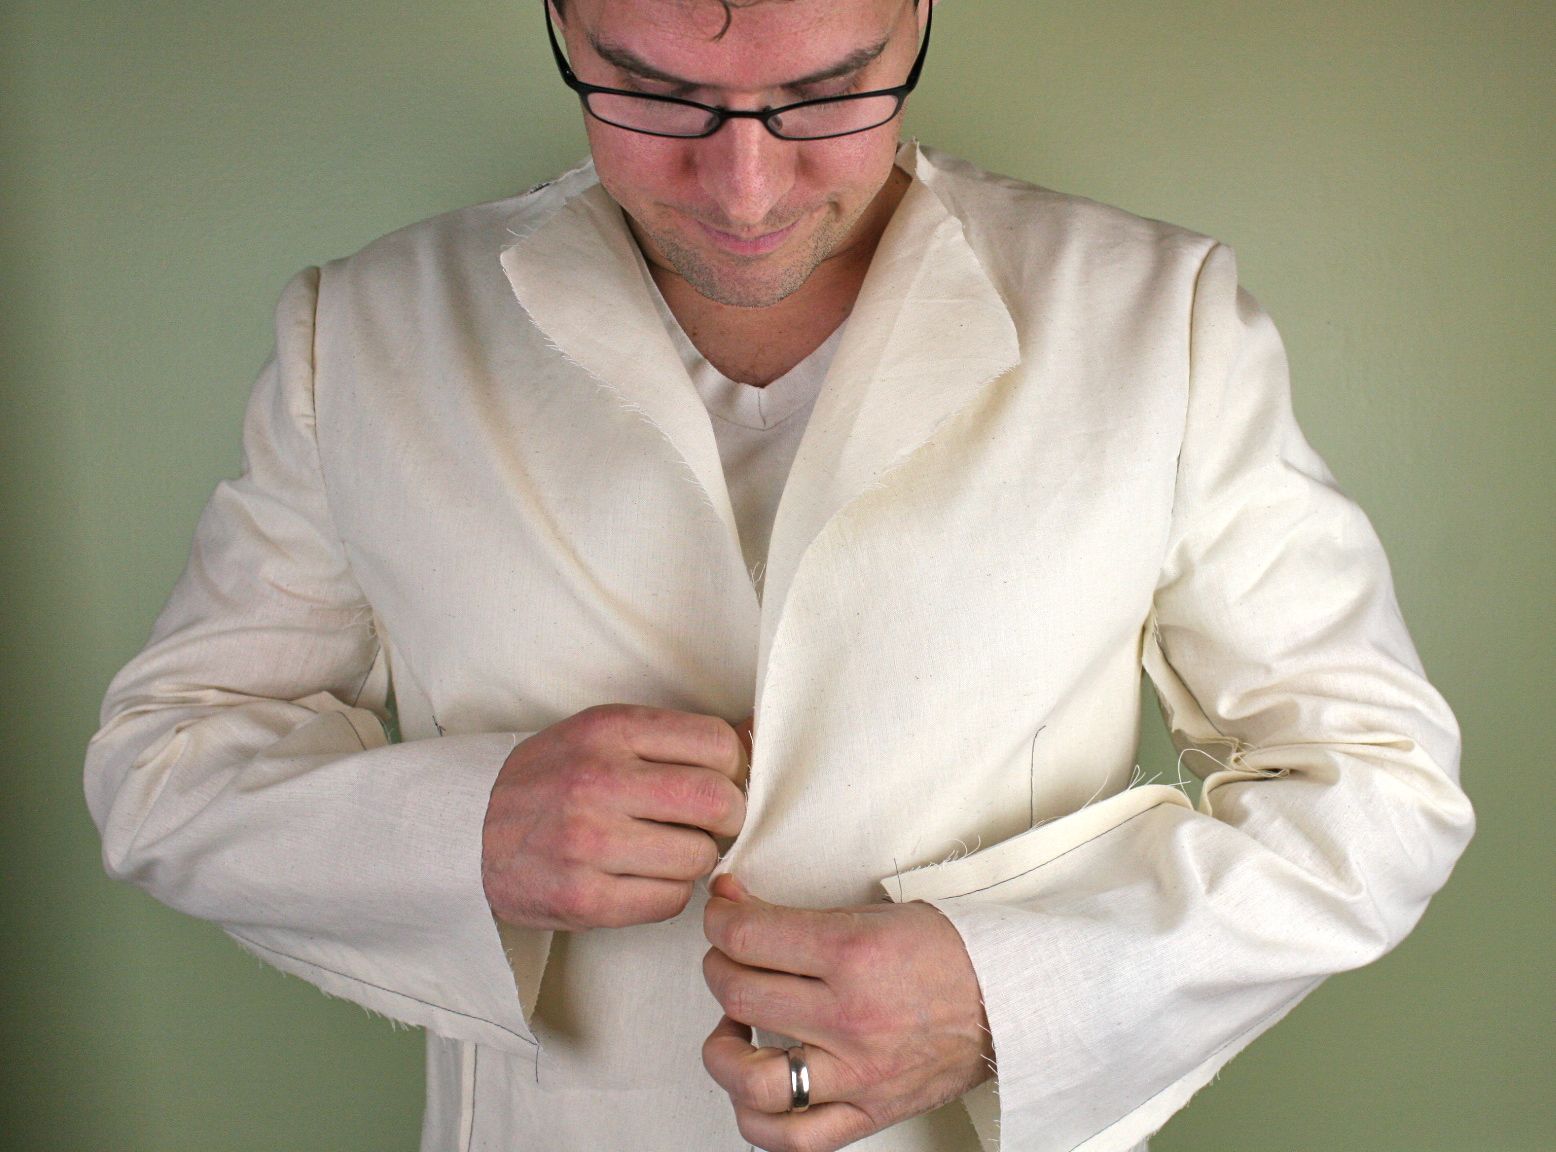
Final check, does it fit around the front? This style has darts in the fronts and in the back, nipping in the waist just a bit for a slim profile. That’s part of what I like about it–this doesn’t hang on him like a sack, it’s really a nicely shaped jacket (but without me having to do a ton of tailoring, since I am not a small Italian man). There’s a 5/8″ seam allowance at the front edges, so taking that into account and placing one side over the other as it will be when he buttons the jacket, we want to verify that there will be the correct amount of space with the jacket closed–Esquire says he should be able to place his flat hand in with ease, but if he places his fist in, it will pull at the buttons. Seems OK from here, given that we’re assuming a little on button placement.
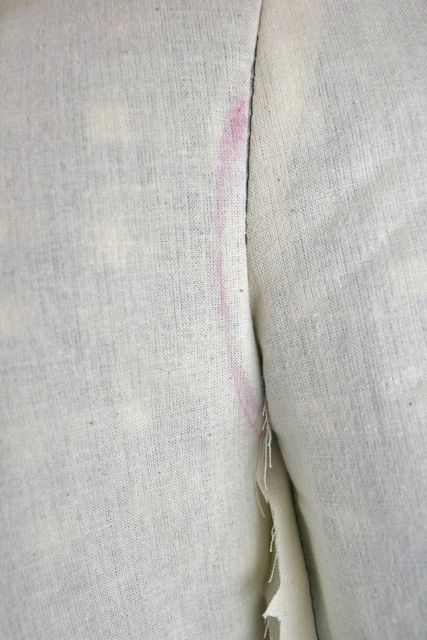
I marked this one change we’re going to make–opening up that underarm at the front to give him a little more room–and I’ll re-sew and re-test that fit. From there, it’s time to transfer that change to the pattern pieces and then cut the fashion fabric. This is the stage at which I always freeze a little bit, because up until now, it all feels a little like fun and games. After this, we’re at The Show, and it’s the real deal. So while I’m gleefully moving ahead, I’ll also be muttering hopeful prayers under my breath that it will all work out and the finished jacket will be flattering and fit well and look professional and he’ll be so delighted he wants me to make another one.
Wait. Hang on. Maybe thats not how I want this to work out… I could inadvertently become a menswear factory on a very tiny scale over here…


Liane
December 13, 2013 at 6:31 amThis is impressive! I have a friend who sewed his wife’s wedding dress (corset and all!) and his steampunk-inspired wedding suit – I can only imagine all the work!
Cherie
December 13, 2013 at 1:39 pmGreat series! I was wondering how you fix the tight underarm issue. I would be interested in learning how to do this adjustment.
Thank you!
Lissa Brooks
October 11, 2014 at 1:38 amWas this project ever finished? The series page doesn’t have links to anything beyond this post.
Deborah
October 11, 2014 at 7:46 amHa! Uh….no. Poor husband–this project is on the sewing table, waiting for me to get up the nerve to finally complete it. I’m hoping, now that my new patterns have launched, to move it up to the front of the line. There’s going to be a lot more hand sewing in it than I anticipated, so maybe I can get that done as the weather cools off? Wish me luck!
Deborah
October 14, 2014 at 2:21 pmCorrection: there are four more posts in the series that ARE complete, but the jacket is still under construction. You can enter “men’s jacket” in the search bar to find the other posts, and I’m off to update these links! Thanks for catching that!!