
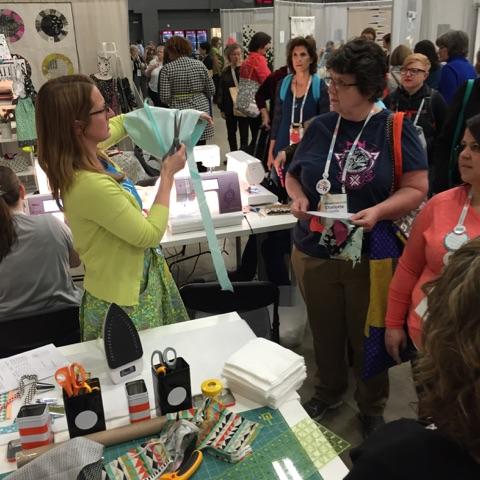
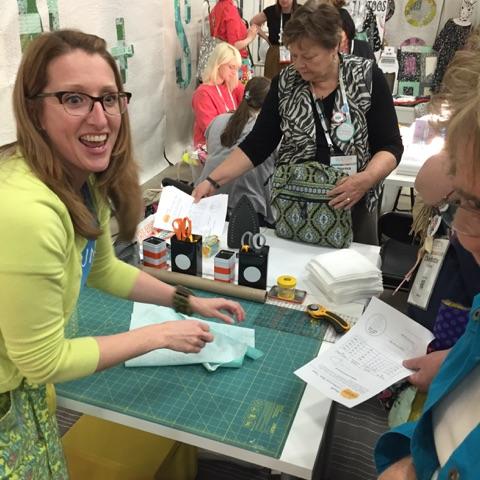
While I was at QuiltCon, I had the privilege of teaching a quick demonstration at the invitation of the ladies from Cotton + Steel. Naturally, the first idea that popped into my head was to share my on-going passion for continuous bias tape. Yes! More CBT converts! More bias tape projects! BIAS TAPE FOR EVERYONE!!
I made little giveaways to share, lengths of bias tape wrapped around cardboard, as takeaways for the folks who came by to visit. Doing a demonstration in a setting like this is always a little funky–it’s a little bit of a fishbowl, and it’s hard to tell if no one is paying any attention or if everyone is paying attention. Turns out, having some goodies to give away is a great method for giving folks a heads-up that something fun is about to happen. YOU get some bias tape! And YOU get some bias tape! EVERYONE gets some bias tape!!
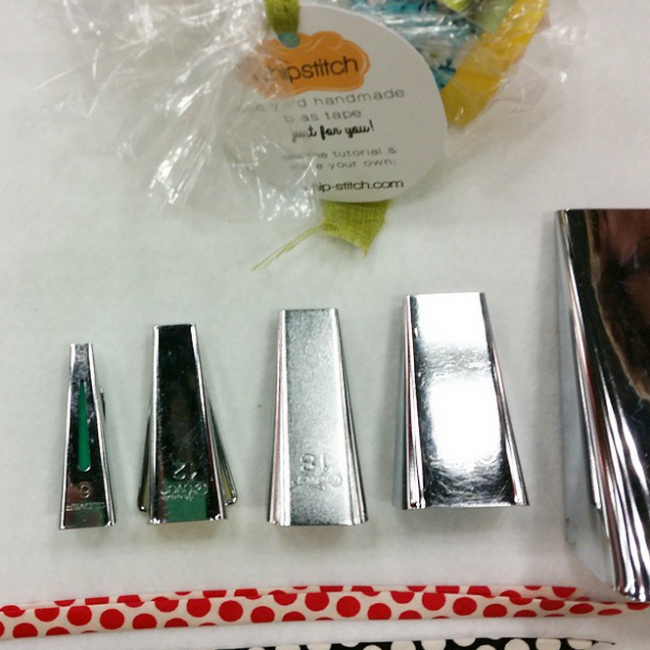
As I was preparing step-by-step samples and getting all my tools ready for the demo, I knew I wanted to not just show how to make continuous bias tape, but also to share how to use a bias tape maker–I can’t really think about one technique without the other, since I nearly always use them in conjunction with one another. Plus, it’s super fun to show all the sizes of bias tape maker, from teensy tiny to enormous.
I walked through the entire Continuous Bias Tape tutorial, and made a zillion yards of bias tape right on the spot. It was just as fun as always to hear folks say they’d always wanted to try making CBT, but needed to SEE it before they could make it work–and that this demo helped to fill in some gaps in their technique to make CBT something they’d really want to do. Yippee!!
I also get a lot of questions from students about single-fold bias tape and double-fold bias tape–what it is and how they’re different. As long as I was sharing CBT and bias tape makers, sharing single-fold vs. double-fold seemed like a no-brainer detail to add in.
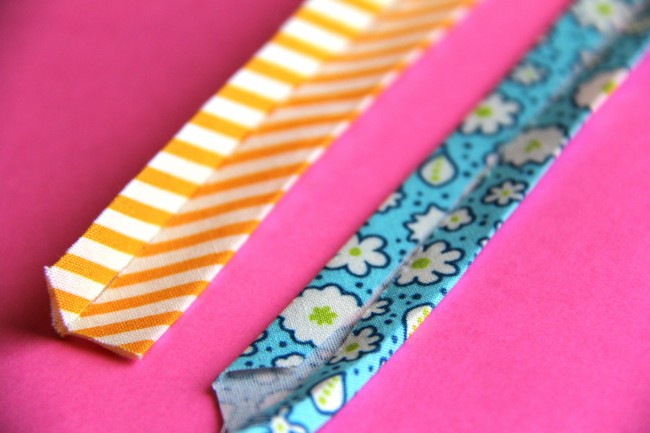
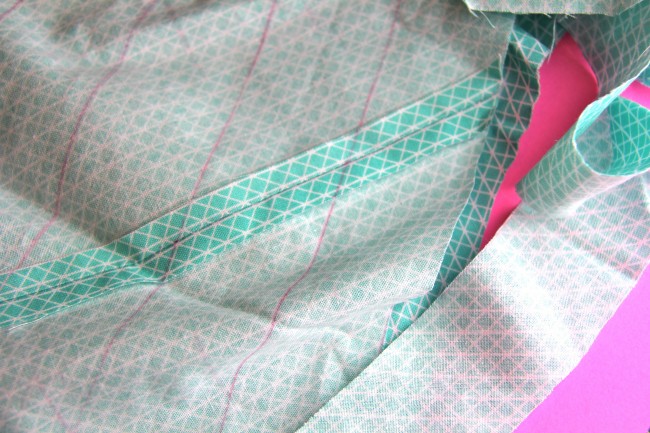
SINGLE-FOLD bias tape has been folded in once on each edge, toward the center on the wrong side. This makes a bias tape that can be attached to the right side of a project and folded to the wrong side, then stitched down. It works great for finishing underarms or making hems.
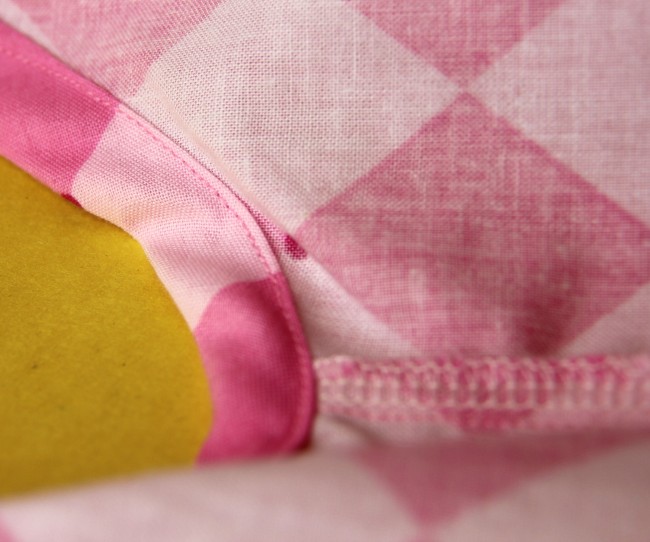
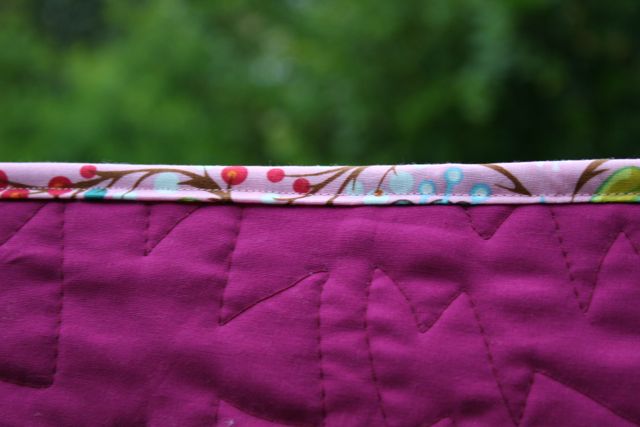
DOUBLE-FOLD bias tape is single-fold bias tape that has been folded again down the center, making a clamshell shape that can be used to trap seam allowances in the middle and sealing them tight. Like quilt binding!
Demonstrating all this was super quick and fun–maybe a little too fun, since at least once, I made my Crazy Eyes:
I just get so darn excited!!
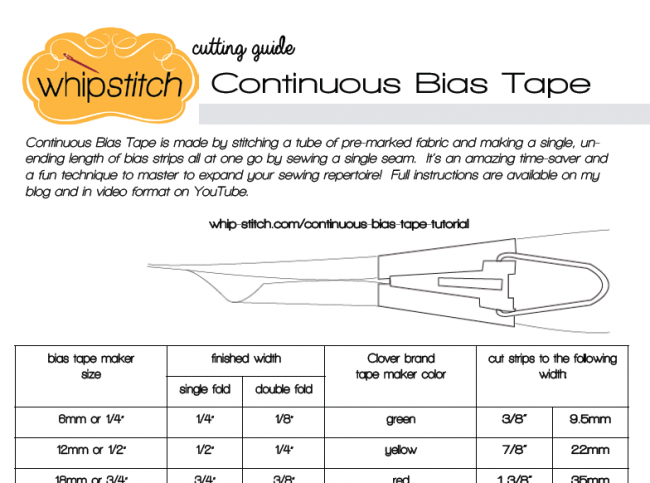
And now we get to the part about the printable. As I was prepping for this demo, I knew perfectly well that it was unreasonable to expect anyone watching a fishbowl demo in a conference atmosphere to remember all the bits and pieces and details. So I wanted to make a handout that would sum up most of the content for them to reference later. Particularly with the single-versus-double fold cutting, it’s hard to always know just how to make sure you get the results you want each time. I dug around the internet, searching and searching for a chart that would tell me how wide to cut my strips for each size of bias tape maker to get the correct size bias tape when I was finished–what a WASTE to make 15 yards of CBT and then find out it was all cut the wrong width for the project I had in mind, right??
But I couldn’t find one–no chart like that seemed to exist anywhere on the internet, as far as I could see. But we are crafters, y’all. So what do we do when we can’t find what we want? WE MAKE IT!
This handout is for you to use as a reference when you’re preparing to make bias tape. It details how wide to measure each strip so that the finished width you’re looking to achieve is just right for the project you’re making. It lists the standard bias tape maker sizes (including the colors associated with each, if you’re using the Clover brand, like I do). And It shows in both standard and metric just how fat each strip ought to be! Jubilee!

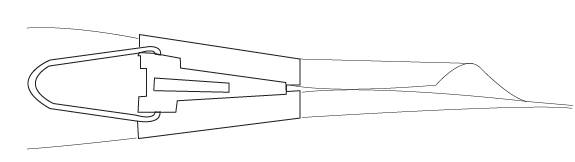
The printable also shares images of the proper use of the bias tape maker, with a graphic showing how to insert the end of the tape into the maker to fold in the edges. And another set of graphics serves as a reminder of the difference between single-fold and double-fold bias tape, indicating how each one is folded in on the edges. Plus! A sweet little suggested list of bias tape projects to play around with and try!
I hope you’ll print out a copy and refer to it often–tuck it away in the bag or drawer where you store your bias tape makers and you’ll never have to do bias tape math again. Let me know what you think in the comments, and if there are any other charts you wish existed (but that don’t) that would meet your frequent sewing needs!
Special thanks to the always lovely ladies of Cotton+Steel for the invitation to teach a demonstration, and to the awesome Miranda for capturing some photos of me while I was teaching!

Belinda
March 4, 2015 at 12:09 pmThank you so much for the chart!. I used a paint pen to put that info on my tape makers but it does wear off over time 🙂
Deborah
March 4, 2015 at 12:23 pmExactly! I tried to save the packages with the instructions, but they look like trash, so I tossed them out in a fit of cleaning. And then I was forced to do math every time I needed to make bias tape! This should be MUCH easier for us from now on. 🙂
Samina
March 4, 2015 at 1:07 pmSo handy! This will be printed & posted on the bulletin board in my sewing room. Thank you so much.
Deborah
March 4, 2015 at 1:08 pmHooray!! Bias tape for EVERYONE!! 🙂
Linda Gillian
March 4, 2015 at 2:50 pmThanks for the printout and the great youtube demo.
Deborah
March 4, 2015 at 3:17 pmThey were fun to make–I’m so glad you like them!
Alli
March 4, 2015 at 3:24 pmThank you for the printable! I’m sticking this up on my wall! 🙂
Deborah
March 4, 2015 at 4:02 pmHaha! Yay!! That’s where mine is, too! 🙂
Ruth
March 5, 2015 at 8:44 amSweet! So nice to have all the measurements in one handy printable. Thanks Deborah!
Cherie
March 5, 2015 at 10:36 amYay! Finally I understand the difference between single and double folded bias tape. Once again, you to the rescue! Thanks for the printout too. I never could figure out the measurements. Woo hoo! Now all of the guesswork is left out, and I am left with just the fun of making bias tape. Love it!
alcira
March 9, 2015 at 1:09 pmgracias por la impresión