
I make a lot of things for my children. I don’t often make things for them that I want to get out and play with when they’re not home. This time? Yes, I totally do.
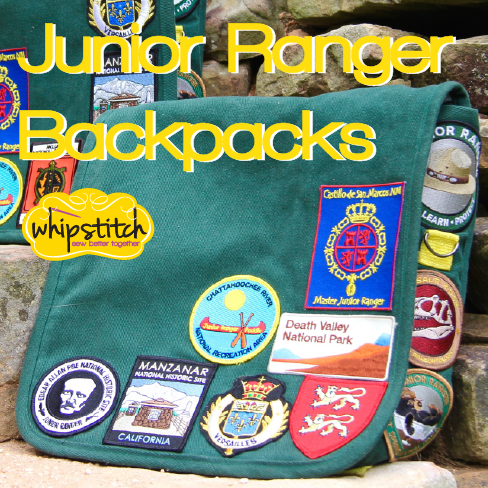
These are one of my very favorite projects I have made for my children: their Junior Ranger backpacks.
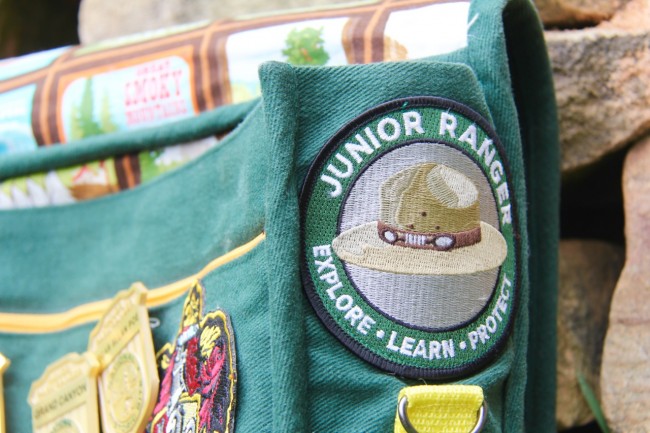
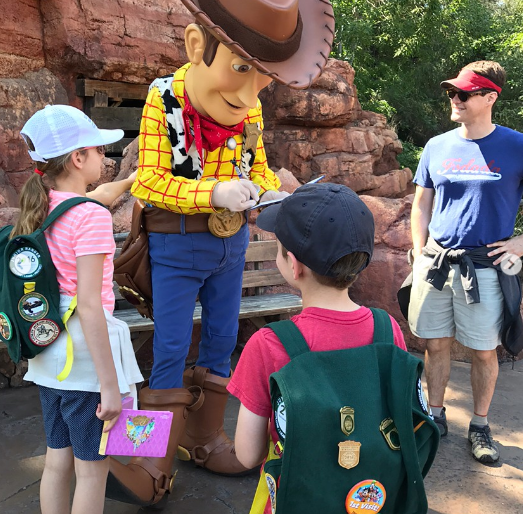
We love, love, love the Junior Ranger program. Sponsored by the National Park Service, it invites children from the ages of 5 to 15 to complete activities related to each of the more than 400 locations governed by the park system and earn a Junior Ranger badge.
Channel Islands National Park, California
Kids can collect the badges, chart their visits to the various parks, preserves, recreation areas, monuments, trails and historic sites in the park system, and learn a ton along the way.
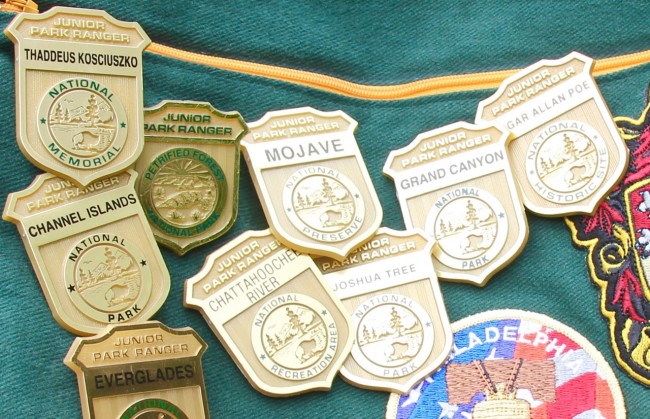
To earn a badge, they request a booklet at the visitor center at the entrance to the park, complete the required number of activities–which range from mazes to writing an original story to designing a logo to searching the site for answers to clues or questions–and then turn it back in to the Park Ranger to be sworn in as an official National Park Service Junior Ranger.
After our kids earned their first three or four badges, I really wanted them to have a place to keep them safe and to showcase them. They worked hard for these! They should get to display them. We considered the Junior Ranger vests, and I thought about doing another bandolier, but neither of those seemed to have the practical use and over-the-years staying power that I prefer in a project.
Enter: the Junior Ranger rucksack.
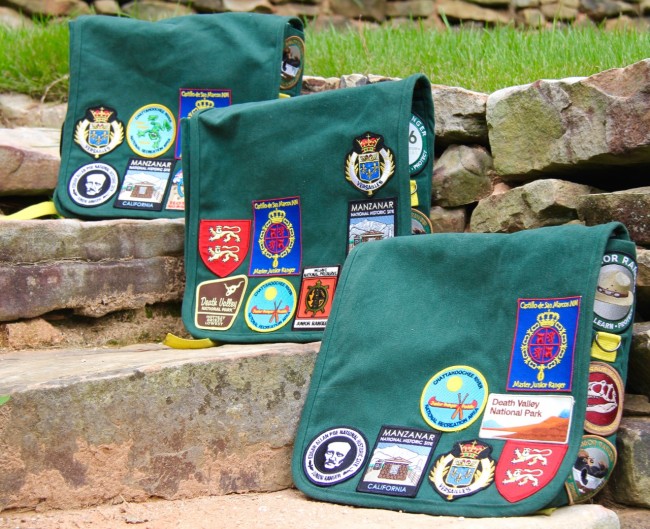
This is an original pattern that I drafted based on measurements from my children’s bodies. I was trying to strike a balance between being an appropriate size for my elementary-aged children now, and being something useful to them over the long term. I have an image in my mind of them still treasuring these when they’re older, carrying them ironically in high school, even passing them along to their own kids. Delusional? Isn’t ALL the best crafting + parenting a little delusional?
I used a very heavy green brushed bull denim for the exterior of the backpacks, and it was super dreamy to work with. For once, I didn’t pre-wash, because I wanted to preserve maximum stiffness and body in the finished bags. To the same end, all the exterior pieces were interfaced with black Shape-Flex to give them support with stiffness and no loft–I learned about this interfacing from Sara at Sew Sweetness, and have loved it ever since, especially for bags.
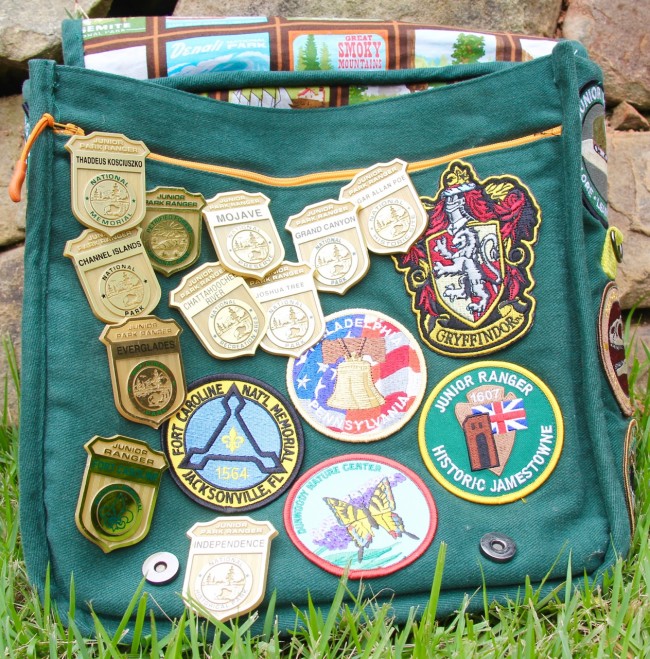
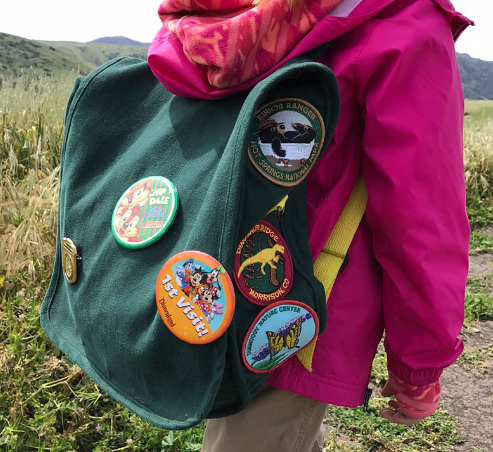
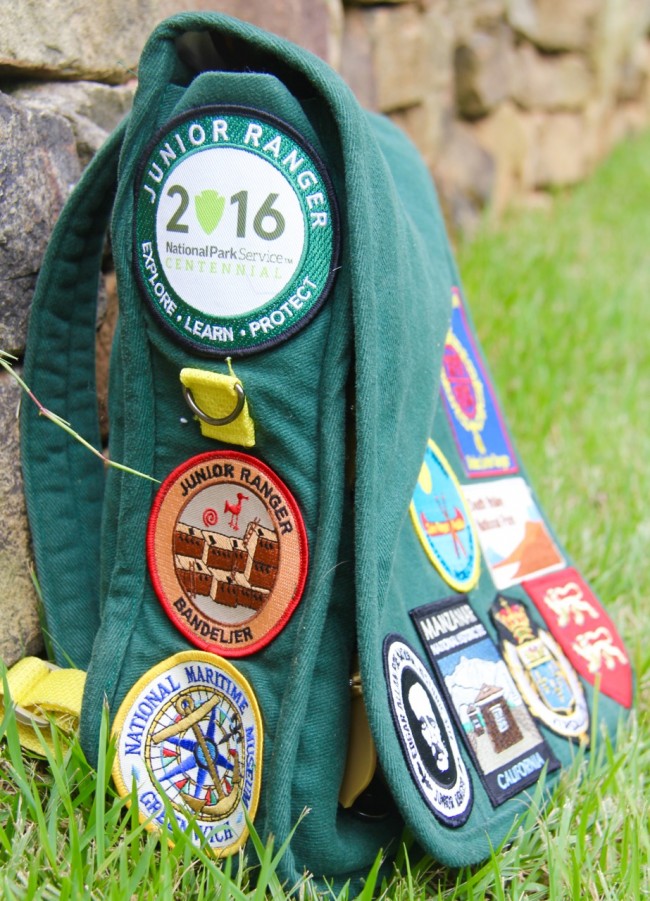
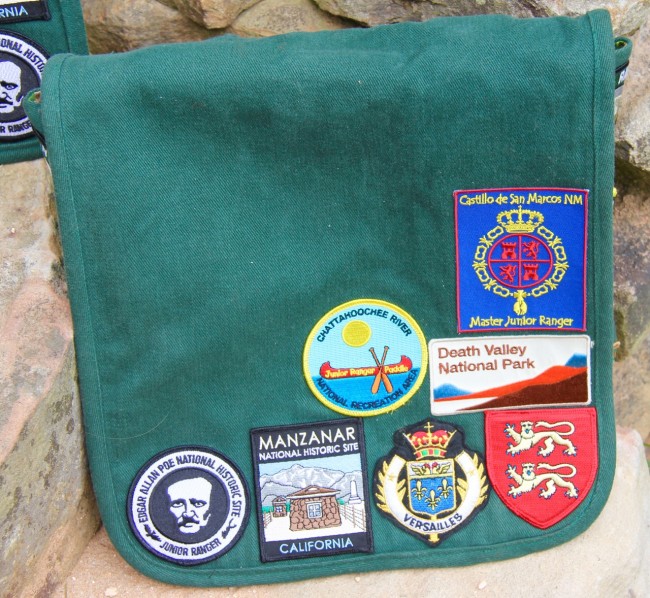
There’s a large front flap that extends all the way to the base of the bag, giving a huge amount of acreage for future patches and badges. There’s also an interior pocket with a zipper. We’ve found over the past couple of years that the pin badges have a tendency to pop off if they’re exposed to rough handling and stress, so we’ve been adding them to the interior pocket to keep from losing them (I’m also considering anchoring the pin mechanism with a blob of hot glue, but I haven’t tried that yet–I’ll let you know how it goes). The flap is held in place with two large magnetic snaps–the youngest got two small ones, because I ran out of the bigger size, and they really do need to be the larger snaps to hold snug.

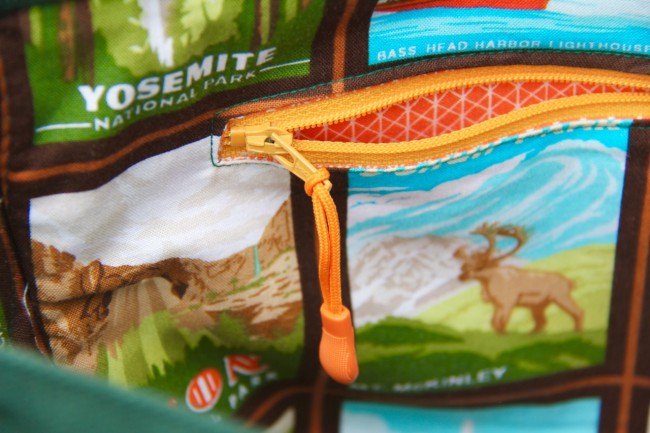
The zippers are standard off-the-rack zips (got mine from a dear friend who was de-stashing on Instagram, a shopping practice that I highly recommend!) and then I added these sweet little zipper pulls. They make the zippers way easier to operate, but also lend a little professional look to the backpacks in general.
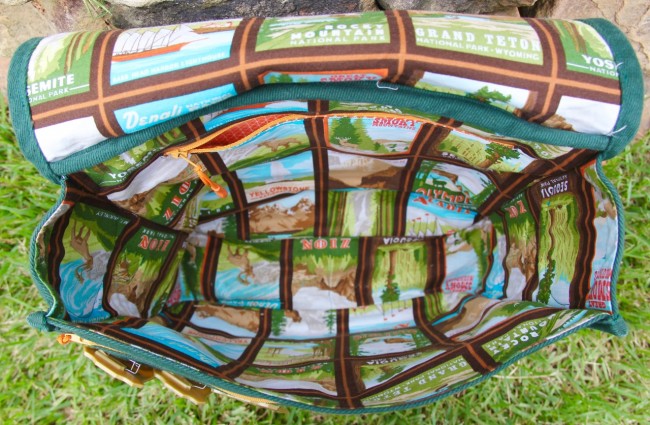
The interior of the entire bag is lined in this National Parks fabric, which I think was released limited edition for the National Park 100th Anniversary celebration (you can still get some here, and from various sellers on Etsy). I love, love this fabric, and was super excited to add it to these bags. Like the exterior, I didn’t bother washing this before sewing, and I interfaced it lightly with a pretty standard off-the-rack fusible interfacing–similar to my all-time favorite Pellon 906F.
There’s a small interior pocket on the back of the backpack, with the same little zipper pull as the front exterior pocket. Doesn’t it just jazz the project up? I matched the zipper pull to the zipper color on two, but on the third I didn’t have a good match, so it has pink zippers with yellow pulls. It’s very ice cream-y and I lurve it.
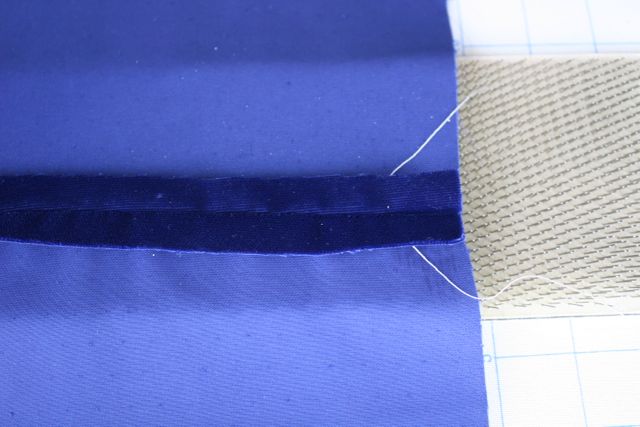
All the edges are bound with bias tape made from the same denim. It was thick to sew through, but the denim is kinda squashy (in a good way) and my machine + a heavy duty needle crushed it, maybe literally. I love the roundness of the bias tape, and how simple it made it to create clean edges around the whole backpack.
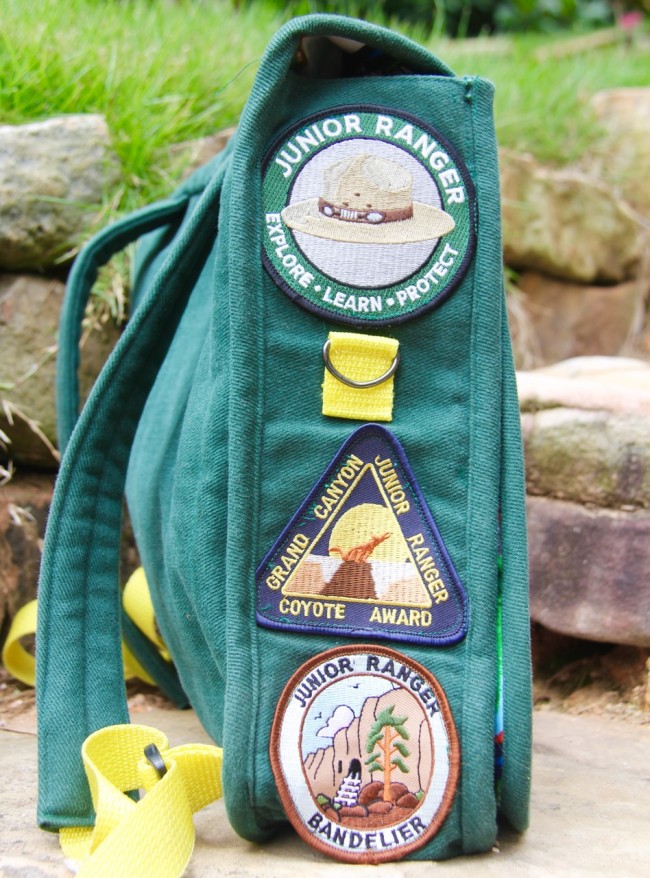
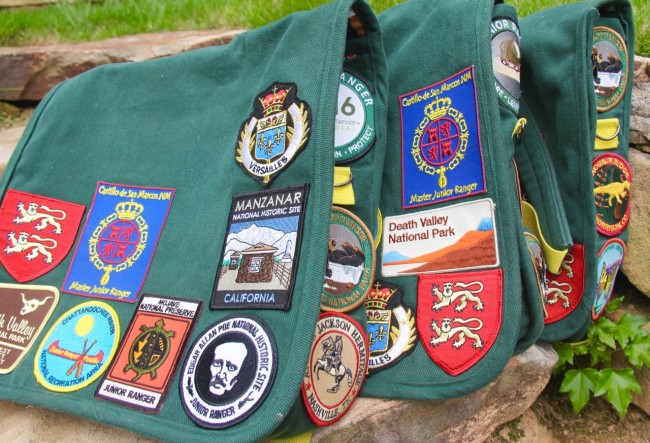
As I assembled the backpacks, I added some of the existing patches in places I knew I wouldn’t be able to reach later–so all the patches on the gusset were sewn before the bias binding was applied. I measured the sides to be just wide enough to accommodate the average round patch, and then spaced them out to leave enough room for a D-ring on the side.
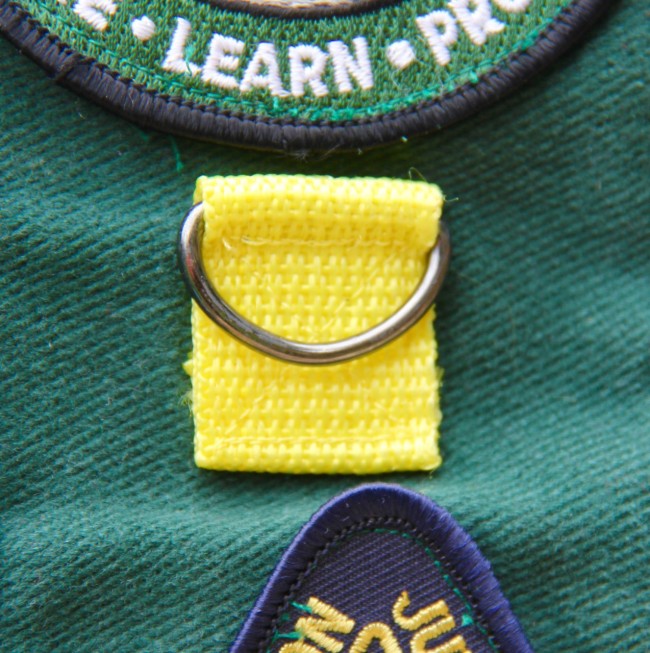
These bags have backpack straps, obviously, but I wanted to leave the option of a shoulder strap at a later date, or for carabiners to hold water bottles, flashlights, and accessories. Plus, doesn’t the little tab with the bright pop of yellow look RIGHT?
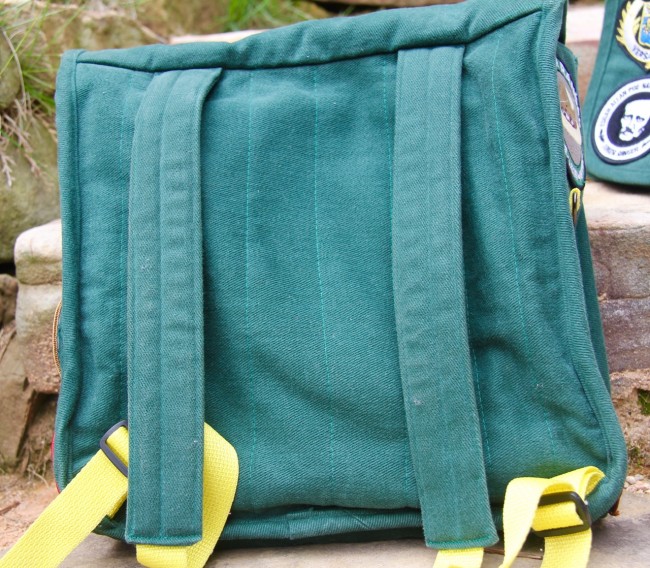
Straps are made similar to the shoulder strap in Elizabeth Hartman’s Sewing Circle Tote, which makes a wonderfully sturdy and soft shape that’s just the right size. They’re padded with Annie’s Soft and Stable, which I adore–just the right loft, plenty of support and softness.
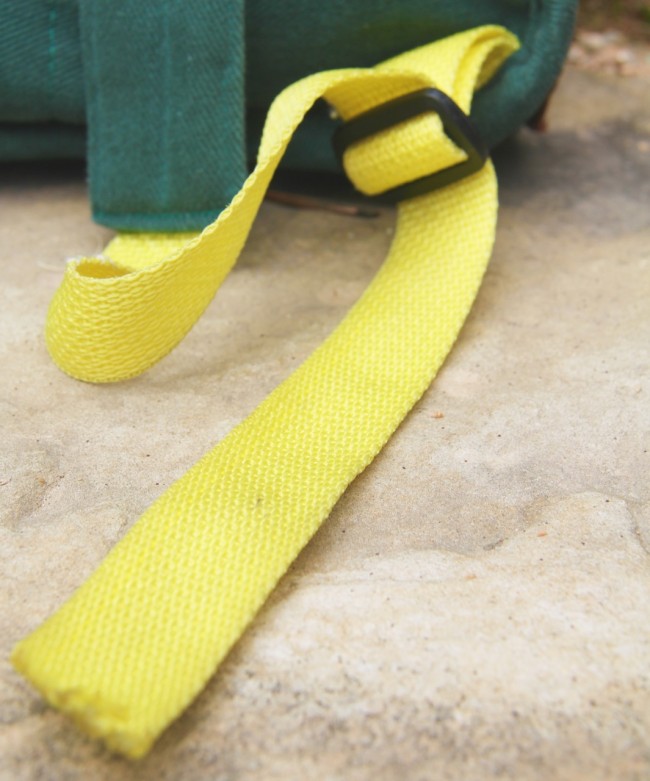
At the lower end of the strap, it’s attached to the body of the bag using standard slider hardware and this delicious poly webbing. I accidentally ordered 25 yards of this stuff, but not really accidentally, it was just a way bigger roll than I expected. But it’s so good! And I’ve used it a ton. Very sturdy and can put up with a lot of abuse, but the color is rad and it works so well with the forest green.
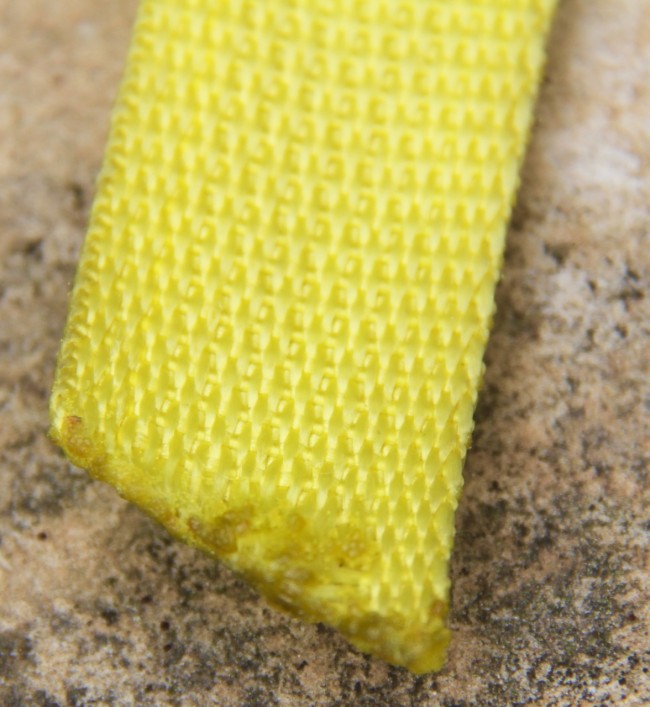
I should note, though, that the poly webbing must be heat sealed before sewing to prevent unraveling. If it isn’t, as we learned, the weave will come apart, and even though it’s sewn securely, the webbing will fall out of the stitches and fall apart. It’s easy to prevent that: use a lit match or a lighter and hold the flame under the cut edge for just a few seconds. It will melt with just a little heat, and the ends will fuse, so that the weave holds over time. Take care not to heat it too long, though, or it will scorch and blacken.
Disneyland!
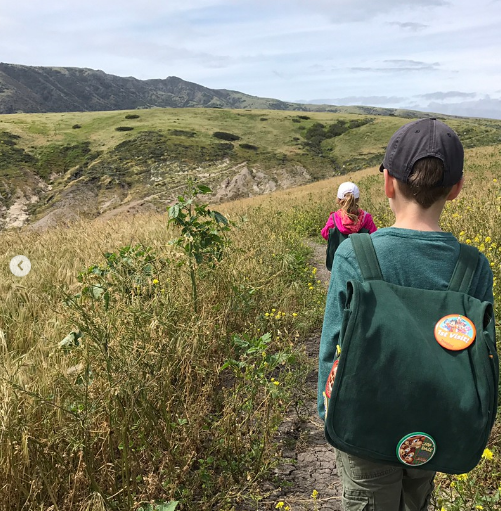
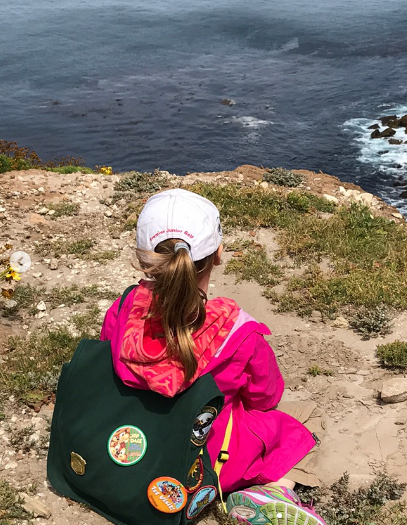
We have used the stink out of these this year, from our Spring Break trip to Southern California, which included Disneyland and five national parks; to visiting local national parks in our region; to flying to France this summer. If I were to change anything–and I still may–I would have added a large chunky plastic zip at the top of the main compartment, because the kids really wanted to overstuff these, and gravity had a habit of working against them. Other than that, they are very nearly the perfect kid hiking backpack, and I am excited to travel as many national parks as we possibly can with them as our kids grow!
Natasha
August 29, 2017 at 11:01 amI love these! Your kids are blessed to have you for a mom.
Deborah
August 29, 2017 at 11:05 amOh, that is so kind of you to say! I secretly think that I’m making things for them that I wish I could have–but don’t have the confidence to pull off. I mean, could I maybe have MY OWN National Parks patches backpack?? {Spoiler: I bought more of this denim so I can make one. Ha!} We’re having such a good time seeing so many parks, and I love getting to relive the memories with their patches! So glad you liked them, thanks for reading!
LaNell
August 29, 2017 at 2:08 pmFrance! I’m green with envy over those Normandy patches.
Deborah
August 29, 2017 at 2:22 pmI couldn’t resist, even though they’re not American National Park patches. We got the Normandy ones at Mont St Michel, and the Versailles ones the next day. SUCH incredible memories, and I treasure those patches!! Well, I treasure all of them. Haha! Glad you like, thanks for reading! 🙂
Abby
August 30, 2017 at 6:44 amI’m very impressed. I would love to do similar for my kids but there is no jnr ranger program in Australia. I might look into patches from places we are visiting I just hope I can find enough to look cool.
I can totally see your kids still using the bags (even in an ironic way) once the get to high school or even collage.
Well done. They are very very cool.
Deborah
August 30, 2017 at 12:08 pmThanks so much! Some of these patches, obviously, aren’t from National Parks–there are Hogwarts patches from our trip to Harry Potter World, and one from a nearby nature center, and one from a dinosaur site we saw in Colorado when we were there. And the ones from Versailles and Normandy, obviously not American OR Junior Ranger. But I have been impressed with how many sites we’ve visited had souvenir patches, and they are such nice reminders of amazing memories! Hope you can do something similar for your kids, thanks for reading!
How To Sew On Patches | Whipstitch
August 31, 2017 at 1:53 pm[…] our children’s Junior Ranger backpacks, I worked hard to plan the design to enable the maximum number of patches to be added over the […]
Personalizing with Patches | Whipstitch
July 23, 2018 at 1:04 pm[…] written about the satchel-style backpacks I made for our children who vigorously pursue the Junior Ranger program at every National Park we […]