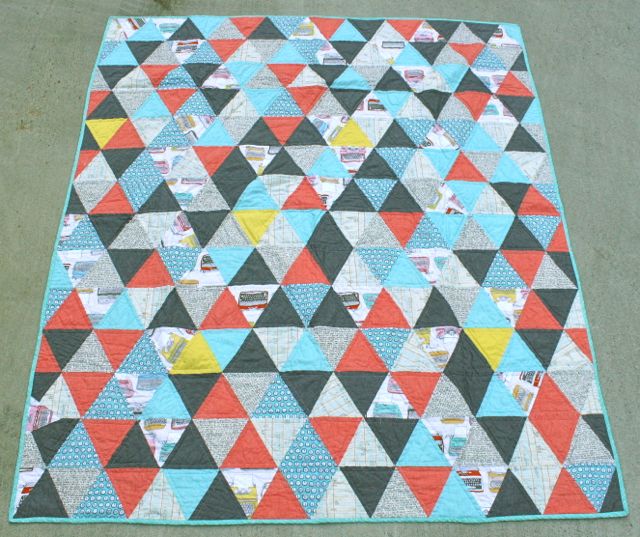
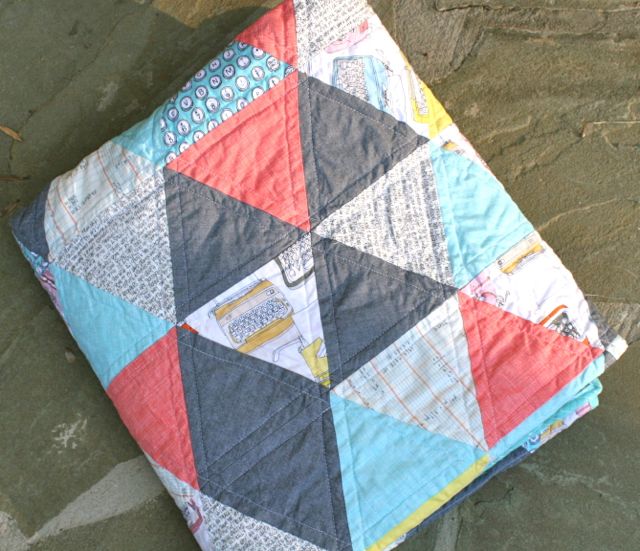
All done and bound! Like a lot of us, I’ve been wanting a 60-degree triangle quilt for ages. Seems like a lot of us had the same yen around the same time, because I have seen a zillion quilts popping up all over the interwebs. But I love mine BEST. Yes, I do.
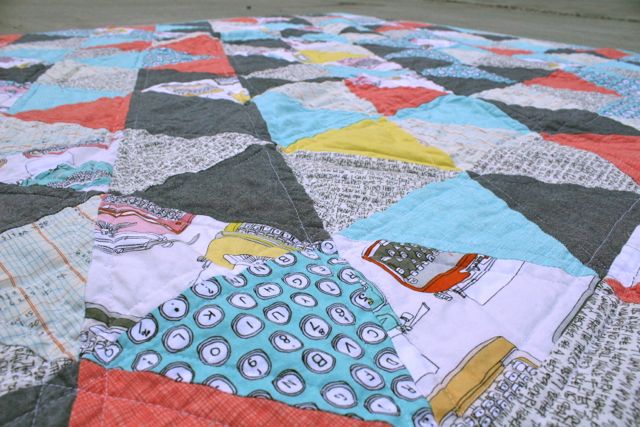
I started with a fabric bundle from Pink Castle Fabrics–the typewriters, the Architextures, and the persimmon Sketch are all from there. Then I mixed in some Robert Kaufman chambray in black, which was soft and grounding for the other prints. Finally, on a whim, I tossed in just a spare handful of pieces of Kona cotton in butter. And it was magic.
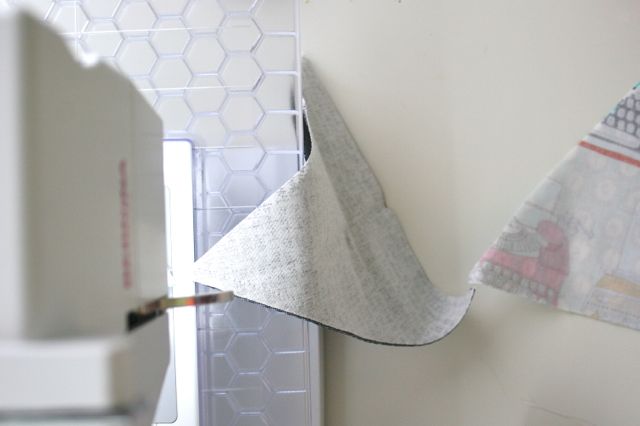
This is a standard 60-degree triangle quilt, which means that each piece is cut using a clear acrylic ruler. I cut 6″ strips from each fabric, then aligned the 60-degree line in my ruler with the cut edge, and cut a series of triangles from each strip:
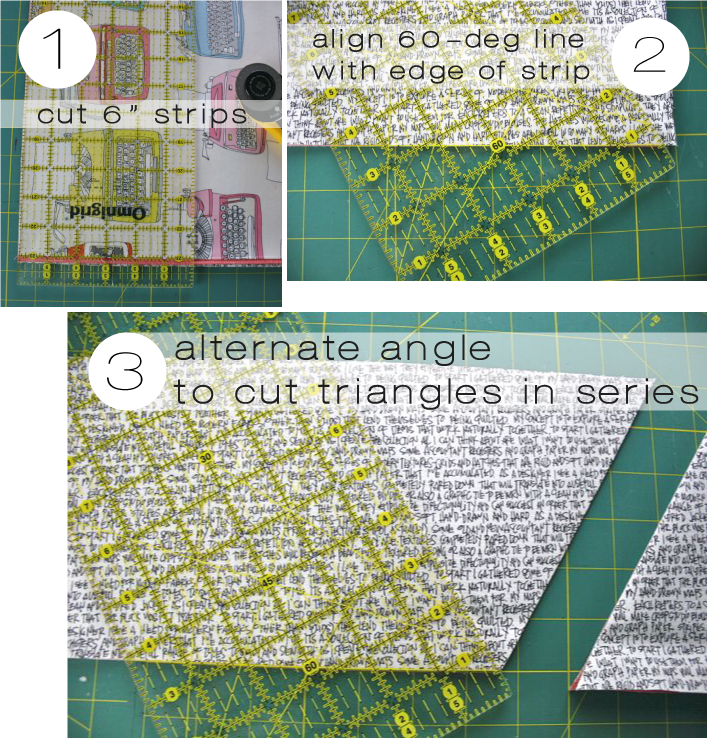
It was way more therapeutic and relaxing than you might think, just cutting triangles over and over and over. Something about whipping that ruler around to alternate the angle from one cut to the next, it really made me feel like I was accomplishing something–but my brain could be pretty quiet. I was a very nice morning, let’s put it that way.
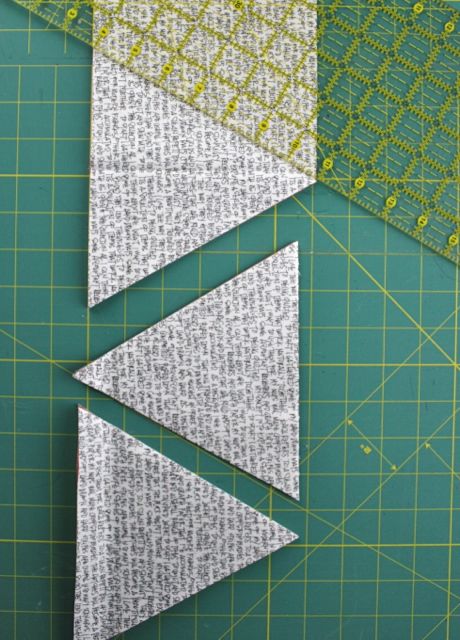
Naturally, it took waaaaay more triangles than I expected. I thought I was finished cutting, but I totally wasn’t. My sweet quilting bee ladies (hello, Bee Babes!!) came over to help me assemble the rows, and I had to stop halfway through and cut more triangles. But that’s the price we pay for wanting more than a lap quilt, am I right? Or am I right?
I’m crazy grateful for my Bee, too, for helping me put all these into rows. We started with 16 triangles per row, and built from there. I think in the end we did 14 rows–I’m not sure how many triangles that makes, but I bet you can do the math. Having said that, it was faster than you might think. And funner.
The key to sewing triangles together is getting the seams right. It can be tricky in a quilt like this, since you end up with little “ears” at the end of each seam, but I like the challenge. It keeps me focused, and then every seam is a chance to see if I can improve on the seam I just finished.
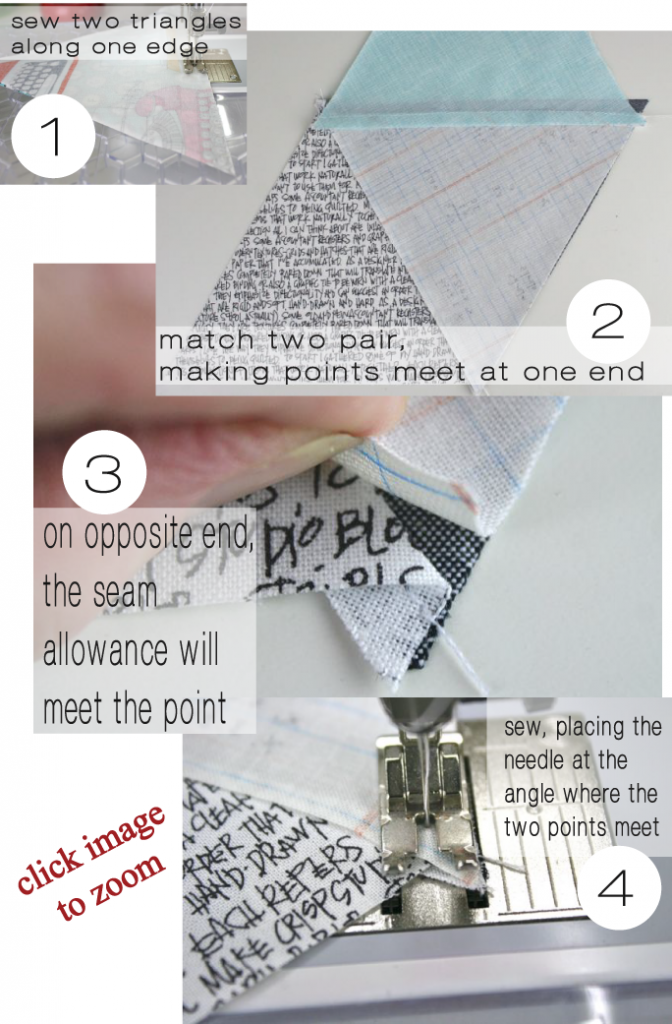
The trick is lining your edges up properly. Luckily for me, equilateral triangle pieces don’t require an offset–which is to say, I don’t have to account for the seam allowance when sewing my triangles together. I can just line the points right up and call it a day. When I sew the first two triangles together, I press the seam allowances to one side. From there, I can start matching pairs of triangles to one another, making sets of four. The points on one end will meet the un-sewn points on the matching triangle. On the other end, the pressed seam allowances will match the other point–most of the time. Sometimes, because of how the seam allowances are pressed, you’ll have to “draw them in” a bit–they won’t match, but you can use your eyes and instincts to visualize where they would be, and match the edges of your triangles that way. It’s like a fun game!
The better the seams are, the more nicely the points on all the triangles match when the quilt is finished. Which is vastly more satisfying than you might think–for reals, I felt like I was on top of the world with some of these finished seams. Good times, y’all.
I had a nice little assembly line going: our bee put together 10 rows while we were all together, so I cranked out another four. It was a nice night of Netflixing and chain piecing.
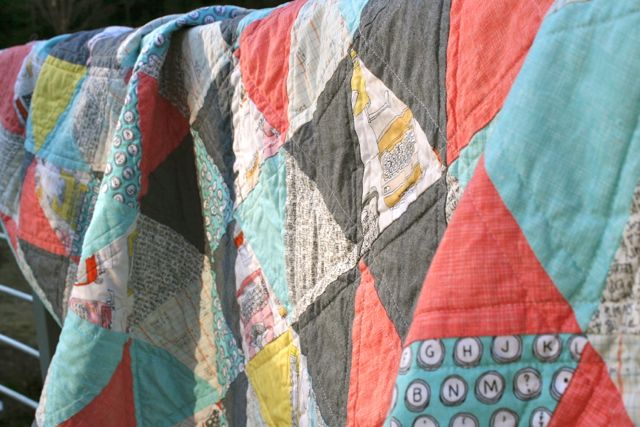
The colors are totally great, and match pretty much everything I own. Yellow? Check. Grayish-black? Check. Turquoise? Yep. Persimmon? My signature accent color. Plus: typewriters and text? Done and done.
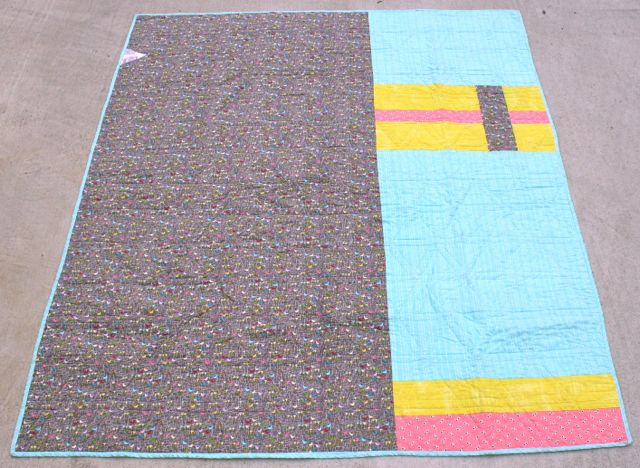
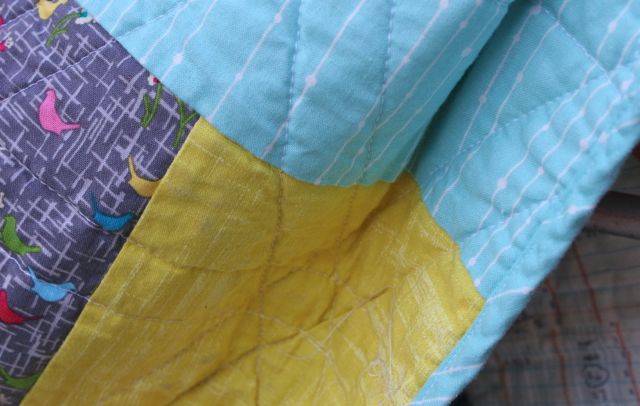
For the backing, I dug around in my stash and landed on this amazing Violet Craft print, which (seriously, I didn’t plan this) just happened to have EVERY one of these colors in it, with a sweet little birdie design to boot. I threw in some Denyse Schmidt, a scrap of yellow left over from the All-Yellow Quilt, and a new piece of turquoise from Robert Kaufman. I used the same turquoise for the binding. The design of the backing was pretty ad hoc, improvisational–I think that little segment on the upper right looks a little like the flag of Sweden, but I might be reading something into it.
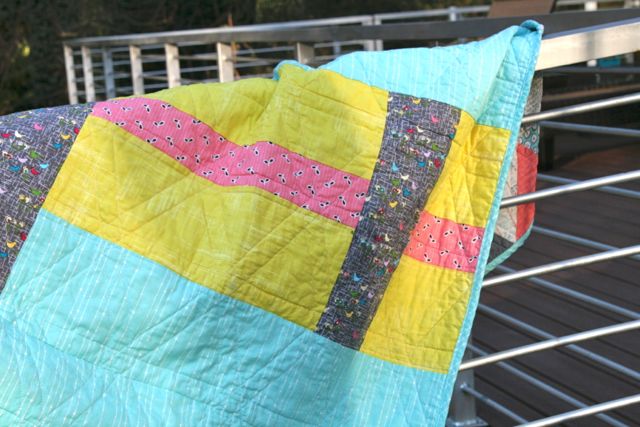
See? Flag of Sweden.
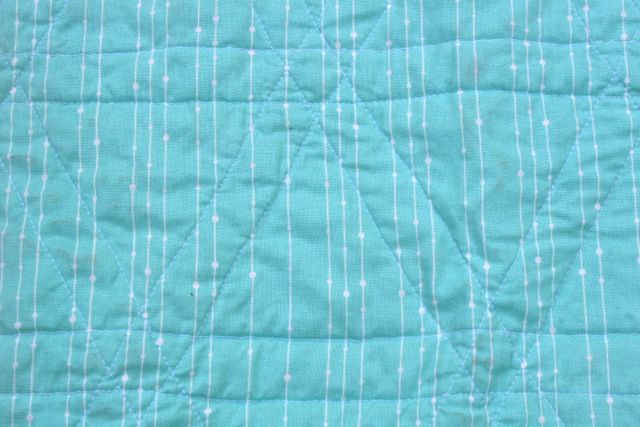
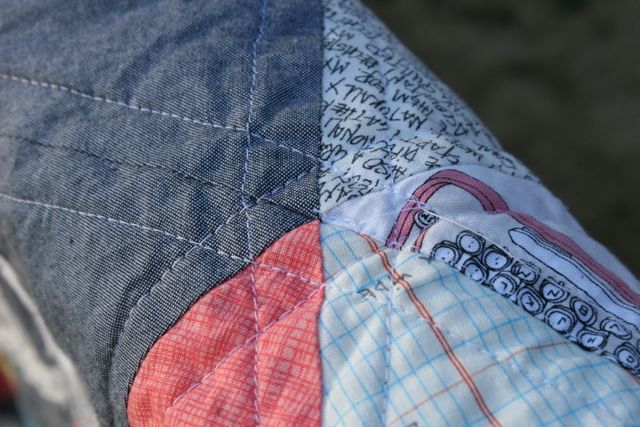
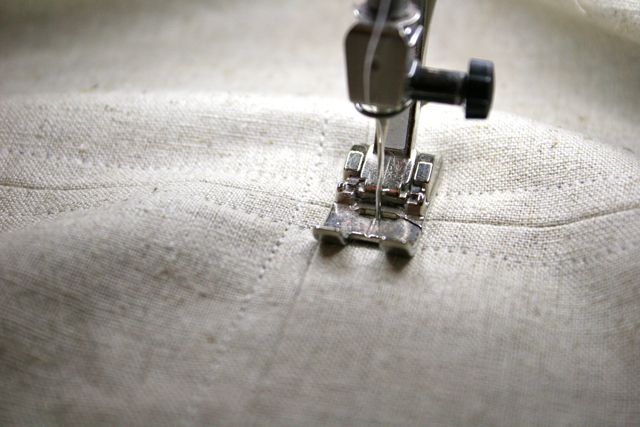
I quilted on both sides of every seam, which means six lines of quilting meeting at the intersection of each triangle. I love how clean it looks at the edges of the triangles, but how complicated it gets when it forms these little Stars of David at the intersections. Simple quilting with powerful results.
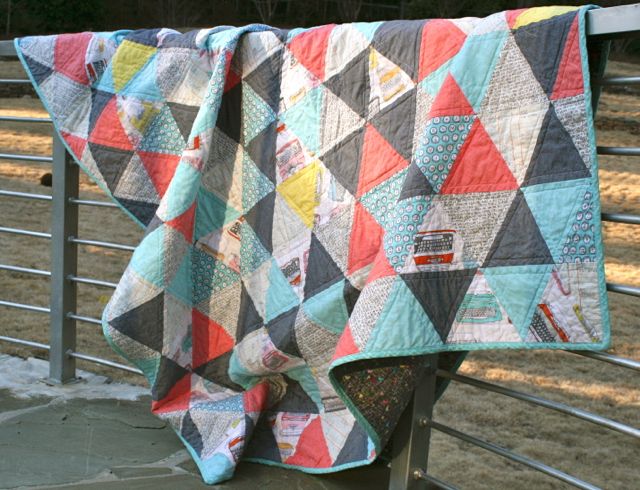
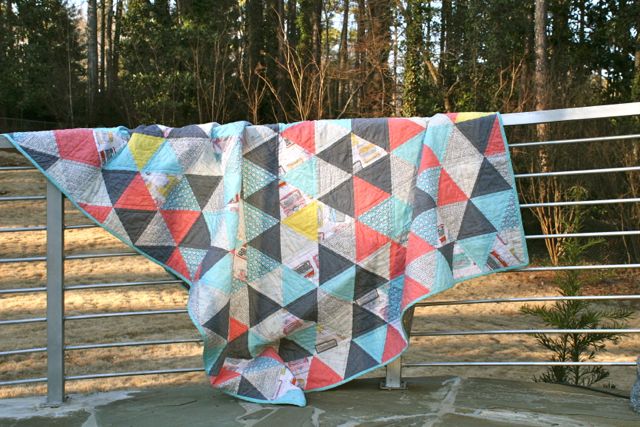
I’m thinking it will be happy this summer, out on the back patio alongside the All-Yellow Quilt. Those summer evenings aren’t always cool, but there seems to always be a need for an extra picnic blanket or fort blanket or squashy quilt to wrap around your shoulders when it suddenly starts to rain. Delicious.
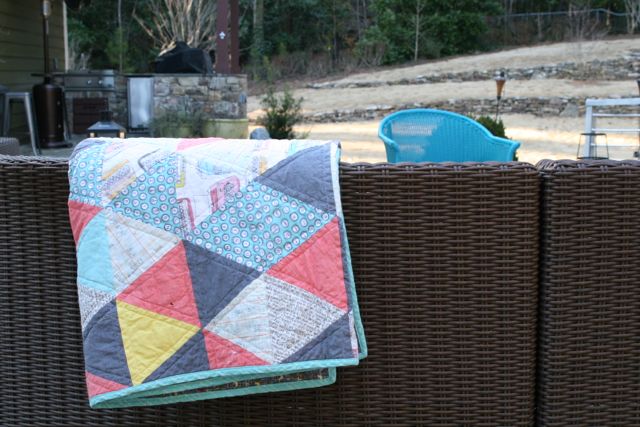
While I was sewing this, I thought I could make a zillion of these. I wonder if that’s because it’s such a great design, one that would showcase nearly any set of fabrics and look great in any color, with any style. Now that it’s finished, though, I feel pretty good leaving this behind. I loooove the result, and I won’t be giving this quilt away, but I don’t feel especially burdened to make another one.
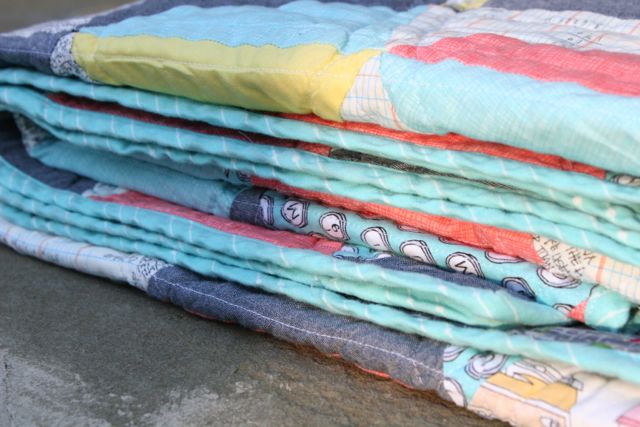
Of course: gift. That’s a pretty good idea. As one of the faster quilts I’ve made, a triangle quilt could make a good candidate for a quilt at the holidays or even for a preschool teacher–our son leaves to go to Kindergarten next year, and I think this year’s teachers could use something extra special when spring comes around.
Hmmm…. Something to think about while I’m reading library novels under my triangle quilt this summer, as the fireflies come out and I enjoy a balmy breeze. Ah, summer. Hurry up, already.

melissa
January 27, 2014 at 10:55 pmVery nice! I’ve been planning on making a equilateral triangle quilt one day.
Deborah
January 28, 2014 at 11:28 amIt was MUCH more straight-forward than I thought it would be. I worried I would need to account for the seam allowance when piecing, but you can just slap these triangles together and sew! Makes it much faster and really fun. I can’t think of ANY fabric that wouldn’t look good in this design–you should jump in and make one! 🙂
All-Yellow Scrappy Trips Around the World Quilt Finished! | Whipstitch
February 20, 2014 at 8:50 pm[…] steadily working my way through my pile of incomplete projects, and wanted to get both this and the triangle quilt all done–and here it is. […]